Kiddicare Olivia Instruction Manual
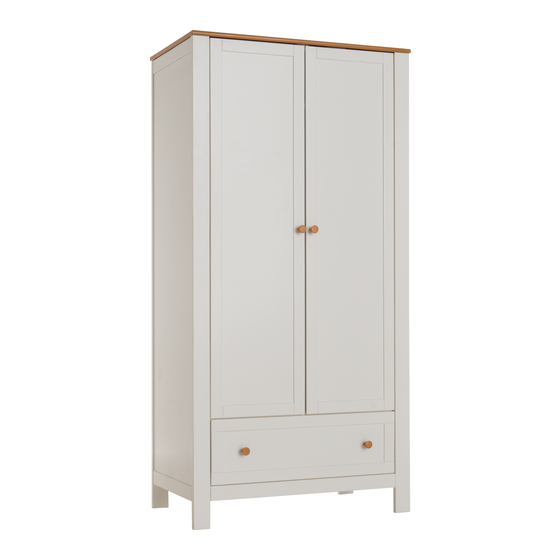
Wardrobe
Hide thumbs
Also See for Olivia:
- Assembly instruction manual (12 pages) ,
- Instruction manual (12 pages)
Table of Contents
Advertisement
Quick Links
Advertisement
Table of Contents

Related Manuals for Kiddicare Olivia


Summary of Contents for Kiddicare Olivia
- Page 1 Important: Keep for future reference. Read carefully Instruction Manual...
- Page 2 parts x 2 (L & R) x 2 (1 each L & R)
- Page 3 hardware x 16 15mm x 26 38mm x 4 26mm x 4 x 10 x 10 45mm x 6 25mm x 4 17mm x 16 20mm x 2 Tools required flat-bladed cross-point hexagon key screwdriver screwdriver Measure (millimeters)
- Page 4 assembly each end A (L & R) each side each side each side each side each side...
- Page 5 assembly Insert fittings 5 with arrowed slot pointing toward part A. Once assembled, use a large screwdriver to give 1/2 turn clockwise to lock.
- Page 6 assembly...
- Page 7 assembly x 13 (each part B) repeat for second door...
- Page 8 assembly insert with slot pointing toward the edge as shown (each side) (each side) wheel at rear...
- Page 9 assembly Repeat for second door. Once the wardrobe is in position, use the screws on the hinges to adjust the fit of the doors.
- Page 10 assembly The wardrobe is supplied with a fixing kit which will secure it and help to guard against accidental tipping. WARNING : Installation only to be carried out by a competent person. Check the suitability of the wall before fitting. Screw (15mm) Screw (25mm) Washer x 2...
- Page 11 safety ! Ensure that the wall strap is used to securely attach the wardrobe to the wall to prevent tipping. ! Only use the wardrobe on a stable and level surface. ! All assembly fixings should always be tightened properly. Care should be taken that no screws are loose because a child could trap parts of their body, or clothing (e.g.
- Page 12 Kiddicare Club Way Cygnet Park kiddicare Hampton Peterborough Customer Care: hello@kiddicare.com Cambridgeshire PE7 8JA 11/14...
Need help?
Do you have a question about the Olivia and is the answer not in the manual?
Questions and answers