
Related Manuals for Glomex weBBoat 4G


Summary of Contents for Glomex weBBoat 4G
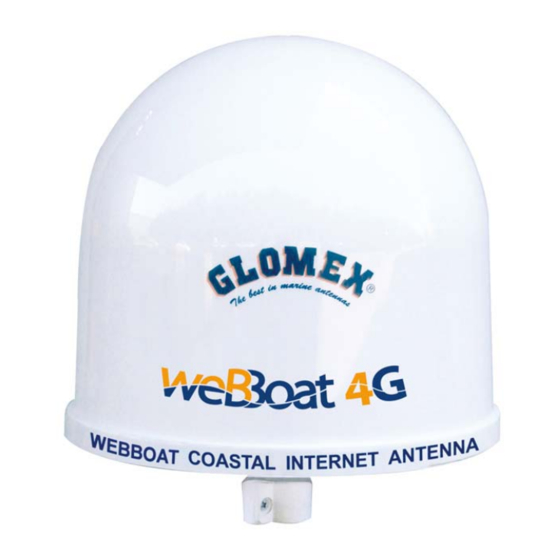
- Page 1 INTEGRATED 3G/4G/WI-FI SYSTEM To browse the Internet along the coast USER AND INSTALLATION MANUAL LABEL GL00159...
- Page 2 4G TECHNICAL SPECIFICATIONS Antenna dimensions (diam.x H): 250 x 300 mm / 10x12" Antenna weight: 1,2 kg / 2,65 lb Automatic switch from Wi-FI registred networks to 4G. 4G backup WAN function LTE 4G up to 100 Mbps in download and 50 Mbps in upload DC- HSPA+ up to 42 Mbps in download and 5.76 Mbps in upload...
-
Page 3: Table Of Contents
4G INDEX FOREWORD........4 DELIVERY LETTER . -
Page 4: Foreword
IDENTIFICATION weBBoat For any communication with GLOMEX or its service center, always have the serial number and the model of the weBBoat shown on page one of the manual, on the packaging and on the router inside the weBBoat. -
Page 5: General Safety Rules
The equipment will be replaced or repaired under warranty only and exclusively on Glomex quality department’s approval. Should any dispute rise, the place of jurisdiction will exclusively be Ravenna (Italy). -
Page 6: Environment
NOTE. The information and specifications given in this manual are based upon the information available at the moment it is written. In case of doubts, do not hesitate to contact GLOMEX S.r.l. to the following email: service@glomex.it... - Page 7 Wi-Fi network (where you have already registered), and vice versa to be certain of an internet connection without interruptions and cost- effective. Finally, to manage in an extremely easy and convenient manner the integrated system, weBBoat Glomex also offers an App for iOS and Android. UMTS GPRS Fig.
-
Page 8: Contents
4G CONTENTS The weBBoat is shipped packed in a cardboard box and sealed with the strapping GLOMEX "SEAL OF SAFETY" which acts as a seal for the WARRANTY OF CONTENTS. Upon receipt, check that: - the packaging is whole and the warranty hoop is present;... -
Page 9: Installation
It is advisable to place the weBBoat to a maximum height of 8/10 meters on the shaft cross with the support Glomex code ITM001 (not supplied). The weBBoat must be fixed to the support by tightening the screw on the bottom of weBBoat with a screwdriver (Fig. - Page 10 4G Installation on motor boats in fiberglass GL00154 Fig. 7 Installation on motor boats in metal SECOND ACCESS POINT THIRD ACCESS FOURTH POINT ACCESS GL00189 POINT Use up to 4 access points Fig. 8...
- Page 11 4G Warning: - The weBBoat must be fixed to a base/support by tightening the screw in the base of the weBBoat by means of a screwdriver ( Fig. 6 - The installation of the weBBoat near or above a flat metal surface may result in significant reduction of the Wi-Fi and 3G/4G signal strength.
- Page 12 4G GL00155 ETHERNET CABLE ROUTER SWITCH CIRCUIT BREAKER 1st ACCESS POINT ACCESS 4th ACCESS POINT 3rd ACCESS POINT POINT Fig. 10 NOTE: In order to receive the signal from the weBBoat inside metal crafts, up to a maximum of four access points (according to your needs) must be placed inside the boat, which must be linked with a switch to the router inside the weBBoat via an Ethernet network cable.
-
Page 13: Inserting The Sim Card
4G 3.2 INSERTING THE SIM CARD Insert the SIM CARD into the upper socket of the "EXTERNAL SLOT" of the weBBoat, which is located at the bottom of the radome. Insert the SIM card with the contacts facing down and the cut edge of the SIM facing outward, as shown in Fig. -
Page 14: How To Download Control App For Webboat
Register your weBBoat with the free downloading of the Glomex App from the Apple Store for Apple devices or from the Play Store for Android devices. The App Glomex for weBBoat is essential to setup the weBBoat. Fig. 12 GL00158 IMPORTANT: The app instructions should be used only by the weBBoat administrator (using only one device). - Page 15 4G After the download, activate the Wi-Fi connection, then connect to the weBBoat. The weBBoat network name is “WeBBoat 4GXXX” (Fig. 13); access to the network requires a password. The password is shown on the label on page 1 of this manual.
-
Page 16: First Time Setup
4G FIRST TIME SETUP The weBBoat has only one administrator who needs to do the following setup once with a single device. Open the App and select the language clicking the flag (Fig. 14). Fig. 14 If the Wi-fi is connected, the page is displayed (Fig. 15). If the app does not work, check the presence of connection. - Page 17 4G After selecting the language, open the drop-down menu on the left and select “weBBoatCoastal Internet” (Fig. 16). Fig. 16 When you first open the app you will be asked to record some data, fill in the request form, then click the Registra/Salva [Record/Save] button and wait (Fig.
- Page 18 4G After your registration, the page "weBBoat control App" will open. Some information may be missing on the page, in this case you must refresh it. Click the refresh button at the top of the page (Fig. 20) and wait until the process is complete.
- Page 19 4G To continue , click "APN in use" (Fig. 23), click the World icon at the top (Fig. 22) and select your country from the list (Fig. 24); select the APN com- patible with your operator (Fig. 25) and click "OK" to confirm.
- Page 20 4G NOTE If your compatible APN is not in the list, click States to go back (Fig. 26) and click APN- (Fig. 27). At this point you will see the "Manual APN set- ting" screen; click the "arrow" at the top (Fig. 28) and fill in the information requested on the form.
- Page 21 4G If, by mistake, you select the wrong operator, click Cancel and select again. In case of an error in the selection of the state, click the world icon to return to the list and select the correct state.
- Page 22 4G If you want to add a Wi-Fi connection external to the 4G weBBoat to share with the devices on the boat, click "Scan Wi-Fi Network" (Fig. 32) and wait. A list of available connections will be displayed. Click the name of the Wi-Fi connection required (Fig.
- Page 23 4G CAUTION Some hotspots cannot be used by the weBBoat because the device is recognized as a router. Finally, to return to the 3G/4G, click the yellow button "4G Ready" (Fig. 36). Wait a few minutes for the setup. At the end of the procedure, the "4G Ready"...
- Page 24 4G NOTE:...
Need help?
Do you have a question about the weBBoat 4G and is the answer not in the manual?
Questions and answers