Advertisement
Quick Links
Download this manual
See also:
User Manual
Packing List
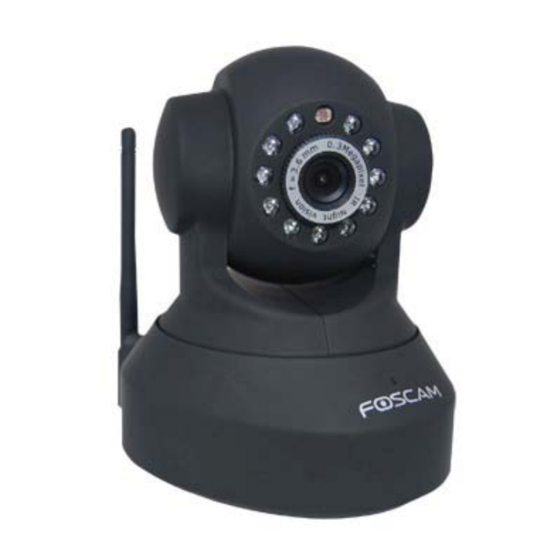
1) IP CAMERA X 1
3) DC Power Supply X 1
5) Mounting bracket ×1
7) Quick Installation Guide X 1
Quick Installation Guide Flow Chart
1 Hardware Installation
(1)
Open the package
FI8918/FI8918W
Quick Installation Guide
2) Wi-Fi Antenna (only available for wireless model)
4) Network Cable X 1
6) CD X 1 (Include user manual、IP camera tool)
Hardware Installation
Wireless LAN Settings
DDNS Service Settings
Software Installation
Login the camera
- 1 -
Quick Installation Guide
Advertisement

Subscribe to Our Youtube Channel
Related Manuals for Foscam FI8918


Summary of Contents for Foscam FI8918
- Page 1 6) CD X 1 (Include user manual、IP camera tool) 7) Quick Installation Guide X 1 Quick Installation Guide Flow Chart Hardware Installation Software Installation Login the camera Wireless LAN Settings DDNS Service Settings 1 Hardware Installation Open the package FI8918/FI8918W - 1 -...
- Page 2 Plug the network cable and power. Use network cable connects with the camera and your router. Plug in the power. The network light will blink and the camera will pan/tilt. Power light will turn on too. FI8918/FI8918W - 2 -...
-
Page 3: Software Installation
Put the small CD in your CD driver of your computer and find the folder “For Windows”, open it and choose IP Camera Tool. Double click IPCamSetup.exe and install the software as instruction. Figure 1.3 Only click Next, you will complete the software installation. FI8918/FI8918W - 3 -... - Page 4 Quick Installation Guide Figure 1.4 Figure 1.5 You can find the icon on the desktop after you install the IP camera tool. FI8918/FI8918W - 4 -...
- Page 5 If not, Please make sure that DHCP is enabled in your router. Don’t enable MAC address filter. Or disable firewall or antivirus on your computer. Dbclick the IP address on the IP camera tool and you will enter the login UI. Figure 1.7 FI8918/FI8918W - 5 -...
-
Page 6: Wireless Lan Settings
Or shut down firewall or anti-virus software on your computer to try again. 4 Wireless LAN Settings (1) Please choose “For Administrator” and click “Wireless LAN Settings”. Then choose “Using Wireless LAN”. Click scan button and the camera will detect WIFI device around it. FI8918/FI8918W - 6 -... - Page 7 Encryption) will be filled in the following boxes automatically. You only need fill in share key. Make sure that SSID, Encryption and share key you filled in for the camera are exactly the same with your router. Figure 2.0 FI8918/FI8918W - 7 -...
-
Page 8: Ddns Service Settings
Plug out the network cable after you click submit about 10 seconds. The camera will work on WIFI after reboot. Note: If your camera could not connect WIFI, please see FAQ in user manual. 5 DDNS Service Settings 5.1 Static IP user FI8918/FI8918W - 8 -... - Page 9 Enter the LAN IP address of the router (LINKSYS WRT54G, such as: default LAN IP is 192.168.1.1) in the address bar of the IE to login the router; Open the Status page to find out the WAN address of the router. In this FI8918/FI8918W - 9 -...
- Page 10 DDNS service settings to view it remotely. 5.2 How to do DDNS Service Settings (For dynamic IP user) (1) Please first visit www.dyndns.com to get an account. Choose Sign up FREE to get a free account. FI8918/FI8918W - 10 -...
- Page 11 Quick Installation Guide Figure 2.4 Next, choose Sign Up under free. Figure 2.5 Please set as the following picture. FI8918/FI8918W - 11 -...
- Page 12 Quick Installation Guide Figure 2.6 Then choose Add To Cart. Figure 2.7 Set the following information as the picture below. FI8918/FI8918W - 12 -...
- Page 13 Please click the link in your email to activate your account. Or copy the link and paste it to IE or other browser you use to activate the account. Make sure that your account was activated or DDNS settings will be FI8918/FI8918W - 13 -...
- Page 14 Quick Installation Guide failed. Figure 3.0 You will see the following picture. Click Activate services>> Figure 3.1 All the settings are finished until you see the following picture. (Figure 3.2) FI8918/FI8918W - 14 -...
- Page 15 Gateway is your router’s LAN IP. You can find DNS server in your router, if you don’t know the DNS server; you can also find it in local area connection of your FI8918/FI8918W - 15 -...
- Page 16 Please click submit after fill in all the information. The camera will reboot. Please login in the camera again to check if DDNS settings is succeed. Figure 3.5 (4) How to do port forwarding. Login your router; find the right place to do port forwarding. FI8918/FI8918W - 16 -...
- Page 17 In order to forward the port successfully, we recommend you can set both of the start port and end port as the same port number. Add the camera’s LAN IP and port (Figure 3.3) in the list of port forwarding page. Figure 3.7 FI8918/FI8918W - 17 -...
- Page 18 For example, use strings http://ipcam9910.dyndns.org:8085 to login the camera. Here ipcam9910.dyndns.org is the DDNS Host, 8085 is camera’s port. Figure 3.8 Conclusion Other detail settings, please consult user manual. FI8918/FI8918W - 18 -...
Need help?
Do you have a question about the FI8918 and is the answer not in the manual?
Questions and answers