Foscam FI8918W Quick Installation Manual
Ip wireless/wired camera for windows os
Hide thumbs
Also See for FI8918W:
- User manual (79 pages) ,
- Quick installation manual (29 pages) ,
- Quick installation & user manual (19 pages)
Table of Contents
Advertisement
Quick Links
Advertisement
Table of Contents

Related Manuals for Foscam FI8918W


Summary of Contents for Foscam FI8918W
-
Page 2: Packing List
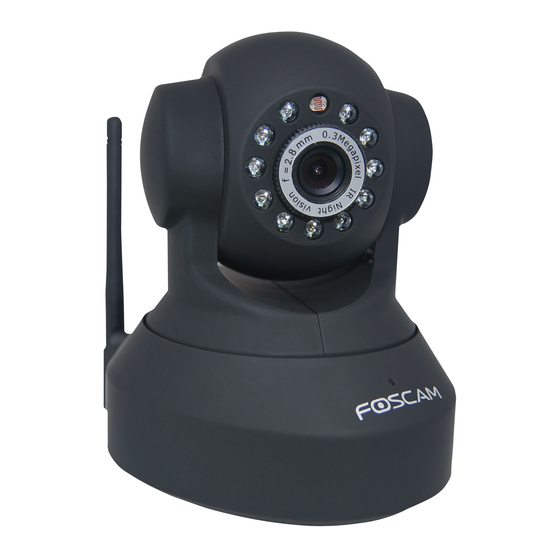
Quick Installation Guide FI8918W Quick Installation Guide Packing List 1) IP CAMERA X 1 2) Wi-Fi Antenna (only available for wireless model) 3) DC Power Supply X 1 4) Network Cable X 1 5) Mounting bracket ×1 6) CD X 1 (Include user manual、IP camera tool) - Page 3 Quick Installation Guide FI8918W Figure 1.0 Connect the Antenna. Screw the antenna to the back of the camera, make it attached well. Figure 1.1 Plug the network cable and power. Use network cable connects with the camera and your router. Plug in the power.
-
Page 4: Software Installation
Quick Installation Guide FI8918W 2 Software Installation Put the small CD in your CD driver of your computer and find the folder “For Windows”, open it and choose IP Camera Tool. Double click IPCamSetup.exe and install the software as instruction. - Page 5 Quick Installation Guide FI8918W Figure 1.5 You can find the icon on the desktop after you install the IP camera tool. 3 Login the camera Dbclick the IP Camera Tool and you could see the following picture. Figure 1.6 The IP camera tool could find the cam’s IP automatically after you plug the network cable.
- Page 6 Quick Installation Guide FI8918W to try. Dbclick the IP address on the IP camera tool and you will enter the login UI. Figure 1.7 Note: If you use IE browser, please choose the first login mode (ActiveX Mode) to login. If you use other browsers, such as Firefox, safari or Google chrome, Please choose the second login mode (Server Push Mode) to login.
-
Page 7: Wireless Lan Settings
Quick Installation Guide FI8918W If you only see a black screen with a red cross in the center, Please change a port number to try, do not use port 80. Use port 85, 8005.etc. Or shut down firewall or anti-virus software on your computer to try again. -
Page 8: Ddns Service Settings
Quick Installation Guide FI8918W Figure 2.1 Figure 2.2 Please click Submit after finish these settings, the camera will reboot. Plug out the network cable after you click submit about 10 seconds. The camera will work on WIFI after reboot. Note: If your camera could not connect WIFI, please see FAQ in user manual. -
Page 9: Static Ip User
Quick Installation Guide FI8918W 5.1 Static IP user Static IP users need not set DDNS service settings for remote access. When finished the connection of Camera in LAN and port forwarding. (Figure 3.6/3.7) You can access the camera directly from Internet by the WAN IP and port number. - Page 10 Quick Installation Guide FI8918W Http:// 183.37.28.254:85 Note: Make sure the Port mapping is success. You can do port mapping by two ways. Enter setting page of the router which camera connect with to enable UPNP function. Then login the camera as administrator, choose UPnP Settings to enable UPNP and make sure the state is “UPnP success”.
- Page 11 Quick Installation Guide FI8918W Figure 2.5 Please set as the following picture. Figure 2.6 Then choose Add To Cart. www.foscam.com - 10 -...
- Page 12 Quick Installation Guide FI8918W Figure 2.7 Set the following information as the picture below. Figure 2.8 The website will send you an email to your mailbox just set. www.foscam.com - 11 -...
- Page 13 Quick Installation Guide FI8918W Figure 2.9 Please click the link in your email to activate your account. Or copy the link and paste it to IE or other browser you use to activate the account. Make sure that your account was activated or DDNS settings will be failed.
- Page 14 Quick Installation Guide FI8918W Figure 3.1 All the settings are finished until you see the following picture. (Figure 3.2) You can see your host name in the list. Please remember the host name, user name and password; they are needed when you set DDNS service settings of your camera.
- Page 15 Quick Installation Guide FI8918W Figure 3.3 Here make sure that your camera is in the same subnet as your router. In other words, keep the first three sections the same with your router or your computer. Gateway is your router’s LAN IP. You can find DNS server in your router, if you don’t know the DNS server;...
- Page 16 Quick Installation Guide FI8918W Figure 3.5 (4) How to do port forwarding. Login your router; find the right place to do port forwarding. Here use a Linksys router for example. You can do single port forwarding. Set as the following picture. (Figure 3.3) Figure 3.6...
- Page 17 Quick Installation Guide FI8918W Figure 3.7 Please do not forget to save these settings when you finish them. (5) After finish all these settings above, you can use DDNS domain name and port number to login your camera at any place.
- Page 18 Quick Installation Guide FI8918W Conclusion Other detail settings, please consult user manual. www.foscam.com - 17 -...
Need help?
Do you have a question about the FI8918W and is the answer not in the manual?
Questions and answers