Sign In
Upload
Download
Table of Contents
Contents
Add to my manuals
Delete from my manuals
Share
URL of this page:
HTML Link:
Bookmark this page
Add
Manual will be automatically added to "My Manuals"
Print this page
×
Bookmark added
×
Added to my manuals
Manuals
Brands
SMART Manuals
Interactive whiteboard
SPNL-4055
User manual
SMART SPNL-4055 User Manual
Hide thumbs
1
2
3
4
5
6
7
8
9
10
11
12
13
14
15
16
17
18
19
20
21
22
23
24
25
26
27
28
29
30
31
32
33
34
35
36
37
38
39
40
41
42
43
44
45
46
47
48
49
50
page
of
50
Go
/
50
Contents
Table of Contents
Troubleshooting
Bookmarks
Table of Contents
Important Information
Table of Contents
Chapter 1: About Your Interactive Flat Panel
SMART Board 4055 Interactive Flat Panel Feature Highlights
SMART Board 4065 Interactive Flat Panel Feature Highlights
SMART Board 4075 Interactive Flat Panel Feature Highlights
SMART Board 4084 Interactive Flat Panel Feature Highlights
Included Accessories
Pen and Pen Tray
Remote Control
Included Cables
Other Documentation and Resources
Specifications
Installation Instructions
Training
Knowledge Base
Chapter 2: Mounting Your Interactive Flat Panel
Before Mounting the Interactive Flat Panel
Choosing a Mounting Location
Choosing a Mounting Height
Chapter 3: Connecting Power and Devices
Connecting Your Interactive Flat Panel Cable Management
Configuring Touch and Display Settings for Your Interactive Flat Panel
Configuring Your Computer's Screen Resolution
Graphics Card Configuration
Panel Settings
Recommended Computer Screen Resolution
Windows 7, 8 and 10 Operating Systems
OS X Operating System Software
Setting up Multiple Displays
Windows 7, 8 or 10 Operating Systems
OS X Operating System Software
Chapter 4: Using Your Interactive Flat Panel
Using the Control Panel Using the Remote Control
On-Screen Display Menu for SPNL-4055, SPNL-4065 and Select SPNL-4084
Picture Settings
Sound
Setup Settings
Time Settings
On-Screen Display Menu for SPNL-4075 and Select SPNL-4084
Picture Settings
Sound Settings
Setup Settings
Multi Media Mode
Compatible File Formats
Video
Audio
Images
Cleaning the Interactive Flat Panel
Cleaning the Touch Sensors
To Clean the Screen
To Clean the IR Transmitters and Sensors
Chapter 5: Troubleshooting Your Interactive Flat Panel
Locating the Serial Number
Resolving Common Touch Control and Resolution Issues with Windows and Mac Operating Systems
Resolving Image Issues
Appendix A: Calibrating Your Interactive Flat Panel
Calibrating Your Interactive Flat Panel with Windows 7, 8 and
Calibrating Your Interactive Flat Panel with Mac Operating System Software
Appendix B: Hardware Environmental Compliance
Index
Advertisement
Quick Links
1
Smart Board 4055 Interactive Flat Panel Feature Highlights
2
Smart Board 4084 Interactive Flat Panel Feature Highlights
3
Remote Control
4
Configuring Touch and Display Settings for Your Interactive Flat Panel
5
Multi Media Mode
Download this manual
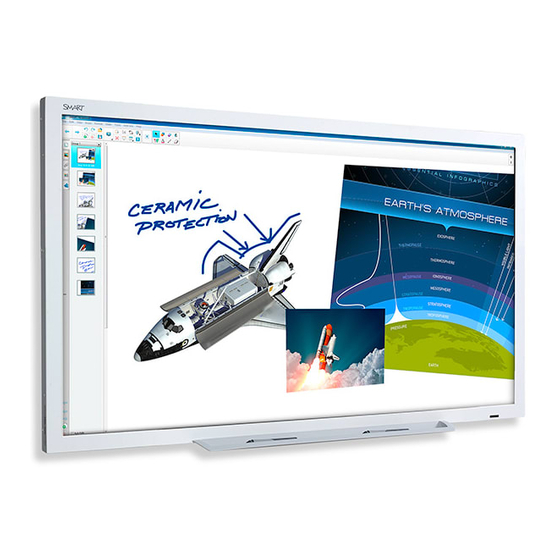
SMART Board® 4000 series
interactive flat panels
USER'S GUIDE
FOR MODELS SPNL-4055, SPNL-4065, SPNL-4075 AND SPNL-4084
Help us make this document better
smarttech.com/docfeedback/170800
Table of
Contents
Previous
Page
Next
Page
1
2
3
4
5
Advertisement
Chapters
Table of Contents
5
Connecting Power and Devices
17
Using Your Interactive Flat Panel
25
Table of Contents
Need help?
Do you have a question about the SPNL-4055 and is the answer not in the manual?
Ask a question
Questions and answers
Related Manuals for SMART SPNL-4055
Extender SMART SPNL4084 Quick Start Manual
Hdmi extender kit (2 pages)
Interactive whiteboard SMART Board X880 Setup Manual
(2 pages)
Interactive whiteboard SMART SBX880 User Manual
Smart board x800 series interactive whiteboard (54 pages)
Interactive whiteboard SMART Board X885 Setup Manual
(2 pages)
Interactive whiteboard SMART SBID8055i-G5-SMP Administrator's Manual
8000i-g5-smp series (68 pages)
Interactive whiteboard SMART SB880i5-MP Quick Installation Manual
Smart board 800i5 series interactive whiteboard system (4 pages)
Interactive whiteboard SMART 600i3 User Manual
(44 pages)
Interactive whiteboard SMART SBID 8000 series User Manual
(2 pages)
Interactive whiteboard SMART SBM600i6 Installation Manual
(28 pages)
Interactive whiteboard SMART SB880i5 Installation Manual
(44 pages)
Interactive whiteboard SMART SPNL-4065 User Manual
(50 pages)
Interactive whiteboard SMART SPNL-6065 Install Manual
(8 pages)
Interactive whiteboard SMART SBID-7286 Installation Instructions
86" interactive flat panel (4 pages)
Interactive whiteboard SMART SC12A Setup Manual
(2 pages)
Interactive whiteboard SMART SmartBoard 600 Series User Manual
Interactive whiteboard system (56 pages)
Interactive whiteboard SMART SBID8070ie-SMP Installation Manual
(8 pages)
This manual is also suitable for:
Spnl-4065
Spnl-4084
Spnl-4075
4000 series
Table of Contents
Print
Rename the bookmark
Delete bookmark?
Delete from my manuals?
Login
Sign In
OR
Sign in with Facebook
Sign in with Google
Upload manual
Upload from disk
Upload from URL


Need help?
Do you have a question about the SPNL-4055 and is the answer not in the manual?
Questions and answers