
Subscribe to Our Youtube Channel
Related Manuals for DW DWC-HF21M4TIR


Summary of Contents for DW DWC-HF21M4TIR
- Page 1 HD-SDI Vandal Dome Camera DWC-HF21M4TIR ABOUT MANUAL Before installing and using the camera, please read this manual carefully. Be sure to keep it handy for future reference. 12112013...
- Page 2 PRECAUTIONS Do not open or modify. Do not open the case except during maintenance and installation, for it may be dangerous and can cause damage. Do not put objects into the unit. Keep metal objects and flammable substances from entering the camera. It can cause fire, short-circuits, or other damages.
-
Page 3: Table Of Contents
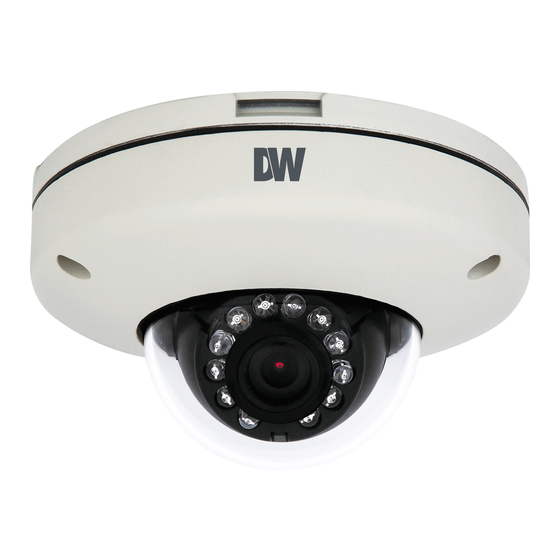
Table of Contents TABLE OF CONTENTS Introduction Features Parts and Descriptions Dimensions Installation Inside the Box Easy Installation 8-10 Connecting to Monitors Troubleshooting Warranty Information 13-14 Specifications... - Page 4 FEATURES* 1/2.8” CMOS Sensor Highest Resolution 2.1 Megapixels (HD-SDI) 4.0mm Fixed Lens 12x Digital Zoom 30ft Range IR with Intelligent Camera Sync TDN (True Day and Night/IR Cut Filter) WDR (Wide Dynamic Range) 3D-DNR (3D Digital Noise Reduction) IP66 Certified (Vandal Resistant)
-
Page 5: Parts And Descriptions
PARTS & DESCRIPTION* Bottom Case Camera Gimbal Camera Lens + IR LEDs Dome Cover Dome Cover Screws (x3) -
Page 6: Dimensions
DIMENSIONS IN MILLIMETERS (IN)* 125.0 [4.9”]... -
Page 7: Inside The Box
Metal Mount Plate 3 Machine Screws and 3 Dry Wall Anchors Secondary Video-BNC Cable HD-SDI Vandal Dome Camera DWC-HF21M4TIR ABOUT MANUAL Before installing and using the camera, please read this manual carefully. Be sure to keep it handy for future reference. - Page 8 EASY CAMERA INSTALLATION* 1. Detach the camera’s cover dome from the camera’s module by unscrewing the three cover dome screws. 2. Use the camera or mounting template to mark and drill the necessary holes in the wall or ceiling. 3. Pull wires through and make connections.
- Page 9 EASY MOUNT BRACKET INSTALLATION* Use the following installation instructions when mounting the camera using the wall mount or ceiling mount accesories. 1. Detach the camera’s cover dome from the camera’s module by unscrewing the three cover dome screws. 2. Using the metal mount plate, mark and drill the necessary holes in the wall or ceiling.
- Page 10 EASY SOFT CEILING MOUNT INSTALLATION* 1. Detach the camera’s cover dome from the camera’s module by unscrewing the three cover dome screws. 2. Secure the two long mounting screws to the camera’s base. 3. Using the camera or mounting template, mark and drill the necessary MOUNTING SURFACE holes in the wall or ceiling.
-
Page 11: Connecting To Monitors
CONNECTING TO MONITORS* Use the diagram below to connect to a Monitor or CRT Monitor properly. 12VDC HD-SDI Monitor Second Video Output Monitor Power Connection - 12VDC. All cameras are equipped with a second video output for on-site configuration. -
Page 12: Troubleshooting
TROUBLESHOOTING Before sending your camera for repair, check the following or contact our technical specialist. FOR NO VIDEO Check the coaxial cable and make sure it is connected securely. Check the lens’ iris adjustment at the camera’s OSD menu. Check the power supply and make sure the camera has the proper voltage and current. -
Page 13: Warranty Information
WARRANTY INFORMATION* Digital Watchdog (referred to as “the Warrantor”) warrants the Digital Watchdog Camera against defects in materials or workmanship as follows: LABOR: For the initial two (2) years and one (1) year on IR LED from the original purchase date, if the camera is determined to be defective, the Warrantor will repair or replace the unit with a new or refurbished product at its option at no charge. - Page 14 LIMITS & EXCLUSIONS* There are no express warranties except as listed. The warrantor will not be liable for incidental or consequential damages (including damage to recording media without limitation) resulting from the use of these products or arising out of any breach of the warranty. All express and implied warranties, including the warranties of merchantability and fitness for particular purpose, are limited to the applicable warranty period set forth above.
-
Page 15: Specifications
SPECIFICATIONS* VIDEO Image Sensor 1/2.8” CMOS Sensor Total Pixels 2000 (H) x 1241 (V) Synchronization Internal Resolution 2.1 Megapixels (1920 x 1080) at 30fps Minimum Illumination 0.0 Lux (IR On) S/N Ratio 50dB (AGC off) Video Output HD-SDI LENS Focal Length 4.0mm Lens Type Fixed Lens... - Page 16 5436 W Crenshaw St. Tampa, FL 33634 Tel : 866-446-3595 / 813-888-9555 Fax : 813-888-9262 www.Digital-Watchdog.com technicalsupport@dwcc.tv Technical Support Hours : Monday-Friday 9:00am to 8:00pm EST...
Need help?
Do you have a question about the DWC-HF21M4TIR and is the answer not in the manual?
Questions and answers