Table of Contents
Advertisement
Quick Links
Advertisement
Table of Contents

Subscribe to Our Youtube Channel
Related Manuals for Vivitek QUMI


Summary of Contents for Vivitek QUMI
- Page 2 Preface Copyright ©2016 Vivitek is a trademark of Delta Electronics, Inc. All other trademarks are the property of their respective owners. All values, weights and sizes in this Manual are approximate values. Specifications are subject to change without notice. Disclaimer The information in this document is subject to change without notice.
-
Page 3: Important Safety Information
Important: It is strongly recommended that you read this section carefully before using Qumi. These safety and usage instructions that will make sure you enjoy many years of safe use of Qumi. Keep this manual for future reference. Symbols Used Warning symbols are used on the unit and in this manual to alert you of hazardous situations. - Page 4 Make sure that the intake vents do not recycle hot air from the exhaust vent. When operating Qumi in an enclosed space, make sure that the surrounding air temperature within the enclosure does not exceed operating temperature while Qumi is running, and the air intake and exhaust vents are unobstructed. ...
-
Page 5: Main Features
Before cleaning, disconnect the power supply cables. See in Page Note: Qumi will be warm after usage. Allow Qumi to cool down before storing in a compartment. Control Warning Before installing and using Qumi, read the regulatory notices in the... -
Page 6: Table Of Contents
Chapter 4 On-Screen Display (OSD) Settings ..................25 OSD Menu Controls ..........................25 OSD Menu Overview ..........................26 OSD Language Settings ........................... 27 Chapter 5 Taking Care of Your Qumi ..................... 37 Cleaning Qumi ............................37 Cleaning the Lens ........................... 37 Troubleshooting ............................. 38 Vivitek Support Site .......................... -
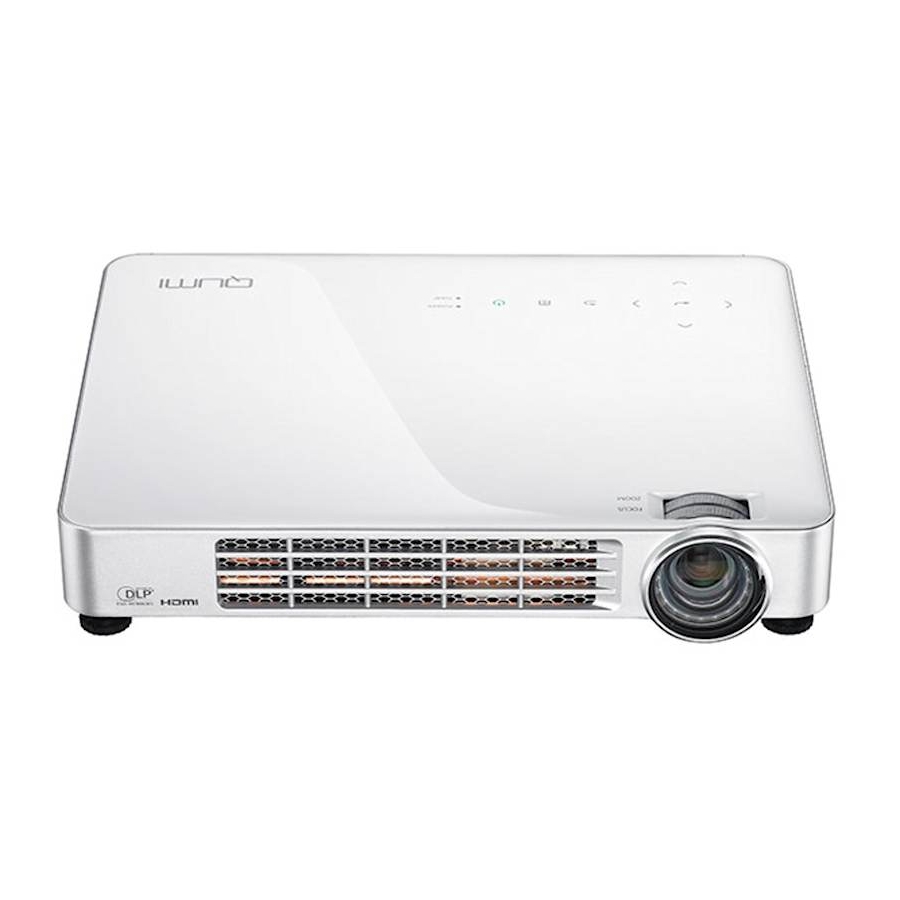
Page 7: Chapter 1 At A Glance
Chapter 1 At a Glance Overview Front/Top/Right View and Sliding Lens protector... - Page 8 Rear/Top/Left View Bottom View...
-
Page 9: Standard Accessories
Standard Accessories: Along with Qumi, the following are accessories include: Remote control (with one CR2025 battery) Regional Power Cord and Power Adapter Documentation Kit (Quick Start Guide, Warranty Card) Standard HDMI cable Contact your dealer immediately if any items are missing, appear damaged, or if the unit does not work. -
Page 10: Remote Control
Remote Control... -
Page 11: Setting Up The Remote Control
The remote control functions properly within a radius of approximately 7 meters (23 feet) and 15 degrees above or below the Qumi level (If the remote is not held perpendicular to the sides or rear of Qumi). or it may be If Qumi is unresponsive to the remote control, move closer towards Qumi necessary to replace the battery. -
Page 12: Chapter 2 Getting Started
Qumi can be connected to many types of external devices and peripherals. To play music, connect Qumi to an external or portable music player. To play films, connect Qumi to a DVD, VCD or VHS player using HDMI interface. To play video and display photos, connect Qumi to a video camera and digital camera using HDMI interface. -
Page 13: Setting Up Qumi
Setting Up Qumi Connecting Peripherals by HDMI Connect HDMI-compatible peripherals to Qumi using an HDMI cable (included) - Page 14 Inserting a USB device Connect a USB device to Qumi by inserting the device(s) into the appropriate port. Connecting Audio Connect earphones or speaker to Qumi by inserting into the AV-in port. Bluetooth Audio out is also available under Settings, Bluetooth. Turn Bluetooth "ON" and pair audio...
- Page 15 Charging the Battery Follow the below steps to charge Qumi: Connect the AC power adapter to Qumi. Connect the other end of AC power adapter to a wall outlet. During charging, the blue light on the AC power adapter will be on. After being fully charged, the blue light will automatically shut off.
- Page 16 Starting and Shutting Down Qumi Connect the AC power adapter to Qumi. Connect the other end of AC power adapter to a wall outlet. Note: The adapter models may differ between countries. Press power button to turn on Qumi. When AC power adapter is connected, press the power button for 1 second.
- Page 17 Flip down the kickstand to adjust the height of the projected image Using a Tripod Qumi can be used with a tripod by connecting the tripod to the bottom of Qumi. Many typical tripods can be connected. Supported Tripod Specifications: •...
-
Page 18: Happycast - Android Setup
After your Android device is connected to your Qumi’s WiFi hotspot, start HappyCast app to enable screen mirroring. Option 2 (Your Android device and your Qumi are connected to the same home/office WiFi network): Ensure that your Android device and your Qumi are connected to the same home/office WiFi network. -
Page 19: Happycast - Ios Setup
HappyCast - iOS Setup Option 1 (Your iOS device is connected to your Qumi WiFi hotspot): 1. Enable the Qumi’s Portable WiFi hotspot function (Inside the Android operating system). Qumi Home Screen Settings General More Portable Hotspot √... - Page 20 Option 2 (Your iOS device and your Qumi are connected to the same home/office WiFi network): Ensure that your iOS device and your Qumi are under the same home/office Wi-Fi network (Same Wireless Access Point and SSID) Start the HappyCast App on your Qumi, located in the Apps Folder.
-
Page 21: Chapter 3 Qumi User Interface
Chapter 3 Qumi User Interface Views The Qumi User Interface (UI) is designed to provide configuration and operational ease of use. The UI also allows you to access media files from your smart devices (phones or tablets), SDMicro cards or USB drives for a complete media experience. -
Page 22: Photo
Photo The available images in the connected USB drive/SD Micro or Internal Memory are listed in the Photo menu. Press buttons on the remote controller to select files and press display the choosen file. The control panel display will change based on the file. The table below lists the available functions. -
Page 23: Video
Video Available videos in the connected USB drive or Internal Memory are listed in the Video menu. Press buttons on the remote controller to select files and press display the choosen file. The control panel display will change based on the file. The table below lists the available functions. -
Page 24: Music
Music Available music in the connected USB drive or Internal Memory are listed in the Music menu. Press buttons on the remote controller to select files and press to display the chosen file. The control panel display will change based on the file. The table below lists available functions. -
Page 25: Document
Document Available documents in the connected USB drive/SD Micro or Internal Memory are listed in the Document menu. Press buttons on the remote controller to select files and press display the chosen file. The control panel display will change based on the file. The table below lists the available functions. -
Page 26: App Store
APP Store Manage downloads, updates and access to the APP Store. Search for the desired APP. -
Page 27: Browser
Browser Navigate the web with the built-in browser. Press buttons on the remote controller to select files and press for display. The control panel display will change based on the file. The table below lists available functions. Menu Bar/Icon Description Refresh, New tab, Share page, Find on page, Request desktop site, Page info, Settings Bookmark this page... -
Page 28: Apps
Apps Manage and operate all applications installed on Qumi. Applications downloaded through the App Store will show in Apps. -
Page 29: Wifi
WiFi Setup and manage wireless connections (Example: Tablet, smartphone) Enable WiFi -- Select network name Input user name and password -- Click Connect Press buttons on the remote controller to select files and press display. The control panel display will change based on the file. The table below lists available functions. -
Page 30: Settings
Settings Access to a variety of settings including Display, Sound, WiFi, Bluetooth, Storage, General, Application and System. Press buttons on the remote controller to select files and press display. The control panel display will change based on the file. The table below lists available functions. -
Page 31: Chapter 4 On-Screen Display (Osd) Settings
Chapter 4 On-Screen Display (OSD) Settings OSD Menu Controls Qumi has an On-Screen Display (OSD) settings, accessed by the OSD Menu button on the remote , that allows you to make adjustments and change setting, such as display and audio settings. The OSD menu has 10 sub-menus: Language –... -
Page 32: Osd Menu Overview
OSD Menu Overview Use the following table to quickly find a setting or determine the range for a setting Main Menu Submenu/setting Česky, English, Français, Dansk, Espaol, Hrvatski, Deutsch, Eλληolk, OSD Languages Italiano, Magyar, Polski, Româneste, Nederlands, Português, slovenščina, Norsk, русский, Srpski, Suomi, 简体中文, Svenska, 繁體中文, 日本語 Display Mode Bright: Contrast 50, Brightness 55, Color 50, Sharpness 50, Tint 50 Presentations... -
Page 33: Osd Language Settings
OSD Language Settings Qumi’s OSD language menu can be easily changed. Perform the following steps to change the OSD language: 1. Press the OSD Screen Menu button on the remote control to enter the Settings menu. 2. Move the cursor to highlight the menu language, and press Press buttons to choose the preferred language. - Page 34 Display Mode Settings Perform the following steps to change the display mode: 1. Press the OSD Screen Menu button on the remote control to enter the Settings menu. 2. Move the cursor to highlight the Display Mode, and press to enter this mode. 3.
- Page 35 Sound Mode Settings Perform the following steps to change the sound mode: 1. Press the OSD Screen Menu button on the remote control to enter the Settings menu. 2. Move the cursor to highlight the Sound Mode, and press to enter this mode. 3.
-
Page 36: Color Temperature Settings
Color Temperature Settings Perform the following steps to change the color temperature settings: 1. Press the OSD Screen Menu button on the remote control to enter the Settings menu. 2. Move the cursor to highlight the color temperature, and press to enter this mode. -
Page 37: Aspect Ratio Settings
Aspect Ratio Settings Perform the following steps to change the projector’s aspect ratio: 1. Press the OSD Screen Menu button on the remote control to enter the Settings menu. 2. Move the cursor to highlight the Aspect Ratio settings and press to enter this mode. - Page 38 Projection Method Settings Perform the following steps to change the projector’s projection method: 1. Press the OSD Screen Menu button on the remote control to enter the Settings menu. 2. Move the cursor to highlight the Projection Method settings and press to enter this mode.
- Page 39 Keystone Correction Settings Perform the following steps to change the projector’s keystone correction: 1. Press the OSD Screen Menu button on the remote control to enter the Settings menu. 2. Move the cursor to highlight the Keystone Correction settings, and press to enter this mode.
- Page 40 Software Update Settings (USB) For further assistance, please contact your reseller or Vivitek (www.vivitekcorp.com).
- Page 41 2. Move the cursor to highlight the Reset All settings and press to enter this mode. 4. Press button to select Yes and to select No. After selecting Yes, the Qumi system will be reset to original factory settings.
- Page 42 Status Settings Perform the following steps to view the projector’s status: 1. Press the OSD Screen Menu button on the remote control to enter the Settings menu. 2. Move the cursor to highlight the Status settings and press to enter this mode.
-
Page 43: Chapter 5 Taking Care Of Your Qumi
2. Use only a dampened cloth when cleaning. Do not allow water to enter the ventilation openings on Qumi. 3. If a small amount of water gets into the interior of Qumi while cleaning, unplug Qumi and set in a well ventilated area for several hours before using. -
Page 44: Troubleshooting
Qumi to service personnel. System Reset Method (Reboot) On the rear side of Qumi (below the two USB ports), there is a small pinhole. Insert a paperclip (or similar sized object) into the hole and press for 3 seconds to reboot Qumi. -
Page 45: Image Problems
Problem: The image is blurred 1. Adjust the focus via remote control 2. Ensure that the distance between the Qumi and the screen is within specified range 3. Clean Qumi lens with optical lens cleaning cloth if it is dirty. - Page 46 Is it possible to connect Qumi to a game console, such as a Microsoft® Xbox or Sony® PS3? Yes, Qumi can be used to display content from an Xbox or PS3 console. This can be done by connecting the HDMI cable from the game console to Qumi.
-
Page 47: Vivitek Support Site
10. How long will the LED light source in Qumi last and can it be replaced? Qumi does not use a typical light source. It uses a set of Light Emitting Diodes (LED) to illuminate and project images. LED’s have a greater lifespan than conventional lamps. -
Page 48: Specifications
Specifications Model Qumi Q3 Plus Series Native Resolution HD720p (1280 x 720) 0.7m - 3.7m (2.3ft – 12.1ft) Projection Distance 0.5m - 2.6m (19” - 100”) Projection Screen Size (Diagonal) Motorized focus feature on remote control Projection Lens Throw Ratio 1.66:1... -
Page 49: Projection Distance Vs Projection Size
Projection Distance vs Projection Size Projection Distance and Size Table Image Diagonal Image Width Image Height Projection Distance (cm/inch) (cm/inch) (cm/inch) (cm/inch) 76/30 66/26 37/15 110/43 102/40 89/35 50/20 147/58 127/50 111/44 62/25 184/72 152/60 133/52 75/30 220/87 178/70 155/61 87/34 257/101 203/80... -
Page 50: Timing Mode Table
Timing Mode Table Vertical Horizontal Signal Resolution Synchronization HDMI Synchronization (kHZ) (HZ) 720x400 37.9 85.0 640x480 31.5 60.0 640x480 37.9 72.0 640x480 37.5 75.0 640x480 43.3 85.0 800x600 35.2 56.0 800x600 37.9 60.0 800x600 48.1 72.0 800x600 46.9 75.0 800x600 53.7 85.0 800x600 (for 3D) -
Page 51: Qumi Dimensions
Qumi Dimensions... -
Page 52: Regulatory Compliance
Regulatory Compliance FCC Warning This equipment has been tested and found to comply with the limits for a Class B digital device pursuant to Part 15 of the FCC Rules. These limits are designed to provide reasonable protection against harmful interference when the equipment is operated in a commercial environment.
Need help?
Do you have a question about the QUMI and is the answer not in the manual?
Questions and answers