
Related Manuals for Movie Vision MV1055

Summary of Contents for Movie Vision MV1055
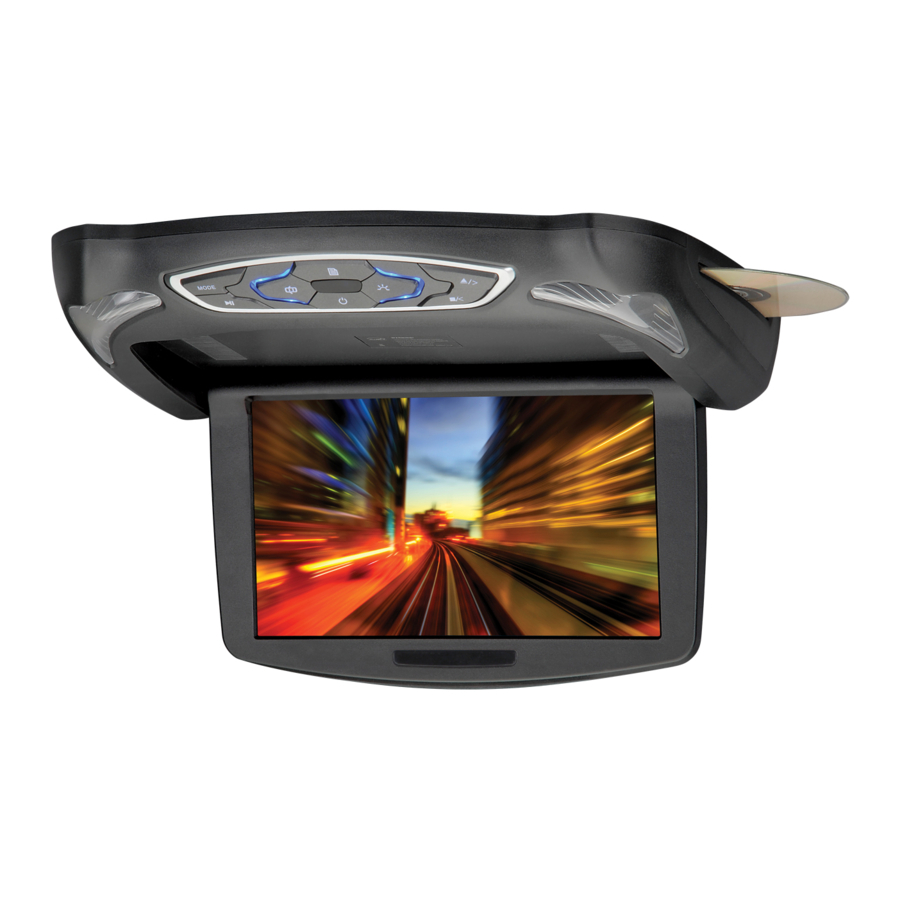
- Page 1 Owner’s/Installation Manual 10.2” Flip-down Widescreen Multimedia System Model: MV1055 For operational or technical assistance, after reading this manual, please call us toll free at (800) 638-3600 or visit www.magnadyne.com...
-
Page 2: Table Of Contents
Use this Product Safely Driving: Be aware of road and traffic conditions. Keep Cleaning: Use a soft cloth with some purified water to the volume at a low level. clean the screen. Do not use any cleaner or chemi- cal to clean the screen. Usually, a dry cloth will do. Moisture: Do not expose the product to water or excessive moisture. -
Page 3: Entertainment Center Functions And Locations
TFT Menu Setup features. play videos, view pictures or listen to music. The MV1055 will not control the device so use the con- 11. Remote Control Sensor: Point the remote control trols on the input device to access files. -
Page 4: Remote Control Functions And Locations
In the music mode pressing these buttons will select next or previous track/file. 2. TFT Menu Button: Press to access the TFT Menu Setup features of the MV1055. 21. Setup Button: Access the System Setup menus. 3. Channel - and + Buttons: No function. -
Page 5: System Menu Setup
System Menu Setup System Menu Setup: DV D DISP SETUP MENU 1. Press the SETUP button on remote control to enter the system menu setup screen. ENTER PROGRAM 2. Use the , , buttons to select the menu item you want to change. TITL E RETURN SUBTITLE... -
Page 6: Tft Menu Setup
TFT Menu Setup TFT Menu Setup: Menu Item 1. Press the button on the MV1055 to enter the TFT Menu Setup screen. 2. When the menu appears on the screen press the button to select the menu item: Picture, Volume, Sub-menu Option, System and Clock. -
Page 7: Audio Control
IR setting is IR-A. (IR-A setting is for MovieVision wireless headphone, HP-400) IR-A Note: Audio will not play through the MV1055 internal speakers or the 3.5mm headphone jack. Playing Audio Through the Vehicle’s Radio: 1. In the TFT Menu under the Volume sub-menu... -
Page 8: Playing A Movie Disc
Playing a Movie Disc Label Facing Up Inserting a Disc: 1. Press the power button to turn the unit on. 2. Insert a disc into the player with the label on the disc facing upward. 3. The disc will automatically load and start playing. Mode Selection: To select the DVD source press the MODE button until “DVD”... - Page 9 Playing a Movie Disc (continued) Backward and Forward Play Buttons: STOP REPEAT To play the disc backwards press the button and the disc will play in reverse at 2 times normal playback (x2), continually press the button to select x4, x8 or x20 reverse play. To play the disc DV D fast forward press the button and the disc will...
-
Page 10: Playing A Mp3 File
Playing a Movie Disc (continued) Repeat Play Selection: To record a section of the movie to play repeatedly TITL E RETURN SUBTITLE press the A-B button once, “Repeat A-” appears on the screen. Press the A-B button again to con- A- B R/ L ZOOM... - Page 11 Playing a MP3 File (continued) Mode Selection: 1. Select the DVD source by pressing the MODE button until “DVD” appears on the screen. 2. Press the SD/USB button on the remote control. A screen will appear with 3 selections: DISC, CARD and USB.
-
Page 12: Auxiliary Audio/Video Inputs
Auxiliary Audio/Video Inputs Internal Auxiliary RCA Inputs (AV1): 1. A device must be connected to the RCA connectors coming from the MV1055. 2. Press the MODE button until “AV1” appears on the screen. 3. Use the controls on the connected device to control the playback. -
Page 13: Dome Light Operation
Refer to the owner’s manual included with the headphone on how to adjust the volume to suit the listener’s taste. Note: For optimal performance a clear line of sight is required between the MV1055 IR repeater and the headphones. IR Repeater HP-400... -
Page 14: Wiring
Wiring 2A Fuse Filter & Fuse Box Wire Harness: Wire Leads: Red Wire: Connect the red wire to a +12 volt Yellow Wire: Connect the yellow wire to a constant power wire that is turned on and off by the position +12 volt wire that is NOT turned on and off by the of the ignition key. -
Page 15: Installation
Installation 1. Mount the Bracket: Vehicle’s Roof Carefully plan exactly where to mount the bracket. Supports Also plan where the wires are going to run once the bracket is mounted to the ceiling of the vehicle. 2. Mount the Main Unit: Feed the wires through the opening in the bracket. -
Page 16: Warranty
Defective merchandise should be returned to the original point of purchase or secondly, to Magnadyne Corporation, 1111 W. Victoria Street, Compton CA 90220. Return Authorization must be obtained before sending, or merchandise may be refused. © Copyright 2015 Magnadyne Corporation MV1055-UM Rev. C 10-3-15...
Need help?
Do you have a question about the MV1055 and is the answer not in the manual?
Questions and answers