Advertisement
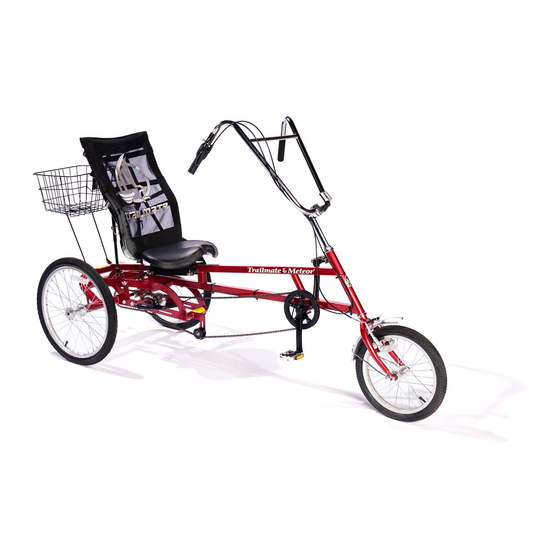
TRAILMATE
METEOR
Assembly MANUAL
The Trailmate Meteor recumbent has been designed for easy
assembly. This means more time to enjoy the smooth ride
with single speed, 3 speed coaster brake and 21 speed models
available.
Advertisement
Table of Contents

Subscribe to Our Youtube Channel
Related Manuals for TRAILMATE Meteor


Summary of Contents for TRAILMATE Meteor
- Page 1 TRAILMATE METEOR ASSEMBLY MANUAL The Trailmate Meteor recumbent has been designed for easy assembly. This means more time to enjoy the smooth ride with single speed, 3 speed coaster brake and 21 speed models available.
- Page 2 Assembly Remove all parts from the box and carefully unwrap all parts. Leave the tape on the axles so that the keys are not lost. Tool required: 8” crescent wrench, ½” and 9/16” socket wrench, Allen wrenches, rubber mallet, pliers, Phillips screwdriver, air pump.
- Page 3 3. Wheels and Front Fender Attach the front fender to the front fork with the bracket on the back of the fork and the brace attached to the fork at the threaded hole. It may be necessary to loosen the brake shoes and then align them to the rim for proper contact.
- Page 4 4. Pedals Install the pedals into the crank using a 9/16” open-end wrench to tighten. Note: left hand and right hand thread. 5. Chain Install the rear drive sprocket on the left rear axle. Install the rear drive chain and join together with the connecting link. Install the connecting link and spring clip using pliers.
- Page 5 6. Handlebar Loosen the Allen screws on the stem and clamp the handle bars in place with the portion containing the long bolt to the rear of the handlebar. Install the stem into the fork until the line marked on the stem is not visible. Align handlebar to the fork as it faces straight ahead and tighten bolt in stem firmly.
- Page 6 Back Rest Frame and Seat Attach main frame to the center bracket using Allen wrenches. Attach the adjustable braces to the rear bracket on the main frame and also to the back rest frame. Tighten bolts while ensuring that the frame can slide while the saddle seat is slid back and forth.
Need help?
Do you have a question about the Meteor and is the answer not in the manual?
Questions and answers