Advertisement
Quick Links
T
ECHNICAL INFORMATION
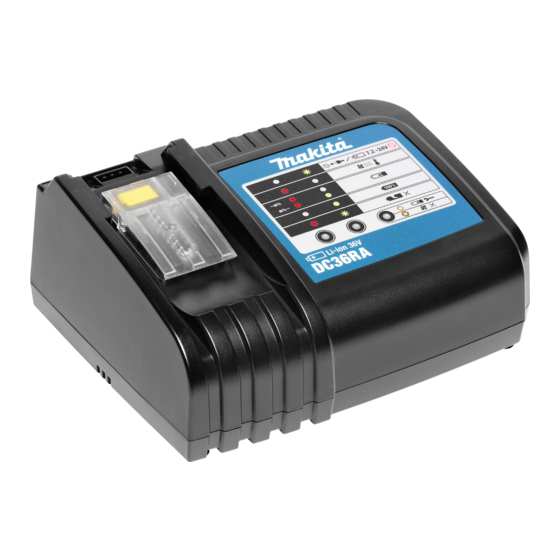
Models No.
Description
C
ONCEPT AND MAIN APPLICATIONS
DC36RA has been developed specially for charging 36V/2.6Ah
Li-ion battery Model BL3626.
Its brief benefits are:
1) Only 22 minutes to fully charge battery BL3626
2) Innovative computer controlled charging system provides
optimum charge to each battery through the digital communication
between charger and battery.
3) Cooling fan to keep the battery temperature low
for minimum charging time
*Cannot use the following adapters:
ADP02 (Refreshing Adapter), ADP03 (Automatic Refreshing Adapter),
ADP01/ ADP04 (Interchangeable Adapter)
*Cannot charge 7.2V-24V batteries.
S
pecification
Voltage (V)
100-240
110-120
220-240
Output voltage: V
Output current: A
Double insulation
Power supply cord: m (ft)
Net weight: kg (lbs)
Charging time (approx.)*
Cell
Capacity: Ah
Voltage: V
*The charging time depends to a large extent on battery's temperature or room temperature.
O
ptional accessories
No
DC36RA
Charger
Current (A)
Cycle (Hz)
50/60
50/60
50/60
22 minutes to charge battery BL3626
H
Length (L)
Width (W)
Height (H)
Continuous Rating (W)
Input
Output
420
420
420
DC36
DC9.0
Yes
2.0 (6.6)
1.7 (3.7)
Li-ion
2.6
36
PRODUCT
P 1/ 5
L
W
Dimensions: mm (")
180 (7-1/8)
235 (9-1/4)
106 (4-3/16)
Max. Output(W)
Advertisement

Related Manuals for Makita DC36RA


Summary of Contents for Makita DC36RA
- Page 1 Models No. DC36RA Description Charger ONCEPT AND MAIN APPLICATIONS DC36RA has been developed specially for charging 36V/2.6Ah Li-ion battery Model BL3626. Its brief benefits are: 1) Only 22 minutes to fully charge battery BL3626 2) Innovative computer controlled charging system provides optimum charge to each battery through the digital communication between charger and battery.
- Page 2 P 2/ 5 epair CAUTION: Repair the machine in accordance with “Instruction manual” or “Safety instructions”. [1] DISASSEMBLY/ASSEMBLY [1]-1. Charger case DISASSEMBLING (1) Turn Charger upside down and remove four Caps 13 and Tapping screws. (Fig.1) Note: Do not lose Cap 13. Fig.
- Page 3 P 3/ 5 epair [1]-2. Terminal unit, Charging circuit DISASSEMBLING (1) Disconnect Connector CN202 and remove Lead wires (blue and brown) from Charging circuit with Soldering iron. (Fig. 3). (2) Remove Terminal unit from Terminal base (Fig. 4). Fig. 3 Fig.
-
Page 4: Terminal Cover
P 4/ 5 epair [1]-3 Terminal Cover DISASSEMBLING Unscrew Flange BT3x10 tapping screw and remove Terminal cover (Fig.7). Fig.7 Remove Tapping screw from inside of Charger case complete and dismantle Terminal cover as securing two Compression spring 4. Terminal cover Compression spring 4 (231474-6) Charger case complete Flange BT3x10 tapping screw... -
Page 5: Disassembling/ Assembling
P 5/ 5 epair [1]-4 Varistor, Fuse DISASSEMBLING/ ASSEMBLING Varistor is damaged due to excessive voltage approx. two times more than acceptable input rating and it can be replaced by the Varistor with vinyl tube for replacement (647306-1). (Fig. 9) Replace entire Charging circuit in case the Fuse is cut although the Varistor is intact, as it is not due to the Varistor failure .
Need help?
Do you have a question about the DC36RA and is the answer not in the manual?
Questions and answers