Edimax BR-6228NC Setup Manual
Hide thumbs
Also See for BR-6228NC:
- User manual (149 pages) ,
- Quick installation manual (9 pages) ,
- Datasheet (2 pages)
Table of Contents
Advertisement
Quick Links
Download this manual
See also:
User Manual
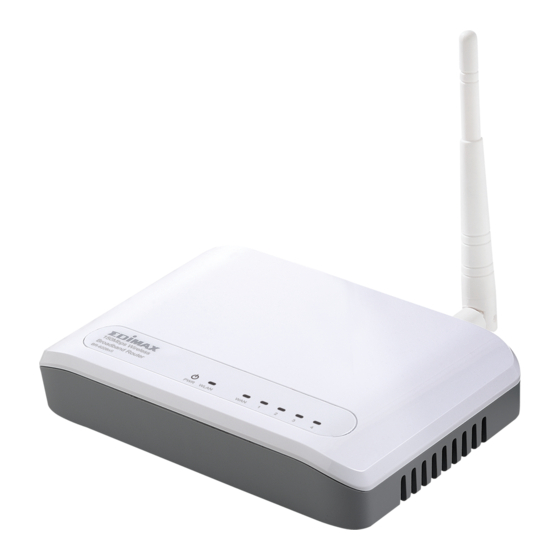
Hardware Installation:
1. Turn off your modem.
2. Use one Ethernet cable to connect your modem to WAN port (Blue) port
of BR-6228nC.
3. Use another Ethernet cable to connect your PC to one LAN Port (Yellow)
port of BR-6228nC.
4. Turn on your modem.
5. Turn on the router by plugging the included 5v power adapter into a
power outlet.
6. Ensure the PWR LED, the yellow WLAN LED, the WAN LED, and the LAN
LED are on or flashing.
You may refer the Quick Installation Guide in the package box for more
information.
Software Installation:
There are two ways to setup the routers. You can use the Setup Wizard in
our CD disc if your computer is Windows based. You also may prefer to
manually setup the router by opening a web browser to access the
configuration menu of the router.
If you have Windows PC, you can use either way to do the setup.
If you have Macintosh, please setup the router via web browser.
Advertisement
Table of Contents

Related Manuals for Edimax BR-6228NC


Summary of Contents for Edimax BR-6228NC
- Page 1 2. Use one Ethernet cable to connect your modem to WAN port (Blue) port of BR-6228nC. 3. Use another Ethernet cable to connect your PC to one LAN Port (Yellow) port of BR-6228nC. 4. Turn on your modem. 5. Turn on the router by plugging the included 5v power adapter into a power outlet.
-
Page 2: Section A: Setting Up The Router With The Setup Wizard In Cd Disc
Section A: Setting Up the router with the Setup Wizard in CD disc. Insert the setup wizard CD into a CD-ROM drive on your computer. Run the Ezmax.exe program while prompted. When the wizard begins, select your language. Note: If the setup wizard doesn’t run automatically, please browse your CD drive and double click the “Ezmax.exe”... - Page 3 “YES, I have connected the cables correctly” before clicking “Next”. Select your product type – in this case “BR-6228nC”. Enter the default password 1234 in the field labeled “Current Password” and then if you wish to change this password, enter a new password in the fields marked “New Password”...
- Page 4 Select your Internet connection type. If your Internet provider supports DHCP which gives you a dynamic IP, please choose “Cable Modem(Connection Automatically)”. If you are unsure, please contact your Internet Service Provider (ISP). For most users, “Cable Modem (Connection Automatically)” is the correct setting. Click “Next”.
- Page 5 When the router is connected to Internet, your default web browser will open. Close or minimize the browser to get back to the Setup Wizard menu. Please do not select Exit. You still need to configure the ESSID and Wireless Security – please select “ESSID”...
- Page 6 To secure your network, we suggest you set up your wireless security password. Check the box labeled “Enable WPA Pre-Share Key”. Remove the asterisks prefilled in textbox of “WPA Pre-Share Key”. Enter your password (security key) in the “WPA Pre-Share Key” box. Your password should be at least eight characters in length.
-
Page 7: Section B: Setting Up The Router Via Web Browser
Section B: Setting Up the router via Web Browser For Mac/Linux users – or those who can’t run the CD, you can setup the router manually using the web based configuration interface. Enter http://192.168.2.1 into the URL of a web browser and enter the username admin and password 1234. - Page 8 Select “Wireless” from the submenu. Select “Wireless Settings”. The ESSID will be the network name of your Wireless network. Enter a name in “ESSID”. Click “Apply” and then “CONTINUE”. Click “CONTINIUE” Select “Security Settings” and choose an “Encryption” type from the drop down menu. “WPA pre-shared key”...
-
Page 9: Section C: Connect A Windows Computer To Your Wireless Network
Section C: Connect a Windows computer to your wireless network. indows Click the network icon ( , ) in the system tray and select “Connect to a network”. Search for the ESSID you named your Wi-Fi network and click it and then click “Connect”. -
Page 10: Section D: Connect A Macintosh Computer To Your Wireless Network
Section D: Connect a Macintosh computer to your wireless network. View available Wi-Fi networks by clicking the icon along the top right of your screen. Click on the ESSID of your network. If you set a password for your network, you will then be prompted to enter it. After correctly entering your password, you will be successfully connected to your Wi-Fi network. -
Page 11: Troubleshooting
Troubleshooting 1. I can’t access the Internet. 1. Ensure that all cables are connected properly. Try a different Ethernet cable. 2. Check if you can access the web based configuration interface. If not, please refer to 2. I can’t open the web based configuration interface. 3. -
Page 12: I Forgot My Password
For Windows XP/2000: Go to Start > Control Panel. Click Network and Internet Connections > Network Connections. Right click Local Area Connection, select Properties and double click Internet Protocol (TCP/IP). Select Obtain an IP address automatically and choose Obtain DNS server address automatically and click OK. 3.
Need help?
Do you have a question about the BR-6228NC and is the answer not in the manual?
Questions and answers