
Related Manuals for Philips AC3252


Summary of Contents for Philips AC3252
- Page 1 Always there to help you Register your product and get support from www.philips.com/welcome AC3252 AC3254 Question? Contact AC3256 Philips User manual...
-
Page 3: Table Of Contents
Contents 8 Guarantee and service 1 Important Order parts or accessories Safety 9 Notices 2 Your air purifier Electromagnetic fields (EMF) 22 Product overview Recycling Controls overview 3 Getting started Install filter 4 Using the appliance Understand the air quality light Switch on and off Change the fan speed... -
Page 4: Important
• If the power cord is damaged, you • Do not sit or stand on the appliance. must have it replaced by Philips, a Sitting or standing on the appliance service center authorized by Philips, may lead to potential injuiry. - Page 5 or jeopardize other lives . Do not with combustion processes and use the filter as fuel or for similar hazardous chemicals. • purpose. If you need to move the appliance, • Avoid knocking against the disconnect the appliance from the appliance (the air inlet and outlet in power supply first.
-
Page 6: Your Air Purifier
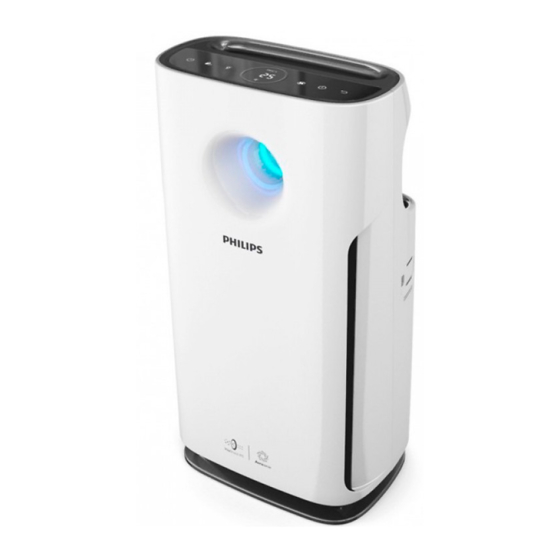
2 Your air purifier Congratulations on your purchase, and welcome to Philips! To fully benefit from the support that Philips offers, register your product at www.philips.com/welcome. Product overview Control panel Air quality light Air quality sensors * Hereinafter referred to as NanoProtect Pro S3 filter (FY3137)* "air purification filter". -
Page 7: Controls Overview
Controls overview On/Off button Child lock button Light on/off button Display screen Fan speed button Timer button Reset button AC3252 AC3254 AC3256... -
Page 8: Getting Started
3 Getting started Press the two clips down and pull the pre-filter towards you. Install filter Before using the appliance, remove all packaging materials of the filter and place the filter into the appliance as described below. Note Put the unpacked air purification filter back into the appliance. -
Page 9: Using The Appliance
4 Using the To reattach the front panel, mount the panel onto the top of the appliance appliance first (1). Then, gently push the panel against the body of the appliance (2). Understand the air quality light Air quality light Air quality level color Good... -
Page 10: Change The Fan Speed
There are several fan speeds available. color of the air quality light. You can choose the auto mode, gas » For AC3252, the current fan mode, speed 1, 2, 3, 4 or 5. speed displays on the screen. Auto (A) -
Page 11: Set The Timer
(speed 1). operate. » For AC3252, the timer is available in 1, 4 or 8 hours. For AC3254 and AC3256, the timer is available from 1 to 24 hours. -
Page 12: Set The Child Lock
Touch the light on/off button again, the display screen will go out for AC3252; for AC3254 and AC3256, the display screen and the function indicators will go out. The power on/off... -
Page 13: Cleaning
5 Cleaning Clean the air quality sensors Clean the air quality sensors every 2 Note months for optimal functioning of the • Always unplug the appliance before purifier. Clean them more frequently cleaning. if you use the purifier in a dusty Never immerse the appliance in water •... -
Page 14: Clean The Pre-Filter
Clean the air quality sensors, the dust inlet and the dust outlet with a lightly moistened cotton swab. Pull the bottom part of the front panel to remove it from the appliance. Dry them with a dry cotton swab. Reattach the air quality sensor cover. - Page 15 Air dry the pre-filter. Touch and hold the reset button for 3 seconds to reset the pre-filter Note cleaning time. Make sure that the pre-filter is • completely dry. If it is still wet, bacteria may multiply in it and shorten the lifetime of the pre-filter.
-
Page 16: Replacing The Filter
6 Replacing the Take out the expired air purification filter and gently put it into the trash filter bin. Understand the healthy air protect lock This appliance is equipped with the healthy air protect lock to make sure that the air purification filter is in optimal condition when the appliance is operating. -
Page 17: Filter Force Reset
Touch and hold the reset button Touch and hold for 3 seconds for 3 seconds to reset the filter to force reset the lifetime of the lifetime counter. NanoProtect Pro S3 filter. displays on the screen after the Note lifetime of the NanoProtect Pro S3 filter has been reset. -
Page 18: Filter Type Change
Filter type change Note • After you have selected the filter code Touch simultaneously button, if of the new filter using the for 3 seconds to enter the filter type you do not touch any other buttons change mode. in 10 seconds, the appliance will automatically confirm the filter code of the new filter. - Page 19 Note • After you have selected the filter code button, if of the new filter using the you do not touch any other buttons in 10 seconds, the appliance will automatically confirm the filter code of the new filter. » If you do not have a second filter to use in the appliance, touch and hold for 3 seconds to confirm...
-
Page 20: Troubleshooting
7 Troubleshooting This chapter summarizes the most common problems you could encounter with the appliance. If you are unable to solve the problem with the information below, contact the Consumer Care Center in your country. Problem Possible solution The appliance The filter replacement code has been displaying on the screen does not work but you have not replaced the corresponding filter yet. - Page 21 The first few times you use the appliance, it may produce a plastic smell. This is normal. However, if the The appliance appliance produces a burnt smell, contact your Philips produces a dealer or an authorized Philips service centre. The strange smell.
-
Page 22: Guarantee And Service
If there requirements and to stay well within the is no Consumer Care Centre in your EMF standards applicable at the time of country, go to your local Philips dealer. producing the products. Philips is committed to develop, Order parts or produce and market products that cause no adverse health effects. - Page 24 Specifications are subject to change without notice © 2015 Koninklijke Philips N.V. All rights reserved.
Need help?
Do you have a question about the AC3252 and is the answer not in the manual?
Questions and answers