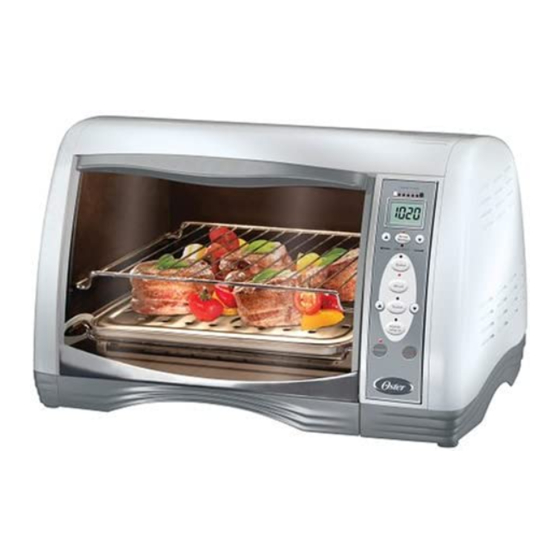
Summary of Contents for Oster 6239
- Page 1 6-Slice Toaster Oven User Manual Horno Tostador Manual de Instrucciones de 6 Rebanadas Grille-Pain Four Manuel d’Instructions de 6 Tranches 6239 MODEL/MODÈLE MODELO Visit us at www.oster.com P.N. 111339...
-
Page 2: Important Safeguards
• Do not let cord dangle over the edge of a tabletop or countertop or to touch hot surfaces. • Do not place appliance on or near a hot gas or electric burner, or in a heated oven or in a microwave oven. - Page 3 Congratulations on your purchase of an OSTER about OSTER ® products, please visit us at www.oster.com. EARNING BOUT 1. Digital Control Panel 1a. LCD Display 1b. Bake, Broil, Toast and Keep Warm Buttons and Indicator Lights 1c. Toast Shade Setting Indicator 1d.
-
Page 4: Using Your Toaster
IN WATER. • Dry the unit thoroughly before using. • Select a location for the toaster oven. The location should be in an open area on a flat counter where the plug will reach an outlet. • Insert bottom rack over hooks on glass door so rack moves with door. -
Page 5: Beeper Function
EEPER UNCTION (1) When you plug the unit in, the beeper sounds once and “ - - - ”appears in the LCD. (2) When you press one of the four menu buttons the beeper will sound one time. (3) When you press the adjustable button, every time you press the button, the beeper will sound once. -
Page 6: Using The Keep Warm Function
• Press Start – The unit starts working. The LCD displays the time. The “:” begins flashing and the time starts counting down. • When the broiling cycle is complete, the unit will sound a long beep and turn the unit off automatically. -
Page 7: Positioning Racks
Before removing the racks allow the unit to cool. To remove a rack, open the oven door and pull the rack towards the front of the oven. The rack will slide on the rack guides on the inside of the oven. - Page 8 One-Year Limited Warranty unbeam Products, Inc., or if in Canada, Sunbeam Corporation (Canada) Limited (collectively “Sunbeam”) warrants that for a period of one year from the date of purchase, this product will be free from defects in material and workmanship. Sunbeam, at its option, will repair or replace this product or any component of the product found to be defective during the warranty period.
- Page 9 ©2003 Sunbeam Products, Inc. All rights reserved. OSTER Distributed by Sunbeam Products, Inc., Boca Raton, FL 33431 ©2003 Sunbeam Products, Inc. Tous droits réservés. OSTER Distribué par Sunbeam Products, Inc., Boca Raton, Florida 33431 ©2003 Sunbeam Products, Inc. Todos los derechos reservados.


Need help?
Do you have a question about the 6239 and is the answer not in the manual?
Questions and answers