Audio Analogue CRESCENDO Owner's Manual
50w integrated amplifier
Hide thumbs
Also See for CRESCENDO:
- Owner's manual (25 pages) ,
- Owner's manual (16 pages) ,
- Owner's manual (24 pages)

Related Manuals for Audio Analogue CRESCENDO


Summary of Contents for Audio Analogue CRESCENDO
- Page 1 AUDIO ANALOGUE Crescendo Integrated Amplifier 50W INTEGRATED AMPLIFIER OWNER’S MANUAL MANUALE D’ISTRUZIONI Manual rev 1.2...
- Page 3 Top-quality passive components. • Microcontroller system control. Caro Audiofilo, congratulazioni e grazie per aver scelto il Crescendo Integrato, un apparecchio nel quale Audio Analogue ha concentrato tutta la sua tecnologia nella progettazione di amplificatori integrati. Caratteristiche costruttive: • Alimentazione analogica realizzata con trasformatore toroidale e 2 linee di alimentazione distinte: 1.
- Page 4 INTRODUCTION AF GROUP SRL, AUDIO ANALOGUE distributor, does not take any responsibility in the following cases: Whenever the operational procedures related to the use and the maintenance of the equipment as described in this manual are not respected. Whenever damage to the equipment occurs because of repairs and modifications made form non-authorized staff or because of normal deterioration of the system.
- Page 5 PREMESSA AF GROUP SRL, distributore AUDIO ANALOGUE, non accetta responsabilità nei casi in cui: Le procedure operative di utilizzo e manutenzione dell’apparato descritte nel manuale non siano rispettate. I danni si verifichino in seguito a riparazioni o modifiche dell’apparato eseguite da personale non autorizzato o a seguito di normale deterioramento dell’apparato.
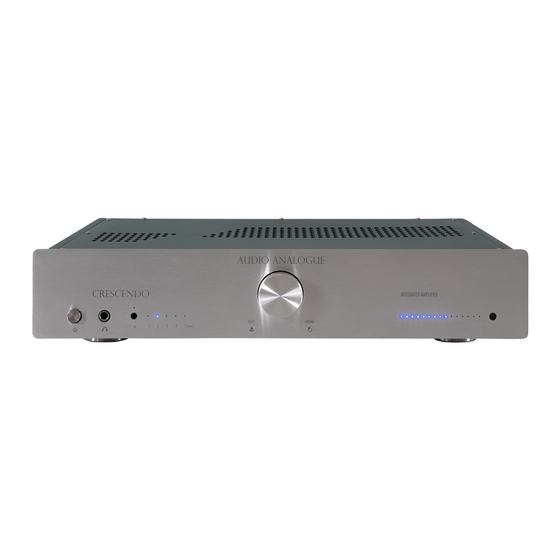
- Page 6 Front panel Power button. Phones output (see Note on HeadPhones output) Front Line Input Front In, 1, 2, 3, 4, 5/ . Blue leds that indicate the selected input. A fix light indicates the selected source and the normal ByPass operative status of the unit, while a blinking light indicates the unit is in mute mode.
- Page 7 Back panel RIGHT SPEAKER OUT. Right speaker out connector. LEFT SPEAKER OUT. Left speaker out connector. 1, 2, 3, 4 Line inputs. : Line Input or ByPass Input, see further the “5/ Input By Pass mode Selection/Activation” section for details. Bypass BYPASS REC.
-
Page 8: Amplifier Functions
1 instruction manual If one of the items listed above is missing, please contact your Audio Analogue retailer. After extracting the smallest items from the package, pull out the unit carefully. Separate the package from the anti-shock expanded-foam protection. If batteries are not already placed in the remote controller battery slot, open the slot;... -
Page 9: Right Channel
Where to place Crescendo Integrated Amplifier Crescendo Integrated Amplifier is a complex unit that may generate a lot of heat. Please locate the unit in a well-ventilated place. In particular, leave at least 5cm around and above the unit and avoid placing it close to heat sources (radiators, heaters, amplifiers, television sets). - Page 10 Audio Processor + Multi Left Right Channel Power Amplifier Front Front PRight Channel PLeft Channel Central SubWoofer Left Snd Right Snd settanta Pre Out settanta Right Out Left Out _______ Input ________ Out /ByP Crescendo Trigger Integrated Amplifier Back View / Vista Posteriore...
- Page 11 Note on Trigger In Input The Crescendo Integrated Amplifier has a Trigger IN Input which can be used to allow the integrated amplifier be switched on by an other unit such as the Crescendo CD Player – Crescendo Integrated Amplifier pair. To switch on the Crescendo Integrated Amplifier with the Trigger In you have to supply 12VDC volts into the connector with the proper polarity (refer to the drawing on the back panel).
- Page 12 IN+ o IN- del telecomando. Recorder outputs The Crescendo Integrated Amplifier has two output connectors for recording. The signal you have on the REC OUT is the same you have on the input selected. Connect the tape outs to the inputs of your recorder.
- Page 13 BALANCE Regulation With this function you can adjust the level of the two channels with 1dB steps within a maximum of a 7dB range. The procedure to change the balance is as follows: With the unit in normal function mode select an audio source which is playing and select the volume level you are used to listening to.
- Page 14 “ Input By Pass mode Selection/Activation BYPASS The “5/ “ input can be used as Line input or can be set in ByPass mode, that’s to say the Crescendo Integrated Amplifier BYPASS behaves exactly like a power amplifier. After the “5/ “...
- Page 15 “ in modalità BYPASS By-Pass chiedendo conferma della abilitazione dello ingresso quando questo viene selezionato. Avuta la conferma il Crescendo Integrated Amplifier si comporterà da amplficatore finale. Procedure to select the 5/ input and to confirm the By Pass mode use: BYPASS Use the front knob or the “IN+”...
- Page 16 Si può scegliere tra Quattro differenti scale di volume (A,B,C,D) per avere la migliore corrispondenza tra la scala volume del Crescendo Integrated Amplifier e la efficienza dei diffusori che si utilizzano. La procedura per scegliere la scala volume è la...
- Page 17 Volume Leds SCALA VOLUME This scale has lower steps in the normal listening volume range. Questa scala ha passi più piccoli in corrispondenza del normale volume di ascolto. Volume Leds SCALA VOLUME This is the default scale Questa è la scala di default Volume Leds SCALA VOLUME This scale with its low...
- Page 18 Tecnichal information To have detailed technical information please visit the website: www.audioanalogue.com where you can also register for the newsletter service to be continually informed about all of Audio Analogue’s new products, news and all technical stuff published on the website.
-
Page 19: Troubleshooting
Selected in leds are on, volume control Contact your Audio Analogue retailer works but the leds are off, or selected in Faulty or incorrectly plugged front panel for connections check and front panel... -
Page 20: Ricerca Guasti
Il telecomando non funziona Eccessiva distanza dal pannello frontale Avvicinarsi di più all’apparecchio o dell’apparecchio o angolo non corretto cambiare angolo Se i rimedi suggeriti non dovessero funzionare oppure il problema non è riportato nella lista, contattate il vostro rivenditore Audio Analogue... - Page 21 If this product is used for business purposes and you want to discard it: Attenzione: il dispositivo è contrassegnato da questo Please contact your Audio Analogue dealer who will inform you about the take-back and recycling. Small products (and simbolo,...
- Page 24 Audio Analogue Distributed by: AF GROUP srl www.audioanalogue.com afgroupsrl@audioanalogue.com...
Need help?
Do you have a question about the CRESCENDO and is the answer not in the manual?
Questions and answers