Advertisement
Table of Contents
Advertisement
Table of Contents

Subscribe to Our Youtube Channel
Related Manuals for Planet DVR-460


Summary of Contents for Planet DVR-460
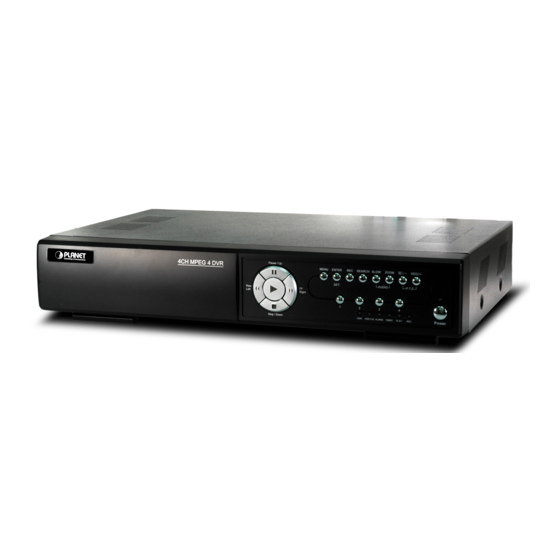
- Page 1 4-CH MPEG-4 Digital Video Recorder DVR-460 Quick Installation Guide...
- Page 2 Table of Contents 1. Overview ....................3 2. Package Contents ..................4 3. HDD Installation ..................5 4. Hardware Installation ................... 7...
- Page 3 1. Overview This quick installation guide describes the objectives, organization and basic installation of the PLANET DVR-460 surveillance system, and offers standalone system to build a distributed surveillance system, which can be monitored over the Internet, and equipped with Hard Disc Drive that records the video directly. Also, this guide shows you how to find additional information on related products and services.
- Page 4 2. Package Contents DVR-460 ó Power adapter ó Power cord ó Quick installation guide ó User’s manual CD ó DSUB PIN connector ó Flat cable clamp ó Remote controller ó IR receiver ó Screws ó If any of above items are missing or damaged, please contact your local dealer for support.
- Page 5 3. HDD Installation The HDD must be installed before the DVR is turned on. Note Step1: Loose the screws on the upper cover and open the upper cover of the DVR. Step2: Remove the HDD bracket. Step3: Get a compatible SATA HDD, and connect it to the power connector and data bus connector (make sure to align the HDD precisely for pin connection).
- Page 6 Step4: Screw the HDD onto the HDD bracket (Two screws for each side), and then screw the HDD bracket back to the DVR base. Step5: Close the upper cover of the DVR, and fasten all the screws you loosened in Step 1.
- Page 7 4. Connect IR reciver to the “IR” connector. 5. Connect the bundle power to the power connector (DC 19V). 6. Press power button to turn on your DVR-460. Further configuration and information can be found in the user’s manual CD. Please...
- Page 8 This page is intentionally left blank...
Need help?
Do you have a question about the DVR-460 and is the answer not in the manual?
Questions and answers