Advertisement
Quick Links
Advertisement

Related Manuals for Thermalright Macho Direct


Summary of Contents for Thermalright Macho Direct
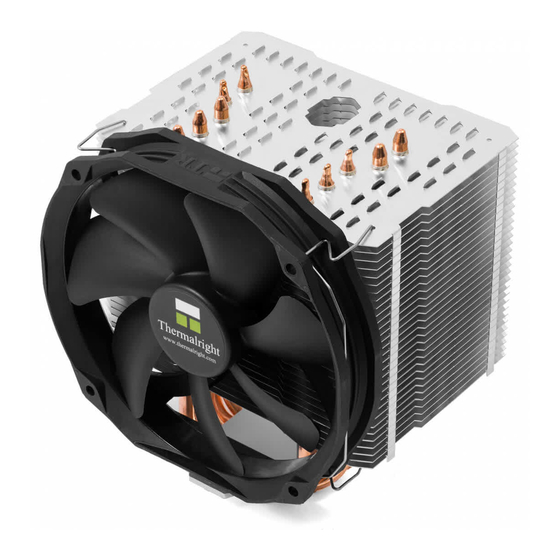
- Page 1 Thermalright Macho Direct...
- Page 3 Assembly package Macho Direct × 5 × 4 × 4 × 3 × 5 × 1 × 1 Chill Factor × 1 × 4 × 8...
-
Page 4: Exploded View
Macho Direct Intel 1150/1151/1155/1156 Exploded View Important! Before proceeding with installation, please check for the most up-to-date instructions at www.thermalright.com Fan Clip Heatsink Body M3L7 Screw TY-140 Black M3L6 Screw Anti-Vibration Pads Screw Nut Mounting Plate Motherboard Back Plate (Intel) - Page 5 Back Plate ×1 LGA2011 Type B M3L7 Screw ×3 Screw Nut ×4 Screw Pillars x4 M3L8 Screw ×5 M3 L6 Screw ×5 Anti-Vibration Pad x8 Fan Clip ×4 Thermal paste ×1 Screw driver ×1 TY-140 Black ×1 The Ultimate Cooling Solutions! www.thermalright.com...
-
Page 6: Installation Instructions
Step 1 : Fan clips installaion Take out Macho Direct Heat-sink from the color box. Pull both ends of the fan clip and make them go through holes on the corners of the heat-sink (as shown in the picture.) Repeat for the other fan clip. - Page 7 Plug in the fan connector to the CPU PWM Fan Body. And then secure it with the Fan Clips, by socket on the motherboard. Installation complete. pulling the Fan Clips to place the four ends at the four holes on the TY-140 Black. The Ultimate Cooling Solutions! www.thermalright.com...
- Page 8 Macho Direct Intel 2011/2011-3 Exploded View Important! Before proceeding with installation, please check for the most up-to-date instructions at www.thermalright.com Fan Clip Heatsink Body Anti-Vibration Pads TY-140 Black M3L7 Screw M3L6 Screw Mounting Plate LGA2011 Type B Screw Pillars Motherboard...
- Page 9 Macho Direct Component Chill Factor Macho Heatsink Body ×1 Anchoring Mount ×1 Back Plate ×1 LGA2011 Type B M3L7 Screw ×3 Screw Nut ×4 Screw Pillars x4 M3L8 Screw ×5 M3 L6 Screw ×5 Anti-Vibration Pad x8 Fan Clip ×4 Thermal paste ×1...
- Page 10 Step 1 : Fan clips installaion Take out Macho Direct Heat-sink from the color box. Pull both ends of the fan clip and make them go through holes on the corners of the heat-sink (as shown in the picture.) Repeat for the other fan clip.
- Page 11 Macho Direct Step 4: Step 4 : Applying Thermal Paste Apply the Thermal Paste to the base of the heat-sink and the surface of the CPU evenly. (A flat edge, like a business card or an old credit card would be beneficial in spreading the thermal paste.)
- Page 12 Macho Direct AM2/AM2+/AM3/AM3+/FM1 Exploded View Important! Before proceeding with installation, please check for the most up-to-date instructions at www.thermalright.com Fan Clip Heatsink Body M3L7 Screw TY-140 Black M3L6 Screw Anti-Vibration Pads Screw Nut Mounting Plate Motherboard Back Plate (AMD) M3L8 Screw...
- Page 13 Macho Direct Component Chill Factor Macho Heatsink Body ×1 Anchoring Mount ×1 Back Plate ×1 LGA2011 Type B M3L7 Screw ×3 Screw Nut ×4 Screw Pillars x4 M3L8 Screw ×5 M3 L6 Screw ×5 Anti-Vibration Pad x8 Fan Clip ×4 Thermal paste ×1...
- Page 14 Step 1 : Fan clips installaion Take out Macho Direct Heat-sink from the color box. Pull both ends of the fan clip and make them go through holes on the corners of the heat-sink (as shown in the picture.) Repeat for the other fan clip.
- Page 15 Plug in the fan connector to the CPU PWM Fan Body. And then secure it with the Fan Clips, by socket on the motherboard. Installation complete. pulling the Fan Clips to place the four ends at the four holes on the TY-140 Black. The Ultimate Cooling Solutions! www.thermalright.com...
-
Page 16: Technical Spec
Macho Direct Technical Spec Heatsink Specifications: Dimension: Length 140mm x Width 102mm x Height 158mm Weight: 660g Heatpipe: 6mm heatpipe*5 units Copper Base: C1100 Pure copper Fan Specification: Dimension: L152mm x H140mm x W26.5m Weight: 160g Fan speed: 300~1300RPM (4-Pin PWM) Fan noise: 15~21dBAdBA MAX (4-Pin PWM) Airflow: 16.9~73.6CFM MAX... - Page 17 23.45 78.55 The Ultimate Cooling Solutions! www.thermalright.com...
- Page 18 Macho Direct Awards...
- Page 19 The Ultimate Cooling Solutions! www.thermalright.com TEL: +886-2-2915-5005 FAX: +886-2-2915-5123 EMAIL: sales@thermalright.com...
Need help?
Do you have a question about the Macho Direct and is the answer not in the manual?
Questions and answers