Table of Contents
Advertisement
Quick Links
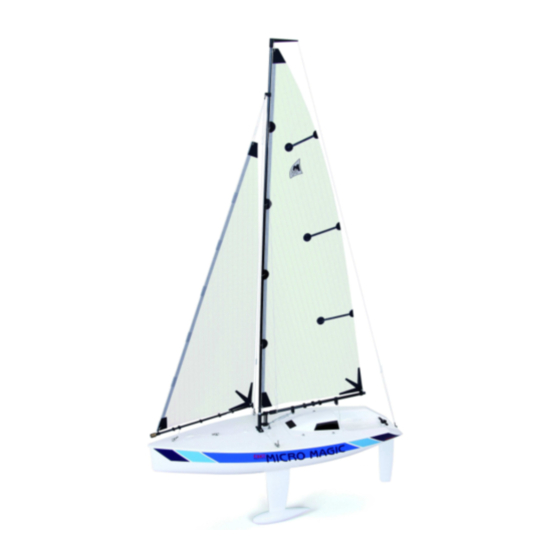
Product review – 2014 HOTT Micro Magic RTR – Part 2. Rigging and Instruction Manual
By Mike Eades MM #15 & 315
Here again the product literature online seemed to indicate that the HOT RTR Micro Magic was rigged
exactly like the former Racing MM RTR version and the Racing MM kit. What came out of the box was
quite a mixture! Part standard MM rig kit, part borrowed from John Tushingham's popular "Graphite"
rigs.
Sails – Single panel rip-stop polyester, heavier weight than the old standard Icarex kit sails but same as
previous RTR version. Battens and small holes for attachment locations are in place but the holes
needed enlarging.
-
Main has double line at clew for attachment to boom, very little luff curve was evident. Sail
foot was cut to allow for inverted gooseneck. Metal luff rings as per kit were supplied.
-
Jib has double line at clew for attachment to boom. Forestay was installed terminating top
and bottom in a small metal ring (A much used "Graphite" fitting!). Halyard also attached to
the upper metal ring (Figure 1). A downhaul line is attached to the tack for attachment to a
boom sliding adjuster (collet) (Figure 2).
Mast – 2-Piece carbon spar.
-
5 mm tube packed at lower end with wood dowel and epoxy full length from crane to base
of hull (like kit).
-
6 mm carbon tube sleeve from base of jib hanger to just below the deck plate.
-
Crane is standard MM racing kit component with backstay, bowsie and loop for attachment
to transom knob. Double line for attachment of sail head.
-
Jib Hanger is standard MM Racing kit with shrouds & bowsies (I removed these as
unnecessary!) attached to inner hole. Small piece of line terminating in a small metal ring is
attached to the jib hanger bracket (A "Graphite" rig feature) (Figure 3).
Gooseneck – Racing MM Standard component
Main Boom – two plastic collars replace the clew clip attachment and two more collars locate the sheet
attachment, which use another small metal ring (Figure 4).
Jib Boom – End caps, counter weight and two sliding collets are standard MM racing kit but each collet,
for downhaul and sheet attachment respectively, is prevented from sliding by a plastic collar. The
topping lift and bowsie is attached to the aft end cap. The jib pivot attachment is a small metal ring
attached to the boom located between two plastic collars ("Graphite" feature).
Instruction Manual – While for the simple steps of assembling the hull and appendages the Manual was
reasonably accurate, although plagued by some quaint translations, the photos and instructions for
Rigging were unfathomable and inaccurate in many places. Best ignored!
Advertisement
Table of Contents

Related Manuals for GRAUPNER Micro Magic RTR


Summary of Contents for GRAUPNER Micro Magic RTR
- Page 1 Product review – 2014 HOTT Micro Magic RTR – Part 2. Rigging and Instruction Manual By Mike Eades MM #15 & 315 Here again the product literature online seemed to indicate that the HOT RTR Micro Magic was rigged exactly like the former Racing MM RTR version and the Racing MM kit. What came out of the box was quite a mixture! Part standard MM rig kit, part borrowed from John Tushingham’s popular “Graphite”...
- Page 2 Rigging – here are the steps I took in rigging the boat, set out in some detail in the hope it might help a new skipper through the process. In a few minor areas I strayed from the RTR package for reasons I will explain.
- Page 3 For the top class competitor the weight of the boats is a concern unless Graupner lightens the hull and/or the Class makes Rule adjustments to accommodate the new product offerings.
- Page 4 Figure 3 Figure 4 Figure 5 Figure 6 Figure 7 Figure 8...
- Page 5 Figure 9 Figure 10 Figure 11...
Need help?
Do you have a question about the Micro Magic RTR and is the answer not in the manual?
Questions and answers