Sign In
Upload
Download
Table of Contents
Contents
Add to my manuals
Delete from my manuals
Share
URL of this page:
HTML Link:
Bookmark this page
Add
Manual will be automatically added to "My Manuals"
Print this page
×
Bookmark added
×
Added to my manuals
Manuals
Brands
Ricoh Manuals
Projector
PJ S2340
User manual
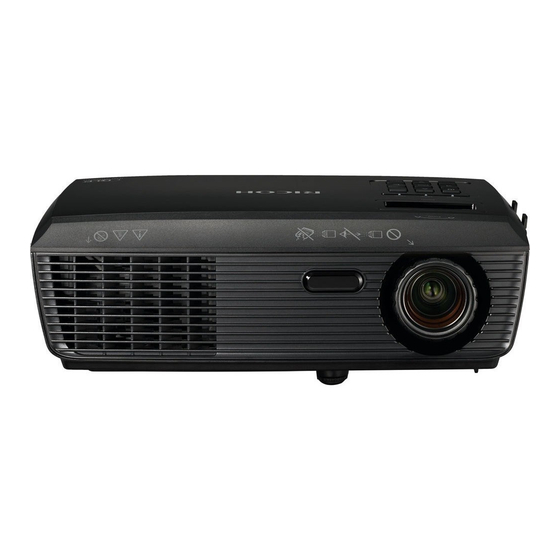
Ricoh PJ S2340 User Manual
Hide thumbs
1
2
Table Of Contents
3
4
5
6
7
8
9
10
11
12
13
14
15
16
17
18
19
20
21
22
23
24
25
26
27
28
29
30
31
32
33
34
35
36
37
38
39
40
41
42
43
44
45
46
47
48
49
50
51
52
53
54
55
56
57
58
59
60
61
62
63
64
65
66
page
of
66
Go
/
66
Contents
Table of Contents
Troubleshooting
Bookmarks
Table of Contents
Table of Contents
Usage Notice
Precautions
About the Lamp
Remote Control Battery
Safety Labels of this Machine
Regulation & Safety Notices
Declaration of Conformity for Eu Countries
Other Information
Introduction
Product Features
Package Overview
Product Overview
Connection Ports
Control Panel
Remote Control
Remote Control Battery Installation
Remote Control Operating Range
Basic Operations
Connecting the Projector
Connect to Computer/Notebook
Connect to Video
Powering On/Off the Projector
Powering on the Projector
Powering off the Projector
Warning Indicator
Adjusting the Projected Image
Adjusting the Height of Projector Image
Adjusting the Projector Zoom and Focus
Adjusting Projection Image Size
User Settings
On Screen Display (OSD)
How to Operate
Menu Tree
Picture
Color Temp
Position
Digital Zoom
Ceiling Mount
Setting
Audio
Options
Lamp Settings
High Altitude
Troubleshooting
Replacing the Lamp
Appendices
List of Compatible Signals
Configurations of Terminals
Terminal : Analog RGB (Mini D-Sub 15 Pin)
Specifications
Trademarks
Advertisement
Quick Links
1
Troubleshooting
Download this manual
Table of
Contents
Previous
Page
Next
Page
1
2
3
4
5
Advertisement
Table of Contents
Need help?
Do you have a question about the PJ S2340 and is the answer not in the manual?
Ask a question
Questions and answers
Related Manuals for Ricoh PJ S2340
Projector Ricoh PJ S2130 User Manual
(54 pages)
Projector Ricoh Antares-PJ1 Series Field Service Manual
(98 pages)
Projector Ricoh Antares-PJ1 Series Service Training
(65 pages)
Projector Ricoh PJ S2240 User Manual
Ricoh dlp projector user's manual (63 pages)
Projector Ricoh PJ S2240 User Manual
(86 pages)
Projector Ricoh PJ WX4141 Operating Instructions Manual
(104 pages)
Projector Ricoh PJ WX4141n Operating Instructions Manual
Ricoh projector (188 pages)
Projector Ricoh PJ X3340 Operating Instructions Manual
Projectors (104 pages)
Projector Ricoh IPSiO PJ X3241N Owner's Manual
(206 pages)
Projector Ricoh PJ WX3351N Operating Instructions Manual
(188 pages)
Projector Ricoh PJ WX4152NI Operating Instructions Manual
(196 pages)
Projector Ricoh PJ X5580 User Manual
(93 pages)
Projector Ricoh PJ WU5570 User Manual
(93 pages)
Projector Ricoh PJ WUL5970 Series User Manual
(70 pages)
Projector Ricoh Praesepe-PJ1ewu Service Training
(24 pages)
Projector Ricoh PJ HD5452 User Manual
(93 pages)
This manual is also suitable for:
Pj x2340
Table of Contents
Print
Rename the bookmark
Delete bookmark?
Delete from my manuals?
Login
Sign In
OR
Sign in with Facebook
Sign in with Google
Upload manual
Upload from disk
Upload from URL


Need help?
Do you have a question about the PJ S2340 and is the answer not in the manual?
Questions and answers