Table of Contents
Advertisement
Quick Links
Download this manual
See also:
Owner's Manual
Advertisement
Table of Contents

Summary of Contents for Grundig GML-2010E
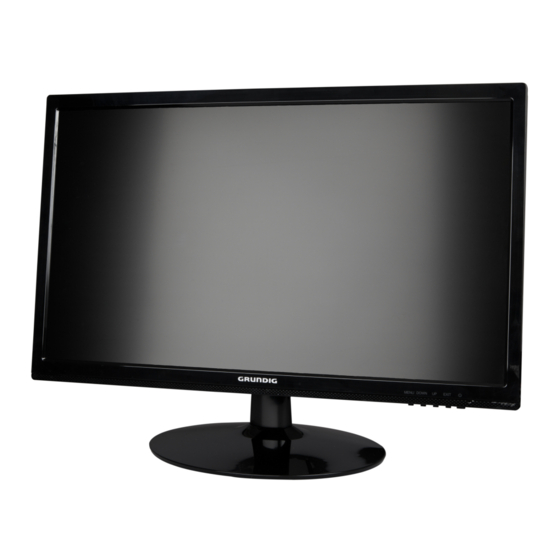
- Page 1 Owner's Manual Monitors GML-2010E 50 cm (19.5") LCD/TFT Monitor LED Backlight GML-2210E 54.6 cm (21.5") LCD/TFT Monitor LED Backlight GML-2010E.160.1.19.05.2015 © ASP AG...
-
Page 3: Table Of Contents
Content: 1. Important Safety Instructions 2. Installation 3. Package Contents 4. Rear View with Connections 5. Turning the Monitor Off/On 6. OSD Control Keys 7. OSD Menu Configurations 1. PICTURE 2. COLOR TEMP 3. GEOMETRY 4. SIGNAL SOURCE 5. OSD 6. -
Page 4: Installation
The LED monitor's plastic casing and LED panel can be cleaned with a soft, lint-free cloth. Never use scrub pads or other cleaning materials with abrasive surfaces to clean your LED monitor! A. A slightly damp cloth may be used to clean the display of fingerprints or smudges. B. -
Page 5: Package Contents
100-240 V AC, 50/60 Hz, 2.0 A (minimum). Check the monitor specification carefully. This GRUNDIG monitor has a 1920 x 1080 resolution and works with both PAL and NTSC signal modes. This GRUNDIG monitor is for 24/7 security purposes; therefore, the environmental specifications such as the operating temperature and the voltage needed have to be maintained at all times. -
Page 6: Turning The Monitor Off/On
5. Turning the Monitor Off/On PLEASE NOTE: After pressing the “Power” button, it will take approximately 6 sec. until the monitor is ready and the display is visible. These are the various power states of the LED monitor represented by the different LED colours on the POWER button: BLUE: On BLUE light flashing: No signal input... -
Page 7: Picture
7.1. PICTURE Brightness: This is used to adjust the image contrast. Press /\ or \/ to adjust the parameter. Contrast: This is used to set the brightness of the screen. Press /\ or \/ to adjust the parameter. DCR: The monitors adapts to light and dark extremes on a video/PC signal. Here you can turn the DCR on and off. -
Page 8: Geometry
7.3. GEOMETRY H-Position: Move the display picture to the left or right. Press /\ or \/ to adjust the parameter. V-Position: Move the display picture up or down. Press /\ or \/ to adjust the parameter. Phase: Press /\ or \/ to adjust the parameter. Clock: Adjusts the clock settings of the monitor. -
Page 9: Osd
7.5. OSD Language: Choose your preferred language for the OSD. H-Position: Move the OSD picture to the left or right. Press /\ or \/ to adjust the parameter. V Position: Move the OSD picture up or down. Press /\ or \/ to adjust the parameter. Duration: Select the time in which the OSD will stay active when there is no user input. -
Page 10: Frequently Asked Questions
8. Frequently Asked Questions The Power button does not respond: - Check the power cord to ensure that it is securely plugged into the monitor base and also into the electrical outlet. - Ensure that there is electrical power coming from the AC outlet. Use another device to check the power. -
Page 11: Compatible Resolutions
9. Compatible Resolutions English... - Page 12 Specifications GML-2010E LCD Panel size 19.53" Diagonal AM-TFT LED Backlight Pixels - Total 1920(H) x 1080(V) Pixel Pitch 0.2265 mm(H) x 0.221 mm(V) Aspect Ratio 16 : 9 Video Inputs 1 HDMI; 1 VGA Brightness 250 cd/m² Contrast ratio 1000:1 Number of Colours 16.7 million...
- Page 13 Dimensions English...
-
Page 14: Ec Declaration Of Conformity
EC Declaration of Conformity GML-2010E 50 cm (19.5") LCD/TFT Monitor LED Backlight GML-2210E 54.6 cm (21.5") LCD/TFT Monitor LED Backlight It is hereby certified that the products meet the standards in the following relevant provisions: EC EMC Directive 2004/108/EC Low Voltage Directive 2006/95/EC...


Need help?
Do you have a question about the GML-2010E and is the answer not in the manual?
Questions and answers