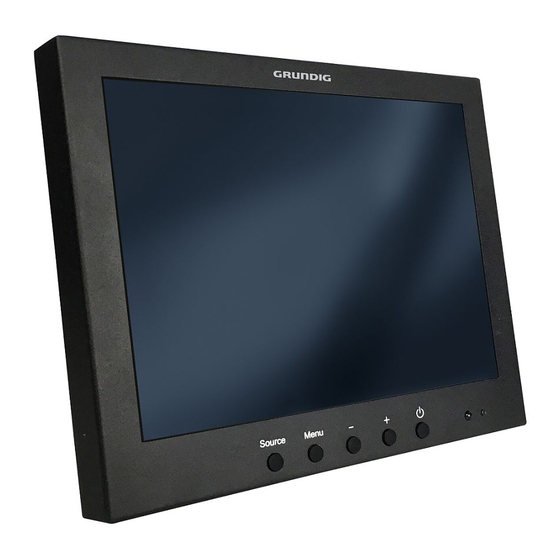
Summary of Contents for Grundig GD-ML-AP1031SD
- Page 1 _______________________________________________________ User Guide LED Monitors English _______________________________________________________ UG-GD-ML-AP2231HD-2020-12-16-V1-EN © Abetechs GmbH...
-
Page 2: Table Of Contents
If the product uses batteries, please use a battery type that is recommended by the manufacturer. Improper use or replacement of the battery may result in the hazard of explosion. Do not use any accessories that are not recommended by GRUNDIG. Do not modify the product in any way. -
Page 3: Installation Instructions
Never open, disassemble or alter the Do not install the monitor in a location that is exposed to product yourself. GRUNDIG cannot accept any liability or direct sunlight, dust, mechanical vibration or shock. responsibility for problems caused by attempted and unauthorized repair and maintenance. -
Page 4: Package Content
could leak into the interior of the monitor. Please unplug the 4. Connections monitor first before attempting cleaning with a detergent or water. View of the Rear Interface: Do NOT use any liquid cleaners based on alcohol, methylated spirit or ammonia or aerosol cleaners, as this may damage any coating present on the glass surface of the monitor. -
Page 5: Control Buttons
5. Control Buttons 6.1. Connecting using AV - Composite Video The control buttons are located on the right hand rear side of Connect your video cable with BNC connector to the AV connector the monitor. on the rear of the monitor, and the other end to your DVR/Camera etc. -
Page 6: Osd Menu Configuration
connector on the back of the monitor and the other end to the 8. OSD Menu (AV – Input) audio output on the PC/DVR. Connect power to the monitor and video source, and switch on. 8.1. Picture Using the SOURCE button, press repeatedly until "VGA" is highlighted on the display at the top of the monitor's screen, and press "+"... - Page 7 8.2. OSD 8.3. Function HSTART: Sets the left alignment point of image. HSIZE: LANGUAGE: Select here the preferred language for the OSD Menu Sets the horizontal size of the image. VSTART: Sets the (En/Ch/Ger/Fr/Sp/It/Pt/Pl/Ru). lower alignment point of the image. VSIZE: Sets the H-POSITION: Sets the horizontal position of the OSD menu (0-100).
-
Page 8: Osd Menu (Hdmi - Input)
AVC: Automatic Volume Control (ON/OFF). USER - B: Sets the BLUE color level. 9.2. OSD 9. OSD Menu (HDMI – Input) 9.1. Picture LANGUAGE: Select here the preferred language for the OSD Menu (En/Ch/Ger/Fr/Sp/It/Pt/Pl/Ru). H-POSITION: Sets the horizontal position of the OSD menu (0-100). CONTRAST: Sets the contrast of the image (difference between the V-POSITION: Sets the vertical position of the OSD menu (0-100). -
Page 9: Osd Menu (Vga - Input)
9.3. Function 10. OSD Menu (VGA – Input) 10.1. Picture HSTART: Sets the left alignment point of the image. HSIZE: Sets the horizontal size of the image. VSTART: Sets the lower alignment point of the image. VSIZE: CONTRAST: Set here the contrast of the image (difference between Sets the vertical size of the image. - Page 10 BASS: Set here the value according to your needs (0-100). TREBLE: Set here the value according to your needs (0-100). BALANCE: Set here the value according to your needs (-50 to +50). SOUND MODE: Set here the user or preset audio configurations (User/Standard/Movie/Music). AVC: Automatic Volume Control (ON/OFF). _______________________________________________________ www.grundig-security.com...


Need help?
Do you have a question about the GD-ML-AP1031SD and is the answer not in the manual?
Questions and answers