Subscribe to Our Youtube Channel
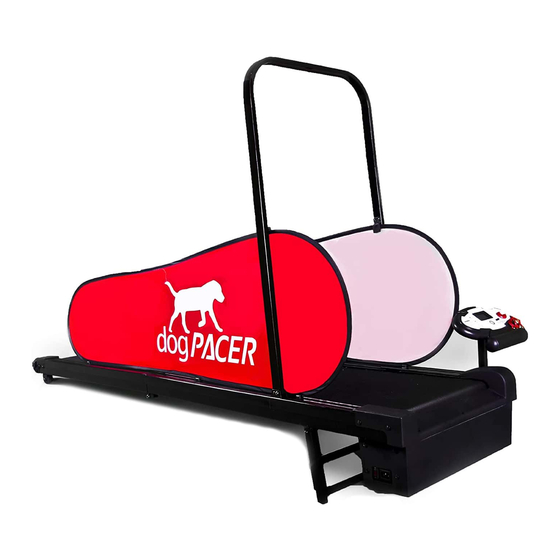
Summary of Contents for dogPacer LF 3.1
- Page 1 QUICK START GUIDE LF 3.1 For latest info, tips, and photos go online to: www.dogpacer.com...
- Page 2 1. Protect your floors Legs Side p anel Place a mat, rug or carpet under the dogPACER in order to protect your floor Legs Legs 2. Unfold the dogPACER ...
- Page 3 • Open the legs and lock them into place using the Leg Pins (Bolt Ø6). Make sure that they are locked (see diagram below). • After opening, while the dogPACER is on its side, slide the safety bar (Bolt Ø10*140) to the lock position.
- Page 4 Motor c over Attaching the Side Panels 1. When the dogPACER is in position, lay the side panel down on the belt. 2. Insert the side panel to the rubber clips (A, B & C) on the P.V.C. side rails.
- Page 5 7. A pplying Tension to the Belt • When the belt is loose, starting at the front side and going back, center the belt using your hands. • After you make sure the belt is centered, start turning the adjustment knobs together. The adjustment knob system is located on the back end caps.
- Page 6 • Start the treadmill by pushing the start/stop button. Safety k ey • At minimum speed, go to the back of the dogPACER and see if the running belt stays in the middle. If it shifts to the right or left do the following: If ...
- Page 7 Incline Feature The dogPACER contains 4 manual incline positions from 5 degrees to 9 degrees Pre-set programs Each pre-set program has a maximum time of 30 min per workout. It will always start at 10 min and can be adjusted per pet level.
- Page 8 YOUR D OG’S THER B EST F RIEND ...


Need help?
Do you have a question about the LF 3.1 and is the answer not in the manual?
Questions and answers