Table of Contents
Advertisement
Customer Help Line: 1300 139 255
Support Email: support@satkingpromax.com.au
Website: www.satkingpromax.com.au
ver 3.0
Fully Automatic
ly Automatic
Automatic
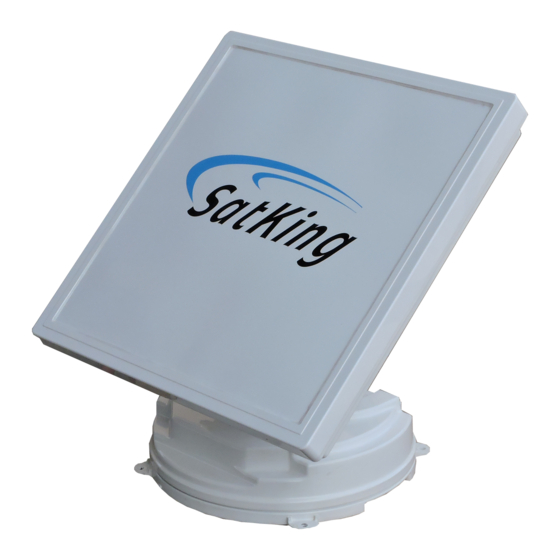
Motorised Satellite TV System
torised Sate te TV System
torised Satellite TV Syst
torised Satellite TV System
orised Satellite TV Syste
sed Satellite TV Syste
ed Satellite TV Syst
User's manual
www.satkingpromax.com.au
Advertisement
Table of Contents

Related Manuals for SatKing PRO MAX


Summary of Contents for SatKing PRO MAX
- Page 1 ver 3.0 Fully Automatic ly Automatic Automatic Motorised Satellite TV System torised Satellite TV System torised Satellite TV Syst torised Sate te TV System orised Satellite TV Syste sed Satellite TV Syste ed Satellite TV Syst User’s manual Customer Help Line: 1300 139 255 Support Email: support@satkingpromax.com.au Website: www.satkingpromax.com.au www.satkingpromax.com.au...
-
Page 2: Table Of Contents
8-1. Required space for the SatKing PRO MAX ........... . . -
Page 3: General Information
Correct and safe operation of the system can only be ensured by following these instructions. Your SatKing PRO MAX is an intelligent satellite TV reception antenna system which can align itself towards a preset satellite automatically as long as the system is located within the footprint of the selected satellite. -
Page 4: Proper Use And Operation
Avoid cleaning your vehicle with the mounted satellite system in a drive-through car wash or a car wash with a high-pressure cleaner. • The SatKing PRO MAX comes with a 3 year warranty, for full warranty details please visit our website www.satkingpromax.com.au •... -
Page 5: Safety Notes
Please carefully read and follow the operating instructions in this manual and use the PRO MAX's for it's intended purpose. Upon installtion of the PRO MAX, please ensure the installtion is done with supplied cables and ensure the cables are not modified in any way. -
Page 6: Components Bundle
Controller bracket Power input cable + (Red), - (Black) Receiver(labeled) cable - 7m Cable holder Cable gland (x2 for twin outputs) Spanner M4x20 (11), M8 Flanged nut (4) Washer (4) Manual User manual SatKing PRO MAX User manual - 5... -
Page 7: Name Of Parts
TP search LED Error message LED HOME , MODE , SET , TUNE button POWER , Arrows , OK button Bracket USB port : For F/W upgrade Power port : DC 12~24V to Main unit SatKing PRO MAX User manual - 6... -
Page 8: Operating Instruction
Controller cable looks the same as the receiver cable but has different label- ing. Please check the labels to use the correct cable for the job. Please ensure the cables that are supplied are used and not modified in anyway. SatKing PRO MAX User manual - 7... -
Page 9: Functional Description
GPS LED flashes while searching for the current location. When GPS position is confirmed the LED will become solid. Waiting until both HOME & GPS LED’s are solid is recommended as this will allow the PRO MAX to find the selected satellite faster with more precise alignment accuracy. - Page 10 3. Back to HOME position & Turning off After use and before travelling, press HOME to return the PRO MAX back to HOME position. To fully turn off the unit, press HOME and then hold the POWER for 5 seconds.
-
Page 11: Quick Reference
If the PRO MAX cannot move to correct position for some reason. iv. COMMUNICATION error If connection is lost between the PRO MAX and controller that lasts longer than 5 seconds. 6. Special function 3 : TEST mode TEST mode can be initialised when either an error message is shown or the antenna is at HOME position. -
Page 12: Software Update
Controller cable 1. Transfer software program to a USB root folder (not belonging to any other folder) in an empty USB. Please go to SatKing PRO MAX website www.satkingpromax.com.au to download update program(software). In case a controller does not recognise the USB drive, take the USB out and plug into a PC. -
Page 13: Advanced Settings
Select YES or NO to save and/or go back to first stage of TP Modify. viii. To exit, press MODE and PRO MAX will return to previous status. For manual TP data RESET, press SET twice and then select YES and press OK. -
Page 14: Trouble Shooting
6. Trouble Shooting There are a number of common issues that can affect the signal reception quality or the operation of the SatKing PRO MAX. The following sections address these issues and potential solutions. A. No function when you power on the controller Check again that all the cable connections have been made correctly. -
Page 15: Specifications
Angle Range (EL) 5° ~ 90° / (AZ) 390° / (SK) -60° ~ +60° Satellite Searching Time 120 seconds (average) Power Requirement DC 12~24V Power Consumption 84W (in searching) Operating Temperature -30°C ~ +60°C SatKing PRO MAX User manual - 14... -
Page 16: Caravan/Motorhome Installation
8-1 . Required space for the SatKing PRO MAX Please allow that there is enough space around the SatKing PRO MAX for flat antenna section to complete a full 360° scan of the sky and return to the HOME position. -
Page 17: Equipment For Installation
※ Mounting plate direction Driving direction Note: Assemble of the PRO MAX and the mounting plate takes place separately. Once the antenna is mounted you can then use the supplied washers and nuts to secure the antenna to the base plate. - Page 18 C. Apply siliconebetween fix bracket and friction tape Apply silicone around mounting plate edge Clean away the excess silicone Prepare to place the antenna on to the four Remove friction tape and allow to dry upright bolts SatKing PRO MAX User manual - 17...
- Page 19 Drill a 20mm hole (or larger) in the centre of the Make sure that hole size is big enough to insert all cables together by one and one tape marking SatKing PRO MAX User manual - 18...
- Page 20 M4 x 20 screws at drill holes made Apply silicone around cable holder and on the Connect cables to relative ports. Remove top of the screws for waterproof friction tape then tidy silicone before dry SatKing PRO MAX User manual - 19...
-
Page 21: Battery Connection
Match the power cables polarities to the battery polarities, red to red and black to black. Connect to controller using power input cable Fix the controller bracket where you would like to fit the controller and controller cable SatKing PRO MAX User manual - 20...
Need help?
Do you have a question about the PRO MAX and is the answer not in the manual?
Questions and answers
how do I put the Sat King Pro Box into sleep mode so the Blue lights are no all night whilst recording
To put the SatKing Pro Max into sleep mode and turn off the blue lights while recording, press and hold the POWER button for 5 seconds without pressing HOME. This keeps the unit up and signal active, but powers down the lights.
This answer is automatically generated
What is error current error on my satking pro.