Table of Contents
Advertisement
Quick Links
Download this manual
See also:
Reference Manual
Advertisement
Table of Contents

Related Manuals for Wyse Winterm 9450XE


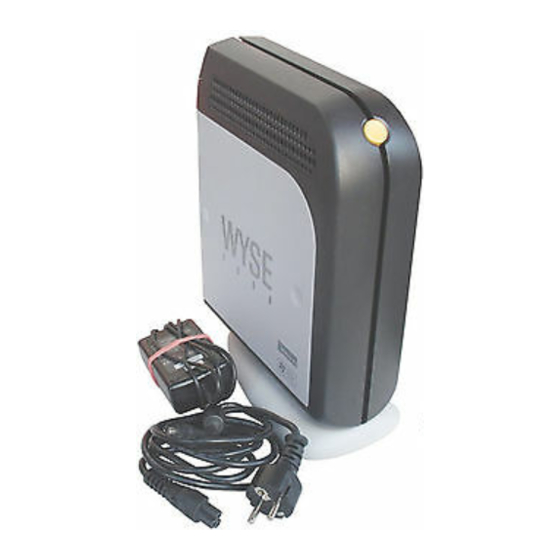
Summary of Contents for Wyse Winterm 9450XE
- Page 1 ™ Winterm Model 9450XE, 9455XL and J400, Product 941GXL 512MB Flash Option Kit Installation Guide...
- Page 2 ™ Winterm Model 9450XE, 9455XL and J400, Product 941GXL Flash Option Kit Installation Guide Issue: 072205 Wyse Technology Inc. 3471 North First Street San Jose, CA 95134-1803...
-
Page 3: Copyright Notice
End User License Agreement (“License”) A printed copy of the Wyse Technology End User License Agreement is included in the original shipping box and provided for your reference only. The License at http://www.wyse.com/license as of the purchase date is the controlling licensing agreement. -
Page 4: Fcc Statement
FCC Statement This equipment has been tested and found to comply with the limits for either Class A or Class B digital devices (refer to "Thin Client Requirements Compliance"), pursuant to Part 15 of the FCC Rules. These limits are designed to provide reasonable protection against harmful interference in a residential installation. -
Page 5: Model 9650Xe Thin Client
applicables aux appareils numériques de la classe B prescrites dans le Réglement sur le brouillage radioélectrique édicté par le Ministère des Communications du Canada. IEC/EN Notice These products conform to the requirements of IEC950 and EN60950. These products conform to requirements of EN55022 for Class A equipment or EN55022 for Class B equipment (refer to "Thin Client Requirements Compliance"). -
Page 6: Table Of Contents
Contents Getting Started 1 Before You Begin What’s In the Kit Required Tools and Materials Associated Documentation Installing the Option Kit 2 Install the kit in the 9450XE Install the kit in the 9455XL Install the kit in the 941GXL Verify Operation of the Unit... -
Page 7: Getting Started
Getting Started This document describes how to install your 512 MB Flash Upgrade Option Kit into either Model 9450XE, 9455XL or J400, Product 941GXL Before you Begin Kit Warranty: The warranty on this kit assumes the remaining months of warranty of the unit in which it is installed or 90 days whichever is greater. -
Page 8: Required Tools And Materials
You need the following items before you can install. #1 Phillips screwdriver Warning The Flash Module card may be susceptible to damage by Electro-static discharge. Take all reasonable precautions to avoid ESD. Associated Documentation Winterm™ 9000 Series Quick Reference Guide http://www.wyse.com/products/winterm/reference/9series/883808-01C.pdf Rev. C © (3.62MB) 883808-01 August 2004... -
Page 9: Installing The Option Kit
Installing the Option Kit This chapter will describe the procedures for installing the 512MB Flash Option kit in the model 9450XE, 9455XL or J400 Product 941GXL terminals. Installing the Kit into the 9450XE Platform Perform a proper shutdown of the terminal by ending your session and clicking the buttons as they appear. - Page 10 Chapter 2 Remove the plastic or metal IDE module retention bracket by removing the Philips screw. Figure 2 Figure 3 Remove the power cable from the flash module as shown in Figure 4 and carefully remove the flash module from the socket. Note the connector where the module is located.
- Page 11 Chapter 2 Installing the Kit into the 9455XL Platform Perform a proper shutdown of the terminal by ending your session and clicking the buttons as they appear. Unplug the power supply and remove all of the cables from the rear of the unit. Remove the top cover from the 9455XL using the following steps: Remove the top cover by removing the three screws applying pressure using the palm of your hand as shown in Figure 5.
- Page 12 Chapter 2 Remove the power cable from the flash module as shown in Figure 7 and carefully remove the flash module from the socket. Note the connector where the module is located. Remove the power cable connector and carefully remove the flash module from the IDE connector noting the location of...
-
Page 13: Verify Operation Of The Unit
Chapter 2 Remove the IDE retention bracket if installed by removing the two screws, otherwise carefully cut the spot of hot glue at the base of the connector, then remove the power cable for the flash module as shown in Figure 9 below. Carefully remove the flash module carefully noting the location of the flash module in reference to the IDE connectors. - Page 14 Chapter 2 Figure 10 Click on the “Start” and “About” links and the display will be as shown as below in Figure Figure 11 The display will be as shown in Figure 12 below. Verify that the MAC address and Serial Number as displayed match the serial number and MAC address on the unit.
-
Page 15: Figure
Figure 12 The unit is ready for operation and setup by the Administrator.
Need help?
Do you have a question about the Winterm 9450XE and is the answer not in the manual?
Questions and answers