Kodak ScanMate i1120 Setting Up
Hide thumbs
Also See for ScanMate i1120:
- User manual (96 pages) ,
- Specifications (2 pages) ,
- Quick start (2 pages)
Advertisement
Quick Links
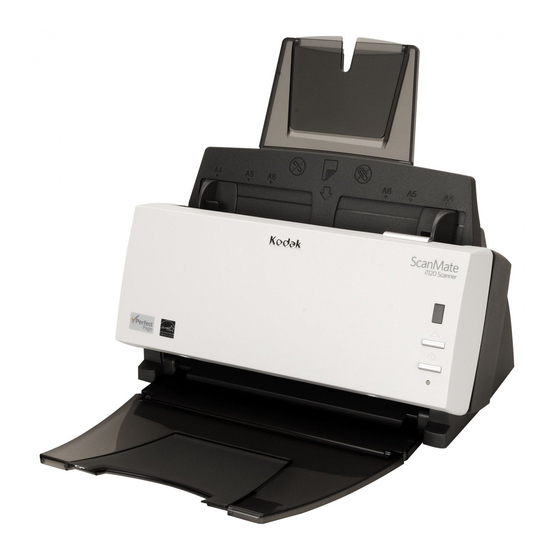
Kodak ScanMate i1120 Scanner
The Kodak ScanMate i1120 scanner can be connected to a user's computer directly or
shared by multiple users over a local network. Regardless of how your scanner is
connected, this document guides you through the two-part setup that is required to enable
your ScanMate scanner to work with DYMO File
• Smart Touch Shortcut Setup — In the ScanMate i1120 scanner software, one or
• DYMO File Setup — On each user's computer, DYMO File must be set up to know
Smart Touch Shortcut Setup
The ScanMate i1120 scanner lets you specify settings for smart touch shortcuts.
This section includes two procedures:
• Configuring one or more smart touch shortcuts for DYMO File scanning
• Adding settings for two-sided scanning
Configuring Smart Touch for DYMO File Scanning
For any smart touch shortcut that will be used for DYMO File scanning, specify the proper
settings as described in the following procedures.
To start smart touch configuration
1
2
© 2008 Newell Rubbermaid. All Rights Reserved
to Work with DYMO File
more smart touch shortcuts must be configured for DYMO File scanning. If the
scanner is shared by multiple users over a network, one person can set up the smart
touch shortcuts for all DYMO File users. For information about using multiple smart
touch shortcuts, see "Smart Touch Shortcut Scenarios" on page 9.
which folder to monitor for scanned documents to be processed. See page 5.
Be sure your ScanMate i1120 software is installed on your computer and that the
scanner is properly connected and powered on.
Click Start > Programs > Kodak > Document Imaging > i1120 > Smart touch to
start the software.
When the ScanMate scanner is connected and powered on, the
Scanner icon appears in the Windows desktop notification area (also called system
tray).
Setting Up Your
:
TM
Kodak i1120
1
Advertisement

Related Manuals for Kodak ScanMate i1120


Summary of Contents for Kodak ScanMate i1120
- Page 1 Kodak ScanMate i1120 Scanner to Work with DYMO File The Kodak ScanMate i1120 scanner can be connected to a user’s computer directly or shared by multiple users over a local network. Regardless of how your scanner is connected, this document guides you through the two-part setup that is required to enable your ScanMate scanner to work with DYMO File •...
- Page 2 Setting Up Your Kodak ScanMate i1120 Scanner to Work with DYMO File Click the icon to open the shortcuts menu, and then click Configure. Configure Kodak i1120 Scanner icon To rename a shortcut to use with DYMO File In the Smart touch dialog box, from the Task shortcut drop-down list, select a shortcut to modify for DYMO File scanning.
- Page 3 Smart Touch Shortcut Setup To configure the DYMO File shortcut Be sure the Task Shortcut drop-down list shows the number and name of the DYMO File shortcut that you are configuring. Shortcut number and name Destination (Scan to File) Should be selected File Type (PDF)
- Page 4 • If you selected Two Sided, read the next section, “Adding Settings for Two-Sided Scanning.” Adding Settings for Two-Sided Scanning The ScanMate i1120 scanner provides Blank Image Detection, which is useful for two- sided DYMO File scanning under two circumstances: • If DYMO File users will sometimes scan one-sided documents and sometimes scan two-sided documents, a single smart touch shortcut with Blank Image Detection turned on can serve both needs.
- Page 5 DYMO File Setup On each user’s computer, DYMO File needs to know how the ScanMate i1120 scanner is connected and which location to monitor for scanned documents to be processed. You have two options in DYMO File for providing connection and location information: •...
- Page 6 Identify the printer you will use to print a test barcode. Print a test barcode. In the Select Scanner Type dialog box, select My Network. Select this option even if the ScanMate i1120 scanner is connected directly to your computer. My Network option Click Next twice to bypass the instructions in the Set Up Scanner dialog box.
- Page 7 Choose Edit > Settings, and select the Scan tab. Scan tab My Network option Folder that DYMO File will monitor for scanned documents Select My Network. Select this option even if the ScanMate i1120 scanner is connected directly to your computer. © 2008 Newell Rubbermaid. All Rights Reserved...
- Page 8 Setting Up Your Kodak ScanMate i1120 Scanner to Work with DYMO File Click Browse to locate the Folder to monitor for scanned documents. This folder must match the folder location that was specified in the smart touch shortcut on page 3. If someone else completed the smart touch shortcut setup for your group, contact that person for the location of the folder.
- Page 9 Appendix A Smart Touch Shortcut Scenarios For offices that share a Kodak ScanMate i1120 scanner over a network, DYMO File is the ideal solution because all DYMO File users can use the same smart touch shortcut for scanning, or for further security each user or group can use a separate shortcut.
Need help?
Do you have a question about the ScanMate i1120 and is the answer not in the manual?
Questions and answers