Table of Contents
Advertisement
Quick Links
INSTRUCTION MANUAL
REQUIRED FOR COMPLETION:
6-channel Transmitter with Receiver
3S 1300m~2200mAh LiPo Battery
LiPo Battery Charger 5.8G Transmitter for FPV (optional)
FPV Camera (optional)
5.8G Receiver with Video Monitor or Goggles (optional)
WARNING
Please fully read and understand this manual and the operation and all
safety aspects required of you for the safe operation of this product.
Before use, if you feel this product is not for you please return it to your
place of purchase.
RISE products are to be used by ages 14 and over.
Manual Specifications and Description Changes
The instruction manual, warranties and other associated documentation
are subject to change without notice. Hobbico assumes no responsibility
for inadvertent errors to this manual.
© 2016 RISE, a Hobbico company.
RISE0250 v1
Advertisement
Table of Contents

Summary of Contents for Rise RXD250
- Page 1 Before use, if you feel this product is not for you please return it to your place of purchase. RISE products are to be used by ages 14 and over. Manual Specifications and Description Changes The instruction manual, warranties and other associated documentation are subject to change without notice.
-
Page 2: Safety Precautions
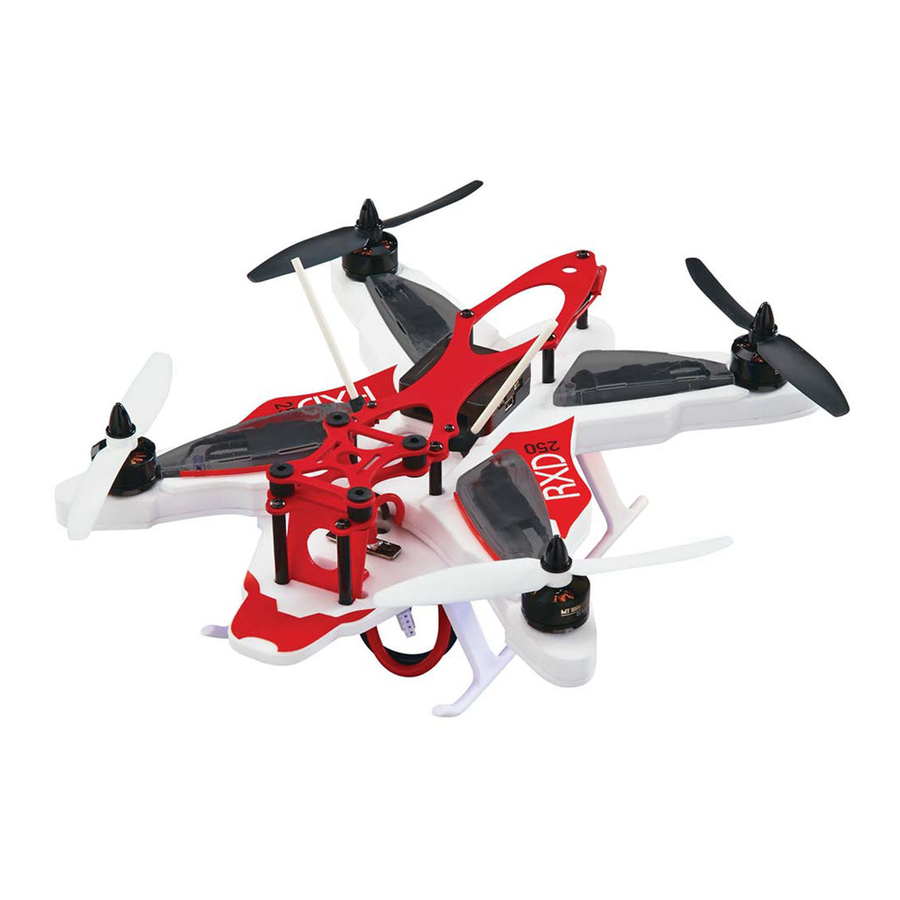
INTRODUCTION Thank you for purchasing the RXD250 Racer. We want the time you spend with your new R/C quadcopter to be fun and successful so please read the entire manual before beginning setup. If for any reason you think this R/C model is not for you, return it to the dealer immediately. -
Page 3: Battery Warnings
NEVER store your quadcopter with the battery plugged into the quadcopter. ● DO NOT attempt to charge your battery if it becomes swollen or hot. ● The RXD250 does not have a voltage cutoff failsafe. When the LEDs begin to fl ash, land the quad and disconnect the battery. -
Page 4: Warranty
Further, Rise reserves the right to change or modify this warranty without notice. In that Rise has no control over the fi nal assembly or material used for fi nal assembly, no liability shall be assumed nor accepted for any damage resulting from the use by the user of the fi... -
Page 5: Flight Modes
The quadcopter’s flight will be smoother and more responsive in this mode. SETUP The RXD250 needs only minimal assembly. All the bolts have been set to the proper torque and have thread locking compound applied to keep them secure. PROPELLERS... -
Page 6: Radio System
RADIO SYSTEM Your transmitter needs to have a switch for channel 5. The setup below is typical for most transmitters. The receiver must have one port for each channel. S-bus, X-bus, and satellite receivers cannot be used with the 8 pin receiver cable. -
Page 7: Flight Controller Setup
B. A charged flight battery. C. The transmitter set up with the new model and linked to the receiver. Open the GCS app and connect the RXD250 with your mini-USB cable. When the communication window shows that the flight controller is connected... - Page 8 Click on the input button. Click on the Transmitter setup wizard button and follow the steps to set up the transmitter. ARMING SETTING At the end of the wizard is the screen to set the motor arming procedure. The recommended setting is Yaw Right which requires the yaw control to be held to the right while the throttle is at 0 for 3 seconds to arm the motors.
-
Page 9: General Settings
After the Arming Setting is completed, the settings need to be saved to the flight controller. GENERAL SETTINGS Any time the controller is connected to the app, the following settings should be checked. A. Vehicle Configuration Screen – Motor Output Channel 1 – Channel3 Motor Output Channel 3 –... - Page 10 IMPORTANT! The flight controller does not have a low voltage cutoff to protect the lipo from damage. The LEDs on the bottom of the RXD250 will start flashing when the battery is at 10.2V for a 3S battery. You MUST land the quadcopter as soon as the LEDs start to flash.
- Page 11 FLYING The RXD250 is a racing quad. As such it is capable of flying at high rates of speed and can get out of sight very quickly. We recommend flying the quad in stability mode without FPV for several flights until you are fully familiar with how this quad handles.
-
Page 12: Spare Parts
SPARE PARTS 1 RISE2501 CC3D Flight Ccontroller 2 RISE2502 Brushless Motor (2) 3 RISE2503 10 AMP ESC 4 RISE2504 5x3 Propeller Set 5 RISE2505 Landing Gear 6 RISE2506 Prop Nut Set 7 RISE2507 Frame Set 8 RISE2508 Camera (Optional) EXPLODED VIEW...


Need help?
Do you have a question about the RXD250 and is the answer not in the manual?
Questions and answers