Table of Contents
Advertisement
Advertisement
Table of Contents

Related Manuals for Olympus FL-50


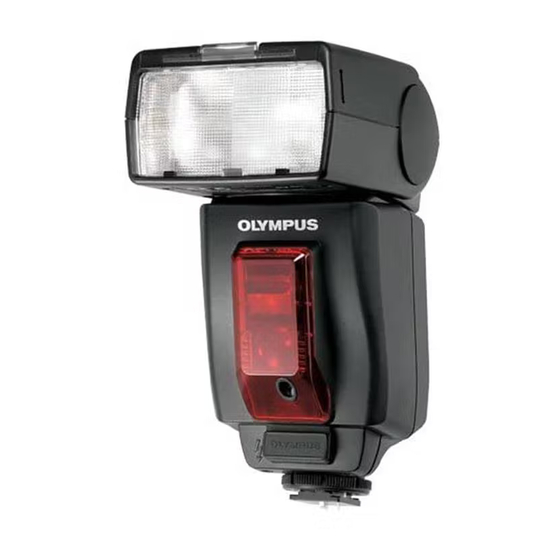
Summary of Contents for Olympus FL-50
- Page 2 ■ The electronic flash is composed of precision electronic parts. Absolutely avoid using or storing the electronic flash to a camera not manufactured by Olympus, as this may result in a malfunction or damage to the camera and/or flash in the following places, as this may result in malfunction or failure.
-
Page 3: Table Of Contents
○ Olympus will not assume any liability for the damages and loss of profit related to the loss of image data due to a failure of this product, servicing by a third party not designated by Olympus or any other reason. -
Page 4: Nomenclature
NOMENCLATURE CONTROL PANEL INDICATORS Wide panel (Page 24) Wide panel warning (Page 24) FP emission (Pages 16 & 18) Control mode (Pages 11 & 19) AF illuminator light-emitting area Close-up flash When the subject is dark or low- shooting (Page 23) contrast, the built-in AF illuminator Zoom value emits light to facilitate focusing. -
Page 5: Loading Batteries
AA (R6) Ni-MH batteries, 1900 mAh Approx. 4 sec. * The flash emission interval and count data were obtained from in-house tests at Olympus. * The flash emission interval data represents the performance of fresh batteries. The figures increase as the batteries are depleted. -
Page 6: Attaching To The Camera/Removing From The Camera
ATTACHING TO THE CAMERA/REMOVING FROM THE CAMERA PICTURE SHOOTING USING A DIGITAL CAMERA WITH COMMUNICATION CAPABILITY Confirm that both the camera and electronic flash are off. <Selecting the control mode> Attaching or removing the electronic flash while either the flash or the camera is on may result in malfunction. - Page 7 Test flash activation Light intensity adjustment value Light intensity Display on Actual light intensity Flash activation can be tested before actually releasing adjustment setting the FL-50 adjustment the shutter. Press the Test button for test flash activation. FL-50 +0.3 +0.3 +0.6...
-
Page 8: Manual
(See page 30.) camera. Light intensity adjustment value Light intensity Display on Actual light intensity ■Light intensity adjustment adjustment setting the FL-50 adjustment FL-50 +0.3 The flash light intensity can be adjusted between +3 and -3. +0.3 +0.6 Camera +0.3 The light intensity adjustment must be set to ON in the custom setup operation (page 27). -
Page 9: Fp Ttl Auto
Note that the light intensity adjustment value displayed on the electronic flash does not include the value set on the camera. Portrait shooting Light intensity adjustment value Light intensity Display on Actual light intensity adjustment setting the FL-50 adjustment FL-50 +0.3 +0.3 +0.6 Camera +0.3 Mode... -
Page 10: Fp Manual
Even if the camera’s flash light intensity adjustment func- tion is set, it is not added to the actual flash light intensity. Light intensity Display on Actual light intensity adjustment setting the FL-50 adjustment FL-50 +0.3 +0.3 +0.6 Camera +0.3... -
Page 11: Auto
When the shooting distance and lens iris are already determined: ■Light control range in AUTO mode Determine the guide number (GN) with the following formula and set the GN on the FL-50. AUTO light control range (m) Firing angle (mm) Upper row: FOUR THIRDS. Lower row: 135... -
Page 12: Other Operations
Close-up Flash OTHER OPERATIONS Bounce Shooting The flash activation area is inaccurate when the subject distance is between 0.5 and 1.5 meter. In this case, point the flash to the down-most angle (7˚) using the Bounce lock release button. Bounce shooting refers to a method in which the light from the flash is bounced off the ceiling or walls. -
Page 13: Using The Wide Panel
Using the Wide Panel Various Flash Shooting Methods Use the built-in wide panel in flash shooting when the lens focal distance is set to a wider position The following flash shooting methods are possible according to the camera setup. than 12 mm. •... -
Page 14: Optional Accessories
Light intensity cannot be adjusted. adjustment * The flash emission interval and count data were obtained from in-house tests at Olympus. Light intensity can be adjusted. * The flash emission interval data represents the performance of fresh batteries. The figures increase as the batteries are depleted. -
Page 15: All Reset
(m/ft), to the default settings. (firing rate vs. frames/sec.) • The distance display unit (m/ft) is not altered by the all reset operation. Light intensity ratio External power supply Batteries in FL-50 1/16 1/32 1/64 1/128 1/256 AA (R6) alkaline batteries... -
Page 16: Guide Number (Gn) List
• FP MANUAL GUIDE NUMBER (GN) LIST The following guide number (GN) figures have a 1/1 light intensity ratio. • TTL AUTO/AUTO ISO100, m ISO100, m FOUR THIRDS ZOOM (mm) FOUR THIRDS 135F ZOOM (mm) 135F 1/125 12.7 14.1 19.8 21.2 25.5 28.3... -
Page 17: Warning Display List
MANUAL mode electronic flash at intervals until the flash emission section and batteries cool down. Can the electronic flash be used with an Olympus L series 35 mm film camera? No, it cannot be used. Out of FP TTL AUTO mode Why can’t I mount the electronic flash on the camera? -
Page 18: Main Specifications
: AA (R6) alkaline dry cell batteries (LR6) x 4, AA (R6) Ni-Cd batteries x 4, AA (R6) Ni-MH batteries x 4, AA (R6) Ni-Mn batteries (ZR6) x 4, AA (R6) lithium batteries (FR6) x 4 or 3 V lithium battery pack (Olympus LB-01) x 2 Dimensions : 133(H) x 78(W) x 102(D) mm (5.2 x 3.1 x 4.0 in) (excluding projections)
Need help?
Do you have a question about the FL-50 and is the answer not in the manual?
Questions and answers