Sign In
Upload
Download
Table of Contents
Contents
Add to my manuals
Delete from my manuals
Share
URL of this page:
HTML Link:
Bookmark this page
Add
Manual will be automatically added to "My Manuals"
Print this page
×
Bookmark added
×
Added to my manuals
Manuals
Brands
Bolt Manuals
Camera Flash
VB-11
User manual
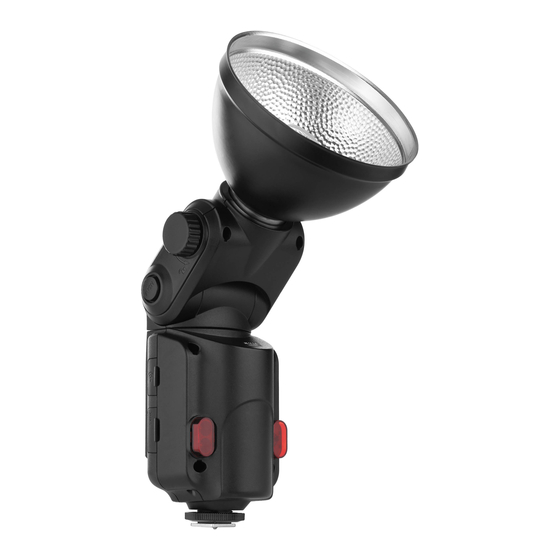
Bolt VB-11 User Manual
Bare bulb flash
Hide thumbs
1
2
3
Table Of Contents
4
5
6
7
8
9
10
11
12
13
14
15
16
17
18
19
20
21
22
23
24
25
26
27
28
29
30
31
32
33
34
35
36
page
of
36
Go
/
36
Contents
Table of Contents
Troubleshooting
Bookmarks
Table of Contents
Introduction
Table of Contents
Overview
Warnings
Warnings
Using the Flash
Installing and Replacing the Flashtube
Powering the Flash
Mounting the Flash
Setting the Flash Power
Triggering the Flash
AF-Assist Mode
Audio Function
Optical Slave Triggering Mode
Repeat Mode
Repeat Mode
High-Speed Sync Function
Modifying the Light Output
Tilt and Swivel
Lighting Effects
Using the Reflector and Diffuser
Troubleshooting
Specifications
Repeat Mode Reference Chart
Recommended Accessories
Recommended Accessories
Advertisement
Quick Links
1
Installing and Replacing the Flashtube
2
High-Speed Sync Function
Download this manual
Inspiration strikes
Inspiration strikes
VB-11/VB-22
BARE BULB FLASH
User's Manual
Table of
Contents
Previous
Page
Next
Page
1
2
3
4
5
Advertisement
Table of Contents
Need help?
Do you have a question about the VB-11 and is the answer not in the manual?
Ask a question
Questions and answers
Related Manuals for Bolt VB-11
Camera Flash Bolt VB-22 User Manual
Bare bulb flash (36 pages)
Camera Flash Bolt VS-510C User Manual
Wireless ttl flash (44 pages)
Camera Flash Bolt VS-210 User Manual
(24 pages)
Camera Flash Bolt VS-510P User Manual
Wireless ttl flash (44 pages)
Camera Flash Bolt VX-760C User Manual
(52 pages)
Camera Flash Bolt vs-570s User Manual
Wireless ttl flash (48 pages)
Camera Flash Bolt VC-310 User Manual
(32 pages)
Camera Flash Bolt VS-570N FOR NIKON User Manual
Wireless ttl flash (48 pages)
Camera Flash Bolt VM-1000C User Manual
Ttl macro flash set (36 pages)
Camera Flash Bolt VM-110 User Manual
Led macro ring light (24 pages)
Camera Flash Bolt VS-260F User Manual
Ttl autofocus flash (24 pages)
Camera Flash Bolt VS-510N User Manual
Wireless ttl flash (44 pages)
Camera Flash Bolt VS-510OP User Manual
Wireless ttl flash (44 pages)
Camera Flash Bolt VS-570C User Manual
Wireless ttl flash (60 pages)
Camera Flash Bolt VS-560N User Manual
Wireless ttl flash (44 pages)
Camera Flash Bolt VS-560S User Manual
Wireless ttl flash (44 pages)
This manual is also suitable for:
Vb-22
Table of Contents
Print
Rename the bookmark
Delete bookmark?
Delete from my manuals?
Login
Sign In
OR
Sign in with Facebook
Sign in with Google
Upload manual
Upload from disk
Upload from URL


Need help?
Do you have a question about the VB-11 and is the answer not in the manual?
Questions and answers