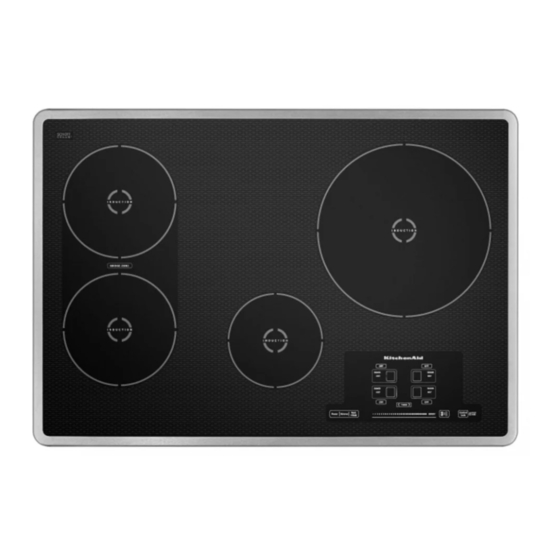
KitchenAid KICU509X Tech Sheet
Hide thumbs
Also See for KICU509X:
- Use and care manual (28 pages) ,
- Product dimensions (1 page) ,
- Technical education (44 pages)
Table of Contents
Advertisement
Quick Links
FOR SERVICE TECHNICIAN'S USE ONLY
Tech Sheet
Do not discard
A D A N G E R
Electrical Shock Hazard
Only authorized technicians should perform diagnostic
voltage measurements.
After performing voltage measurements, disconnect
power before servicing.
Failure to follow these instructions can result in death
or electrical shock.
Voltage Measurement Safety Information
When performing live voltage measurements, you must do the following:
• Verify the controls are in the off position so that the appliance does not start when energized.
• Allow enough space to perform the voltage measurements without obstructions.
• Keep other people a safe distance away from the appliance to prevent potential injury.
• Always use the proper testing equipment.
• After voltage measurements, always disconnect power before servicing.
Acronyms and Abbrevialons
•
PC: Power Control Board
•
Ul: User Interface board
•
NTC: Negative Temperature Coefficient
Manual Configuration Mode
To Enter Manual Configuration Mode:
NOTE: This menu is accessible only during the first minutes after the
cooktop is plugged in.
1.
Remove the key-lock functionality by pressing the Control Lock
button.
2.
Press the following keys sequentially (a beep will sound after each key
press): Timer "-", Timer "+", Timer"-", Timer "+", Control Lock.
After the keystroke combination is pressed, a "CO" will appear on the
display.
3.
Press the Control Lock button.
An "00" will appear on the display.
AWARNING
Electrical Shock Hazard
Disconnect power before servicing.
Replace all parts and panels before operating.
Failure to do so can result in death or electrical shock.
4.
Configure the correct cooktop model number by choosing one of the
following numbers.
Configuration Number
Cooktop
23
KICU509X
24
JIC4430X
25
JIC4536X
26
KICU569X
Use the Timer buttons to see different numbers on the display, moving
sequentially and beginning at "00." The Timer "+" button will increase
the number by 1, and the Timer"-" button will decrease the number
by 1.
5.
Press the Control Lock button to confirm the configuration. The
configuration will then be downloaded into the cooktop.
This process will last a few seconds. The number of the cooktop
chosen will blink on the display. The cooktop will restart with the new
configuration written.
6.
The cooktop is ready to use.
501961902035
FOR SERVICE TECHNICIAN'S USE ONLY
Advertisement
Table of Contents


Need help?
Do you have a question about the KICU509X and is the answer not in the manual?
Questions and answers