Table of Contents
Advertisement
Quick Links
Download this manual
See also:
Instruction Manual
16SR 3 Quick Guide
Safety Specifications .......................................................2
Camera Left & Front........................................................3
Camera Right & Back .....................................................4
1. Quick Specs.................................................5
2. Status Indicators..........................................6
3. Loading Magazines .....................................7
4. Mounting Magazines ...................................9
5. Power On, Camera RUN, Inching...............10
6. Changing Fps ............................................11
7. Changing Shutter Angle.............................12
8. Timecode Sensitivity Table .........................13
9. Arri Group Addresses ................................14
4/99
Advertisement
Table of Contents

Related Manuals for ARRI 16SR 3


Summary of Contents for ARRI 16SR 3
-
Page 1: Table Of Contents
16SR 3 Quick Guide Safety Specifications ............2 Camera Left & Front............3 Camera Right & Back .............4 1. Quick Specs..........5 2. Status Indicators..........6 3. Loading Magazines ........7 4. Mounting Magazines ........9 5. Power On, Camera RUN, Inching....10 6. Changing Fps ..........11 7. -
Page 2: Safety Specifications
First time users must acquaint themselves with the full 16SR 3 instruction manual. Even though all efforts have been made to ascertain the accuracy of this Guide, changes and upgrades to the products described can result in different hardware or behavior. In other words, technical data are subject to change without notice. -
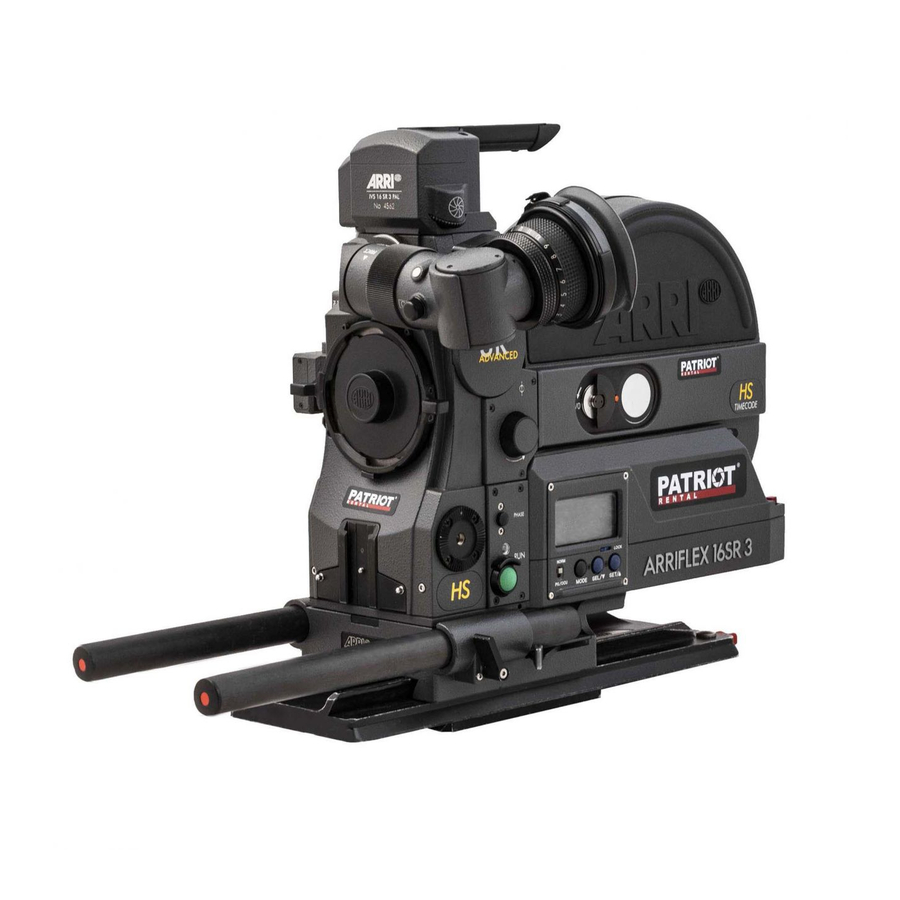
Page 3: Camera Left & Front
Locking slider Running light SET button RUN button SEL button Mirror shutter adjustment tool NORM - PS/CCU switch MODE button Friction adjustment Image rotation release Image rotation knob PL mount Accessory shoe Arriflex 16SR 3 Quick Guide, 4/99, Page 3... -
Page 4: Camera Right & Back
Main power on/off switch Pitch adjustment RS sockets (remote RUN & 24 V dc) Mechanical film counter (shows remaining unexposed film) Heated eyecup cable socket CCU socket ACC socket BAT socket (power input) Arriflex 16SR 3 Quick Guide, 4/99, Page 4... -
Page 5: Quick Specs
Acceptable voltage range: 20 to 32 V dc Pin 1: GND, pin 2: +24 V dc, pin 3: /E-Run Power output: 24 V dc; different versions of the 16SR 3 have different ampere capabilities, check with your rental house ACC: Pin 4: GND, pin 3: +24 V dc Power output: 24 V dc, 0.1 amps max. -
Page 6: Status Indicators
Low battery (less than 20 volts). Exchange battery. asy: Asynchronous operation; camera is not running at set fps rate end: Camera ran out of film fps flashes: ESU is not receiving a valid signal Arriflex 16SR 3 Quick Guide, 4/99, Page 6... -
Page 7: Loading Magazines
• Lock the magazine door. Ensure that the magazine door is closed and locked by pulling up on it. Retaining levers Film core adapter Guide roller arm in open position Guide roller Arriflex 16SR 3 Quick Guide, 4/99, Page 7... - Page 8 • Hang the film loop between the four guide pins on the film pressure plate (two shaped as claws). Magazine drive gear Guide pins Magazine drive gear Take-up channel; push film end in here. White index line Arriflex 16SR 3 Quick Guide, 4/99, Page 8...
-
Page 9: Mounting Magazines
Mounting the Magazine Note: You can use SR 1 and 2 magazines on the 16SR 3, and SR 3 magazines on the 16SR 1 and 2, but: - Don't use high speed magazines on standard cameras or standard magazines on HS cameras. -
Page 10: Power On, Camera Run, Inching
Turning Camera Power On The main power on/off switch for the ARRIFLEX 16SR 3 is located on the camera's right side. When a battery is attached to the camera and the main power switch is turned on, you should see characters appear on the LCD display on the camera's left side. -
Page 11: Changing Fps
24, 25, 29.97 and 30 fps. In the PS/CCU position, any speed from 5.000 to 75.000 fps can be achieved on the 16SR 3 (5.000 to 150.00 fps on the 16SR 3 HS). All speeds set on the camera are crystal speeds. -
Page 12: Changing Shutter Angle
Note: When you close the shutter down, you have to compensate your exposure. Open up the lens aperture one stop for a 90° and two stops for a 45° shutter angle. Manual inching knob Mirror adjustment tool Adjustment screw Arriflex 16SR 3 Quick Guide, 4/99, Page 12... -
Page 13: Timecode Sensitivity Table
The TCS number indicates the sensitivity of a given film stock to the wavelength of light produced by the LED that exposes the film. The TCS number is set either on the magazine (535A, 535B, 16SR 3) or on the camera directly (435, 435ES). -
Page 14: Arri Group Addresses
619 West 54th St, New York, NY 10019, USA Voice phone: 212-757-0906, FAX: 212-713-0075 Email: aweeber@cameraservice.com Information about the products discussed in this Guide and more can be found on the Arri website at: www.arri.com Arriflex 16SR 3 Quick Guide, 4/99, Page 14...
Need help?
Do you have a question about the 16SR 3 and is the answer not in the manual?
Questions and answers