Schwinn A10 Assembly Manual
Upright bike
Hide thumbs
Also See for A10:
- User manual ,
- Owner's manual (28 pages) ,
- Troubleshooting manual (3 pages)
Table of Contents
Advertisement
Quick Links
Advertisement
Table of Contents

Subscribe to Our Youtube Channel
Related Manuals for Schwinn A10


Summary of Contents for Schwinn A10
- Page 1 003–3799–042310A...
-
Page 2: Before Assembly
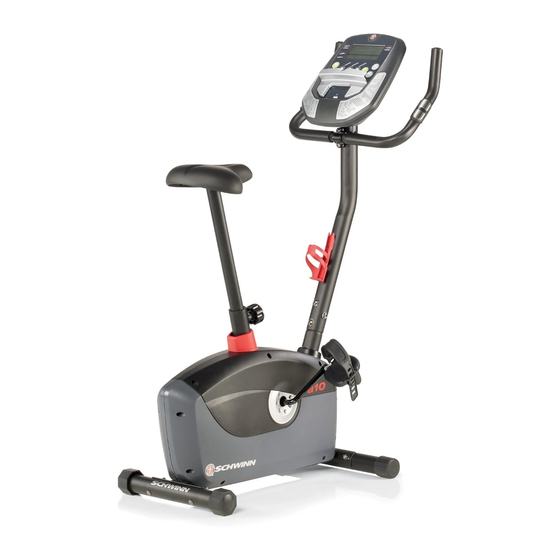
Product for more information. | Printed in China | © 2010 Nautilus, Inc., All rights reserved. ™ and ® indicate a trademark or registered trademark. Nautilus, Inc. (www.nautilus.com) trademarks include NAUTILUS®, BOWFLEX®, SCHWINN® and UNIVERSAL® and respective logos. Other trademarks are the property of their respective owners. - Page 3 Parts Parts Parts Item Item Item Description Description Description Item Item Item Description Description Description Main Frame Console Mast (with pre-installed Handlebar Bracket) Front Stabilizer Console Rear Stabilizer Handlebars Seat Post Pedal, Left (L) Adjustment Knob (pre-installed) Pedal, Right (R) Water Bottle Holder Seat Hardware...
- Page 4 Assembly Assembly Assembly 1. 1. 1. Attach Attach Attach Stabilizers Stabilizers Stabilizers to to to Main Main Frame Main Frame Frame 2. 2. 2. Install Install Pedals Pedals Install Pedals 4 4 4...
-
Page 5: Main Assembly
3. 3. 3. Attach Attach Attach Seat Seat Post Seat Post Post to to to Main Main Main Assembly Assembly Assembly Note: Note: Note: Hardware is pre-installed on Seat and not on Hardware Card. 4. 4. 4. Attach Attach Attach Seat Seat Seat Note:... -
Page 6: Console Mast
5. 5. 5. Install Install Console Console Mast Mast on on on Main Main Assembly Assembly Install Console Mast Main Assembly NOTICE: Do not crimp Console Cable. 6. 6. 6. Install Install Handlebars Handlebars on on on Console Console Mast Mast Install Handlebars... - Page 7 7. 7. 7. Install Install Console Install Console Console on on on Console Console Console Mast Mast Mast Note: Note: Note: Hardware is pre-installed on Console and not on Hardware Card. NOTICE: Do not crimp Console Cable. Make sure that the switch on the back of the Console is set to B B B . 8.
-
Page 8: Power Adapter
9. 9. 9. Install Install Batteries Install Batteries Batteries in in in Console Console Console Note: Note: Note: The console uses D size batteries (LR20). Make sure that the batteries point in the direction of the + + + /– – – indicators in the battery bay. If you use rechargeable batteries, the optional power adapter will not recharge the batteries. - Page 9 Final Final Inspection Final Inspection Inspection Inspect your machine to ensure that all fasteners are tight and components are properly assembled. Do not use or put the machine into service until the machine has been fully assembled and inspected for correct performance in accordance with the Owner’s Manual.
- Page 10 Printed in China...
Need help?
Do you have a question about the A10 and is the answer not in the manual?
Questions and answers