Table of Contents
Advertisement
Quick Links
Advertisement
Table of Contents

Related Manuals for Schwinn A20 Recumbent Bike


Summary of Contents for Schwinn A20 Recumbent Bike
- Page 1 003–3802–042310A...
-
Page 2: Before Assembly
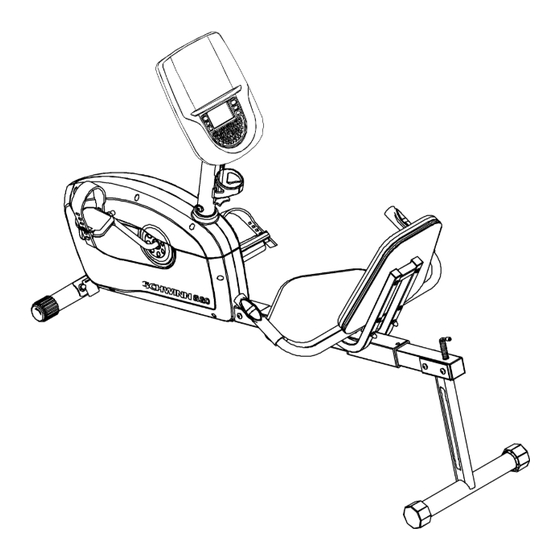
Product for more information. | Printed in China | © 2010 Nautilus, Inc., All rights reserved. ™ and ® indicate a trademark or registered trademark. Nautilus, Inc. (www.nautilus.com) trademarks include NAUTILUS®, BOWFLEX®, SCHWINN® and UNIVERSAL® and respective logos. Other trademarks are the property of their respective owners. - Page 3 Parts Parts Parts Item Item Item Description Description Description Item Item Item Description Description Description Main Unit Side Handlebars Front Stabilizer Console Mast Rear Stabilizer Console Seat Rail Pedal, Left (L) Seat Bracket Assembly Pedal, Right (R) Seat Bottom Water Bottle Holder Seat Back Hardware Hardware...
- Page 4 Assembly Assembly Assembly 1. 1. 1. Attach Attach Front Front Stabilizer Stabilizer to to to Main Main Unit Unit Attach Front Stabilizer Main Unit 2. 2. 2. Install Install Handlebar Install Handlebar Handlebar to to to Seat Seat Seat Bracket Bracket Bracket NOTICE:...
-
Page 5: Install Seat
3. 3. 3. Attach Attach Seat Attach Seat Seat Bottom Bottom and Bottom and Seat Seat Seat Back Back Back to to to Seat Seat Bracket Seat Bracket Bracket NOTICE: Do not crimp cable. 4. 4. 4. Slide Slide Seat Seat Assembly Assembly onto onto Seat... - Page 6 6. 6. 6. Attach Attach Rear Rear Stabilizer Stabilizer to to to Seat Seat Rail Rail Attach Rear Stabilizer Seat Rail NOTICE: Connect Heart Rate (HR) cables from Seat Rail and Handlebar. Do not crimp cables. 7. 7. 7. Install Install Install Console Console Mast...
- Page 7 8. 8. 8. Install Install Install the the Console Console Console to to to the the Console Console Console Mast Mast Mast Note: Note: Note: Hardware is pre-installed on Console and not on Hardware Card. Do not crimp cables. Make sure that the switch on the back of the Console is set to B B B . NOTICE: 9.
-
Page 8: Bottle Holder
10. Install Install Install W W W ater ater Bottle ater Bottle Bottle Holder Holder Holder Note: Note: Note: Hardware is pre-installed on Console Mast and not on Hardware Card. 11. Install Install Install Batteries Batteries Batteries in in in Console Console Console Note:... - Page 9 NOTICE: If you use a power adapter for your bike, make sure that the cord stays clear of the path of the pedals. Attach the cord to the machine as shown: NOTICE: It is recommended to remove batteries when they are not used, to avoid damage from battery corrosion. To order the optional Power Adapter, go to: www.schwinnfitness.com/powersupply Or call 1 (800) 605–3369.
- Page 10 Printed in China...
Need help?
Do you have a question about the A20 Recumbent Bike and is the answer not in the manual?
Questions and answers
The pedals keep falling off.
Ensure the pedals are properly tightened by turning them clockwise for the right pedal and counterclockwise for the left pedal. Check for any damage to the crank or pedal threads. If the threads are worn, you may need a replacement. Also, confirm that the pedals are securely attached and that the straps are properly adjusted. If the issue persists, consider contacting Schwinn support for further assistance.
This answer is automatically generated