Table of Contents
Advertisement
Quick Links
Advertisement
Table of Contents

Subscribe to Our Youtube Channel
Summary of Contents for Global SM 7774
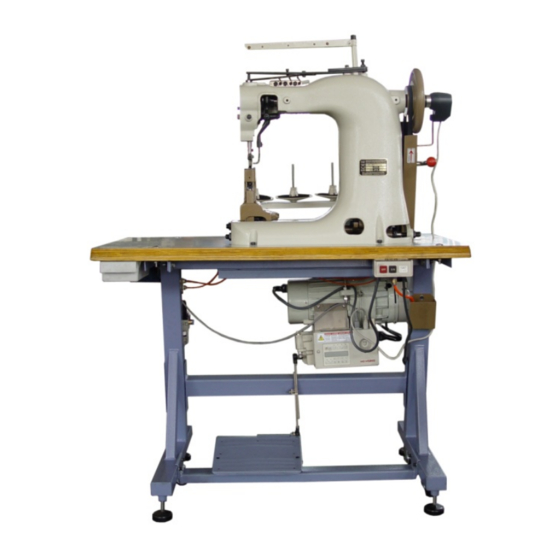
- Page 1 THREE NEEDLES SEWING MACHINE SM 7774 Cp1 OPERATING INSTRUCTION MANUAL Rev 201101...
- Page 2 ...
- Page 3 Thank you very much for your choice of this double thread side seam sewing machine. Please read the manual carefully before use! Ensure that the rotation of the pulley conformable to the red allow on the belt cover! Notice:Replace or installation motor belt should pay attention and v-belts can not be adjusted too tight, synchronous belt can not be adjusted too loose!
- Page 4 ...
-
Page 5: Table Of Contents
CONTENTS 1. - Page 6 ...
-
Page 7: Machine Description
1. -
Page 8: The Adjustment Setting Of The Machine
4. THE ADJUSTMENT SETTING OF THE MACHINE The machine is already adjusted all right at the assemble plant. Normally, the machine can be used directly. At the period of use, some parts need to be adjusted according to sewing material. The way to adjusting is described as follows. -
Page 9: Position Setting Of Hook Need Bar
4.3 Position setting of hook need bar Turn the handwheel in the correct direction by hand, let the hook needle approach the awl nearest. -
Page 10: Adjustment Setting Of The Space Between Presser Foot And Needle Plate
4.6 Adjustment setting of the space between presser foot and needle plate (Fig.6) The space between presser foot and needle plate should be about half thickness of sewing material. To adjust the space between presser foot and needle plate, proceed as follows: (1) Lift the presser foot (654-1049-D) and put a wood block (Half thickness of sewing material) under the presser foot. -
Page 11: Adjustment Of Stopping Position
Adjusting lever Fig.7 4.9 Adjustment of stopping position... - Page 12 6 ...
- Page 13 Fig.
- Page 14 654-1023 654-1035 654-1031 654-1032 654-1036 654-1024 654-1037 654-1025 654-1033 654-1034 654-1026 654-1027 654-1038 654-1028 654-1030 654-1029-D 654-1043 654-1039-D 654-1044 654-1041 654-1047 654-1040 654-1042 654-1046 654-1045 654-1049-D 654-1048 8 ...
- Page 15 Fig.
- Page 16 654-1067-1 654-1067-2 654-1066-D 654-1064 654-1053-D 654-1062 654-1051 654-1063-D 654-1052 654-1065 654-1054 654-1035 654-1069-2 654-1036 654-1037 654-1068 654-1056 654-1057 654-1061 654-1069-1 654-1060 654-1055 654-1059 654-1058 10 ...
- Page 17 Fig.
- Page 18 ...
- Page 19 ...


Need help?
Do you have a question about the SM 7774 and is the answer not in the manual?
Questions and answers