Table of Contents
Advertisement
Quick Links
Download this manual
See also:
Installation Manual
AXIS 205 Quick Installation Guide
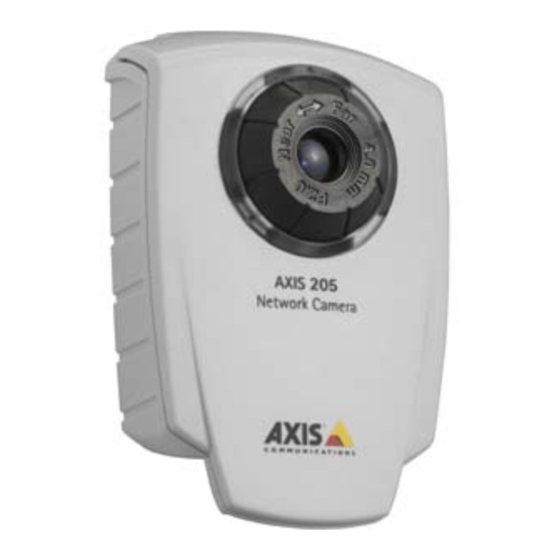
AXIS 205 Network Camera
Quick Installation Guide
Follow these steps to install your AXIS 205 on your local network (LAN):
1. Familiarize yourself with the AXIS 205 Network Camera - (this page)
2. Connect the camera - Hardware Installation, on page 2
3. See live video - One-click Installation, on page 3
- alternatively -
See live video - Manual Installation using AXIS IP Utility, on page 4
For additional information please refer to the Axis Web site at www.axis.com
Package Contents:
AXIS 205 Network Camera
Ready assembled with lock
washer, swivel joint and lock
ring
Focus Ring
Status
Indicator
(surrounding
the focus ring)
Power adapter
Country-specific. Please
ensure that the correct
adapter is used
Stand + 3 mounting screws
Stand and extension section
ready assembled.
Page 1 of 6
Serial number
Network Indicator
Control Button
Power Indicator
Printed Material
AXIS 205 Network Camera
Quick Installation Guide
Axis Warranty Document
Advertisement
Table of Contents

Related Manuals for Axis 205


Summary of Contents for Axis 205
-
Page 1: Quick Installation Guide
Power Indicator Follow these steps to install your AXIS 205 on your local network (LAN): 1. Familiarize yourself with the AXIS 205 Network Camera - (this page) 2. Connect the camera - Hardware Installation, on page 2 3. -
Page 2: Hardware Installation
2. Angle and fasten the camera as described above. Important! The AXIS 205 is designed for indoor use only, and must always be positioned where it is not exposed to direct sunlight or strong halogen light. Exposure to direct sunlight or halogen light may cause perma- nent damage to the image sensor in the AXIS 205. -
Page 3: Axis Internet Dynamic Dns Service
• AXIS Internet Dynamic DNS Service is free of charge and is designed to supply you with a static name (DNS name) for your product instead of a dynamic IP address. More information about AXIS Internet Dynamic DNS Service is available at www.axiscam.net... -
Page 4: Manual Installation Using Axis Ip Utility
LAN Hub/Switch AXIS IP Utility AXIS IP Utility is a Windows software application that installs the AXIS 205 Network Camera to your local network using a static IP address. • Download the AXIS IP Utility software to your computer, free of charge from the Support pages at http://www.axis.com/techsup/software... - Page 5 Accessing the AXIS 205 from the Internet Once installed, your AXIS 205 is accessible within your local network (LAN). To be able to access your AXIS 205 from the Internet, you must configure your broadband router to allow incoming data traffic. For security reasons this is usu- ally done on a specific port.
-
Page 6: Reset To Factory Default Settings
9. Start a Web browser and enter the IP address of the camera in the Location/Address field and press Enter on your keyboard. 10. Please refer to Accessing the AXIS 205, on page 5 for instructions on how to set the password for the AXIS 205...
Need help?
Do you have a question about the 205 and is the answer not in the manual?
Questions and answers