
Related Manuals for Johnson Pump L450


Summary of Contents for Johnson Pump L450
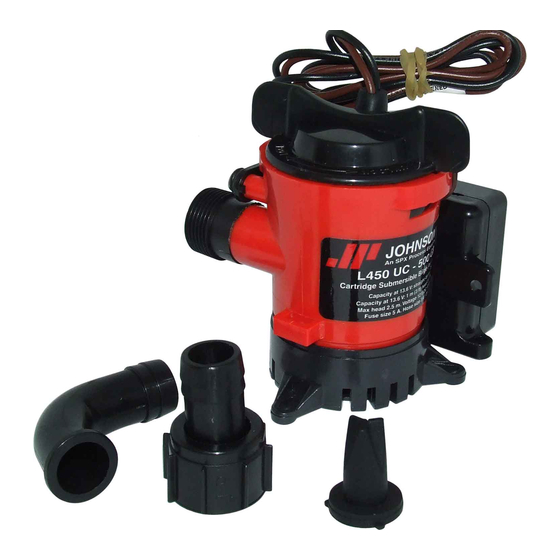
- Page 1 Instruction Manual Submersible bilge pumps Cartridge L-Series, L450, L550, L650, L750 IB-103/03 (9902)
-
Page 2: Table Of Contents
INDEX - INDICE Svenska ..................3 English ..................6 Deutsch ..................9 Français .................. 12 Español .................. 15 Italiano ................... 18 Garanti 1 år Garantie 1 an Warranty 1 year Garantía 1 año Garantie 1 Jahr Garanzia 1 anno... -
Page 3: Svenska
Svenska... - Page 4 Svenska 3. Ta inte bort mer än nödvän- INSTALLATION digt av plasten runt kabeln. Följ anvisningarna noggrant för Alla elanslutningar måste att uppnå maximal effekt. alltid sitta över högsta 1. Placera pumpen vid lägsta vattennivån. Kabelskarvarna punkten. ska tätas med ett marint 2.
- Page 5 Svenska TILLBEHÖR Installation Johnson Pump dränkbara länspump/ Automatisk nivå- nivåströmbrytare AS888/ strömbrytare AS888 strömbrytarpanel Art nr Se sid 22 34-888 Installera alltid AS888, ström- Den auto- brytarpanel och säkringar matiska nivå- mellan batteriets pluspol (+) strömbytaren och pumpens plusanslutning skyddar eldrivna (+) (brun kabel).
-
Page 6: English
English... - Page 7 English INSTALLATION 3. Do not cut back insulation more than necessary. Insula- Please follow the installation tion or cable sheathings have instructions carefully to assure to be removed in such a way maximum efficiency in your that they end well above the bilge pump operation.
- Page 8 12 V – 34-1224 a separate accessory it is 24 V – 34-1225 possible to attach the switch to The panel com- all pumps in the Johnson Pump bined with automatic L-serie. switch AS888 is an excellent installation for your boat.
-
Page 9: Deutsch
Deutsch... - Page 10 Deutsch negativen (-) Klemme der EINBAU Batterie legen. Bitte befolgen Sie diese Anwei- sungen, nur dann kann garanti- 3. Die Isolierung so wenig wie ert werden, daß die Pumpe möglich zurückschneiden einwandfrei und mit voller und alle Anschlüsse wohl Leistung arbeitet. über der Wasserfläche halten.
- Page 11 Art. Nr. an der Duo Patronen- 12 V – 34-1224 pumpe. Als separates Zubehör 24 V – 34-1225 Die Schalttafel, ist es möglich, diesen an alle zusammen mit Johnson Pump Bilge-Pumpen dem Niveauschalter der L-Serie zu befestigen.
-
Page 12: Français
Français... - Page 13 Français 2. Relier le fil noir à la borne INSTALLATION negative (-) de la batterie. Suivre méticuleusement les instructions ci-dessous afin 3. Ne pas enlever la pelicule d’obtenir un rendement opti- isolatrice plus que nècessaire. mum. Tous les branchements électriques doivent être placés 1.
- Page 14 12 V – 34-1224 Duo. Il est fourni en tant 24 V – 34-1225 qu´accessoire séparé et il est Avec un tableau possible de l´accrocher sur les de commande pour l’inter- rupteur AS888 vous aurez une pompes Johnson Pump series L.
-
Page 15: Español
Español... - Page 16 Español INSTALACIÓN castaño al borne positivo Se recomienda observar (+) de la batería. estrictamente estas instruc- 2. Conectar el conductor ciones de instalación para negro al borne negativo (-) asegurar la mayor eficacia de de la batería. la bomba de sentina. 3.
- Page 17 Tablero 12 o 24 V llevan las bombas "Cartridge Duo". Como Pieza No. accesorio es posible conectarlo 12 V – 34-1224 a todas las bombas sumergibles 24 V – 34-1225 Johnson Pump serie L. El tablero junto...
-
Page 18: Italiano
Italiano... - Page 19 Italiano INSTALLAZIONE marrone al terminale positivo Si prega di seguire con atten- (+) della batteria. zione le istruzioni di montaggio 2. Collegare il cavo elettrico per garantire la massima nero al terminale negativo (-) efficacia di funzionamento della batteria. alla vostra pompa di sentina. 3.
- Page 20 è lo stesso che 12 V – 34-1224 viene montato sulle pompe 24 V – 34-1225 di sentina Duo. Può essere Il pannello montato su tutte le pompe combinato con Johnson Pump serie L come l’interruttore AS888 accessorio separato. garantisce una eccellente...
- Page 21 Lyft låshaken Lift tab Die Zunge heben Soulever la languette Levantar la lengüeta Levare la linguetta Montera Demontera Reinstall Remove Montieren Entfernen Remonter Enlever Montrar Quitar Rimontare Rimuovere Tätning Seal Dichtung Joint Junta Guarnizione...
- Page 22 Elektrisk intsallation med Johnson Pump panel Electrical installation with Johnson Pump Panel Elektrischer Anschluss mit Johnson Pump Schalttafel Schéma de raccordement avec le tableau de commande Johnson Pump Instalación eléctrica con panel Johnson Pump Schema collegamento elettrico con pannello di controllo Johnson Pump...
- Page 23 Pompa di sentina – (+) brun pumpkabel (+) brown pump lead Batteri • DC supply (+) brauner Pumpeleiter DC-Versorgung (+) fil marron de la pompe Batterie • Bateria (+) conductor bomba marrón (+) pompa cavo marrone Johnson Pump Automatic Switch AS888...
- Page 24 Johnson Pump Marine Part of Johnson Pump AB P.O. Box 1436, SE-701 14 Örebro, Sweden. Tel +46 (19) 21 83 00. Fax +46 (19) 27 23 72. info.se@johnson-pump.com / www.johnson-pump.com...
Need help?
Do you have a question about the L450 and is the answer not in the manual?
Questions and answers