Table of Contents

Subscribe to Our Youtube Channel
Related Manuals for Dacor Discovery series


Summary of Contents for Dacor Discovery series
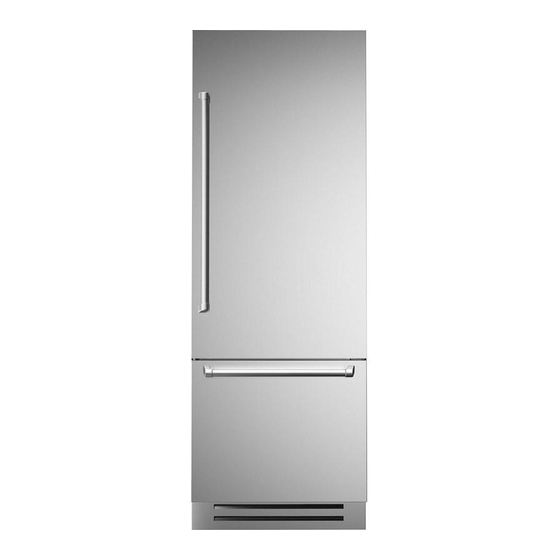
- Page 1 Installation Instructions Discover y Built- In Refrigerator ® Models: DYF30BFBPL, DYF30BFBPR, DYF30BFBSL, DYF30BFBSR, DYF30BFTSL, DYF30BFTSR, DYF36BFBPL, DYF36BFBPR, DYF36BFBSL, DYF36BFBSR, DYF36BFTSL, DYF36BFTSR Dacor Part No. 108790 Rev. C...
-
Page 2: Table Of Contents
If You Need Help... If you have questions or problems with installation, contact your Dacor dealer or the Dacor Customer Service Team. For repairs to ® Dacor appliances under warranty call the Dacor Distinctive Service line. Whenever you call, have the model and serial number of the appliance ready. -
Page 3: Important Safety Instructions
WARNING operating this or any other appliance. • Always contact the Dacor Customer Service Team about Hazards or unsafe practices that COULD result in severe problems and conditions that you don’t understand. See personal injury or death. -
Page 4: General Safety Precautions
Important Safety Instructions General Safety Precautions WARNING - To reduce the risk of fire, electric shock, serious injury or death when using your appliance, follow basic safety precautions, including the following: WARNING WARNING • If you receive a damaged product, immediately contact •... -
Page 5: Product Specifications
Product Specifications Product Dimensions: Stainless, Bottom Compressor Models DYF30BFBSL DYF30BFBSR, DYF36BFBSL DYF36BFBSR Product tolerances: ±1/16” (±1.6 mm) Depth Dimensions Height Dimensions 105° Model DYF30BFBSL 29 1/2 in 52 in 4 3/8 in DYF30BFBSR (74.9 cm) (132.0 cm) (11.2 cm) DYF36BFBSL 35 3/8 in 57 7/8 in 5 1/2 in... - Page 6 Product Specifications Product Dimensions: Stainless, Top Compressor Models DYF30BFTSL DYF30BFTSR, DYF36BFTSL DYF36BFTSR Product tolerances: ±1/16” (±1.6 mm) Depth Dimensions Height Dimensions 3/8 in (1.0 cm) 105° Model DYF30BFTSL 29 1/2 in 52 in 4 5/8 in DYF30BFTSR (74.9 cm) (132.0 cm) (11.7 cm) DYF36BFTSL 35 3/8 in...
- Page 7 Product Specifications Product Dimensions: Panel Ready, Bottom Compressor Product tolerances: ±1/16” (±1.6 mm) Models DYF30BFBPL DYF30BFBPR, DYF36BFBPL DYF36BFBPR Depth Dimensions Height Dimensions 105° Depth Dimensions 1 1/2 in Door Thickness 22 1/8 in Depth 24 1/8 in Depth Depth Dimensions DYF 30 &...
-
Page 8: Installation Specifications
This appliance comes with an minimum required clearances. electrical cord with a three-prong • Your Dacor built-in refrigerator can be installed in a grounding plug for a Vac, 15 cabinet opening (see facing page) or at the end of a Amp. - Page 9 Installation Specifications Full Built-in Installation Cutout tolerances: +1/16” -0” (+1.6 mm) The refrigerator is shipped with the side trim pieces installed. These trim pieces have screw holes that allow the unit to 5 1/2 in (14 cm) 5 1/2 in (14 cm) attach to the surrounding cabinets or side panels for a built- in installation using 1/8”...
- Page 10 Installation Specifications Built-in Installation with Custom Side Panel Cutout tolerances: +1/16” -0 (+1.6 mm) • A custom side panel is necessary when the refrigerator 5 1/2 in (14 cm) 5 1/2 in (14 cm) is installed at the end of a cabinet run. The side panel covers the side of the refrigerator chassis.
-
Page 11: Custom Door Panel Overview
• Handles are not provided with and specifications. custom panel models. Selected Panel handle kits are available through your Dacor dealer. Dacor does not advise the use of single pull knobs. • Most handle kits do not include Mounting Mounting... -
Page 12: Custom Door Panel Construction
Installation Specifications Custom Door Panel Construction Panel Weight/Thickness Specifications Refrigerator Door Freezer Drawer Models DYF30BFBPL, DYF30BFBPR, DYF36BFBPL Maximum and DYF36BFBPR Only 51 lb (23 kg) 25 lb (11 kg) Weight The door and freezer panels can extend above and 3/4 in (18 mm) min. 3/4 in (18 mm) min. - Page 13 Installation Specifications Details of the bracket hardware used on the panels. Install the brackets according to the templates on page 10: • Mounting Brackets • Leveling Bracket (refrigerator) 6 pc • Leveling Bracket (freezer) - Refrigerator door (top) leveling bracket 1 pc - Mounting bracket Mounting Hardware...
-
Page 14: Custom Grill Panel Construction
Installation Specifications Custom Grill Panel Construction Grill Panel Weight/Thickness Optional for models DYF30BFBPL, DYF30BFBPR, Specifications DYF36BFBPL and DYF36BFBPR. Maximum Weight 10 lb (4.5 kg) Construct the custom grill panel to the dimensions below. 3/4” (18 mm) min. Panel Thickness 1 1/8” (28 mm) max. Tolerances: ±1/16”... -
Page 15: Installation Instructions
Installation Instructions Unpacking the Refrigerator Moving the Unit Into the House Wait to remove the packing materials and tape from the WARNING inside and outside of the unit until it is moved into the house. It is best to leave the unit on the shipping pallet •... -
Page 16: Custom Panel Installation
Installation Instructions Custom Panel Installation Freezer Drawer Panel Installation Make sure that all tape has been removed from the Models DYF30BFBPL, DYF30BFBPR, DYF36BFBPL drawer. and DYF36BFBPR Only Place washers on two (2) of the hex bolts. Hand thread NOTE: Before proceeding with door panel installation, all the two bolts into the holes in the bottom of the freezer mounting brackets must be installed according to the panel drawer. - Page 17 Installation Instructions Align the refrigerator door panel vertically and Refrigerator Door Panel Installation horizontally by adjusting the bolts on the top of Attach the refrigerator door panel to the refrigerator the refrigerator door face using the hex wrench. face by hooking the six (6) brackets on the back of the custom panel over the adjustment studs on the door face.
-
Page 18: Connecting The Power
Installation Instructions Connecting the Power Insert the water supply line into the water connection access hole on the back of the unit as shown. Unwind the power cord and connect it directly to the electrical outlet. Water connection Make sure the appliance is access hole in Stand-by mode (Stand- by is flashing on the control... -
Page 19: Moving The Unit Into Final Position
Installation Instructions Moving the Unit into Final Position Slowly and gently push or walk the unit backward into place. As you do this, have someone gently pull the If a custom side panel will be installed on one side of water supply line’s slack and power cord’s slack through the unit, attach the required support board to the wall the access holes into the adjacent cabinetry. -
Page 20: Final Installation
Installation Instructions Final Installation Attach Custom Side Panel (optional) IMPORTANT: Dacor is not responsible for additional service Attach Unit to Cabinets (optional) costs charged for removal of customer installed molding or decorative panels required to service the refrigerator. Drill pilot holes (for the wood screws) through the side trim and into the adjoining cabinet(s). - Page 21 Installation Instructions Attach Trim Covers (optional) Anti-tip Bracket Installation The trim covers cover the inner surface of the side trims It is mandatory to install the anti-tip brackets (included) and the screws heads. on the upper part of the refrigerator and secure it to the wall. The method of installation depends on the appliance model.
-
Page 22: Verifying Operation
• have the model and serial numbers available when you Wall call. See the inside cover for location. Dacor is not responsible for the cost of correcting problems caused by a faulty installation. Top of Existing refrigerator... -
Page 23: Installation Checklist
• Proper installation is the responsibility of the homeowner. The importance of proper installation of your Dacor appliance cannot be overemphasized. □ Has the unit been inspected for cosmetic damage? □... - Page 24 Dacor ● 14425 Clark Avenue, City of Industry, CA 91745 ● Phone: (800) 793-0093 ● Fax: (626) 403-3130 ● www.dacor.com...
Need help?
Do you have a question about the Discovery series and is the answer not in the manual?
Questions and answers