Flymo Hover Vac Original Instructions Manual
Hide thumbs
Also See for Hover Vac:
- User manual (11 pages) ,
- Original instructions manual (10 pages) ,
- Operating instructions manual (10 pages)
Table of Contents
Advertisement
Quick Links
Download this manual
See also:
User Manual
Advertisement
Table of Contents

Related Manuals for Flymo Hover Vac


Summary of Contents for Flymo Hover Vac
- Page 1 ® Hover Vac Original Instructions...
-
Page 2: Carton Contents
IMPORTANT ! Please check the contents of the carton are correct BEFORE assembling your new Flymo product. IF ANY PARTS ARE MISSING CONTACT:- Husqvarna UK Ltd. Customer Service Department direct Telephone : 0844 844 4558 UK... - Page 3 Do not repair a damaged cable, replace it the part which is away from the operator. Always with a new one. Use only Flymo replacement cable. ensure that the hand is in the operating position 10. Always wind cable carefully, avoiding kinking.
-
Page 4: Starting And Stopping
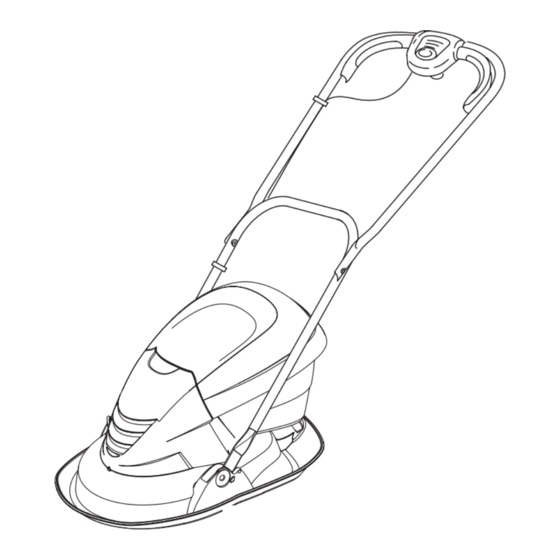
Assembly Instructions Assembly of lower handle to hood (A) 1. Place the ends of the lower handle into the slots 2. Secure lower handle to hood by firmly pushing fixing pin through holes in hood and handle (A1). 3. Repeat on the other side. •... -
Page 5: Adjusting The Cutting Height
Starting • The switchbox is provided with a lock-off button (G1) to prevent accidental starting. 5. Press and hold the lock-off button (G) on the switchbox, then squeeze one of the Start/Stop levers towards the upper handle (H). 6. Continue to squeeze the start/stop lever towards the upper handle and release the lock-off button. -
Page 6: How To Use
3. Plastic cutters should be straight. Replace if bent or hood twisted. Replacing Plastic cutters (S) • Use only genuine Flymo replacement plastic cutters specified for this product. These are available from all Husqvarna UK Ltd. Service Centres and major retail outlets. - Page 7 Failure to fit the grassbox and lid correctly will cause poor collection of grass clippings. Caring for your Hover Vac • It is very important that you keep your product clean. Grass clippings left in any of the air intakes or under the hood could become a potential fire hazard.
-
Page 8: Fault Finding Hints
Service Centre will require proof of purchase. local Approved Service Centre ensuring you have full All of the centres listed stock genuine Flymo Spare Parts. details of your product as described on the product NOTE: Our Service Repairers act on their own behalf and are rating label. -
Page 9: Ec Declaration Of Conformity
Our policy of continuous improvement means that the specification of products may be altered from time to time without prior notice. Copyright © 2008 Flymo S.A. All rights reserved. Flymo® and other product and feature names are registered or unregistered trademarks of Flymo S.A.
Need help?
Do you have a question about the Hover Vac and is the answer not in the manual?
Questions and answers