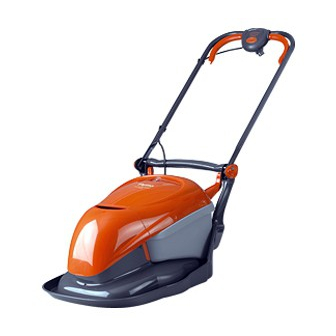
Flymo Hover Compact HC300 Manual
Hide thumbs
Also See for Hover Compact HC300:
- Manual (55 pages) ,
- Original instructions manual (9 pages)

Related Manuals for Flymo Hover Compact HC300


Summary of Contents for Flymo Hover Compact HC300
- Page 1 For all customer enquiries or for replacement parts, contact:- ☎ ☎ 01325 300303 www.flymo.com eop.customer.services@electrolux.co.uk...
-
Page 2: Carton Contents
(1 fitted to lawnmower & 2 in loose parts pack IMPORTANT ! Please check the contents of the carton are correct BEFORE assembling your new Flymo product. IF ANY PARTS ARE MISSING CONTACT:- Electrolux Outdoor Products Customer Service Department direct... - Page 3 Do not use your lawnmow- a damaged cable, replace it with a new one. er until you are sure that the entire lawnmower Use only Flymo replacement cable. is in a safe operating condition.; 10. Always wind cable carefully, avoiding kinking.
-
Page 4: Starting And Stopping
BLACK. The wire which is coloured CONNECTORS - IMPORTANT BROWN must be connected to the Terminal which • Flymo connectors are suitable for use with 2 core is marked with the letter 'L' or coloured RED. cable only. Under no circumstances should these 4. -
Page 5: How To Mow
How to Mow 1. For the best results mow the outside edge of the lawn in a clockwise direction first. (H1) 2. Then start mowing the edge of the lawn nearest to the power point so the cable is laid out on the lawn you have already cut. -
Page 6: Caring For Your Lawnmower
Removing, Emptying and Refitting the Grassbox cont. Emptying the Grassbox • Stop the lawnmower, as described in ‘To Stop your Lawnmower’ and wait until the blade has stopped rotating, BEFORE lifting the grassbox lid. 1. Lift the grassbox lid and rest it against the lower han- dle (M). -
Page 7: Fault Finding Hints
2. Always use genuine Flymo Spare Parts. Yellow Pages. 3. Prepacked spares are available from most Electrolux To obtain service on your Flymo product simply tele- Outdoor Products stockists. phone or visit your local Service Centre. 4. Your product is uniquely identified by a silver and... -
Page 8: Environmental Information
Surrey. KT22 7SB England Measured Sound Power Level........E Other Directives:-....98/37/EEC, 89/336/EEC, 73/23/EEC Level................F & applicable standards:-..EN61000-3-2, EN61000-3-3, Value................G EN55014-1, EN55014-2, EN836, EN60335-1, EN60335-2-77 Weight................. H HC300 HC330 HC350 30 cm 33 cm 35 cm 5,600 RPM 5,600 RPM...
Need help?
Do you have a question about the Hover Compact HC300 and is the answer not in the manual?
Questions and answers