Table of Contents
Advertisement
Quick Links
Advertisement
Table of Contents

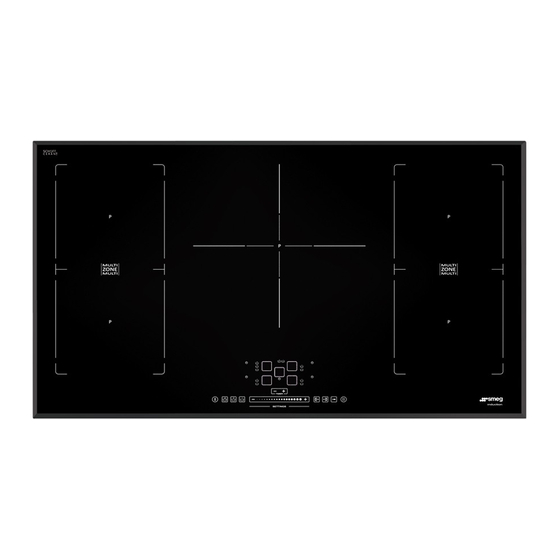
Summary of Contents for Smeg SIM592B
- Page 2 DEUTSCH Installation Seite 7 Bedienungsanleitung Seite 8 ENGLISH Installation Page 16 Instructions for use Page 17 FRANÇAIS Installation Page 26 Mode d’emploi Page 27 NEDERLANDS Installatie Pagina 36 Gebruiksaanwijzing Pagina 37 ESPAÑOL Instalación Página 46 Instrucciones de uso Página 47 PORTUGUÊS Instalação Página 56...
- Page 3 483 mm R = Min. 6,5 mm Max. 8 mm Min. 5 cm Min. 10 cm Min. 5 mm Min. 3 cm Max. 6 cm...
-
Page 5: Important Safety Instructions
ENGLISH Installation Page 2 Instructions for use Page IMPORTANT SAFETY INSTRUCTIONS YOUR SAFETY AND THAT OF OTHERS IS VERY IMPORTANT This manual and the appliance itself provide important safety messages, to be read and always observed. This is the danger symbol, regarding safety, warning of potential risks to users and others. All safety messages will be preceded by the danger symbol and the following words: DANGER Indicates a hazardous situation which, if not avoided, will result in serious injury. -
Page 6: Safeguarding The Environment
- After use, switch off the hob element by its control and do not rely on the pan detector (only for induction appliances). SAFEGUARDING THE ENVIRONMENT Disposal of packing The packing material is 100% recyclable and marked with the recycling symbol ( ). -
Page 7: Installation
INSTALLATION After unpacking the product, check for any damage during transport. In case of problems, contact the dealer or the After-Sales Service. PREPARING THE CABINET FOR FITTING Install a separator panel under the hob. WARNING The lower part of the product must not be accessible after installation. -
Page 8: Control Panel Description
AU and UK Wires Number x size 220-240 V ~ 380-415 V 3N ~ 220-240 V ~ 220-240 V ~ + 3 x 4 mm 220-240 V 3 ~ + 4 x 1.5 mm 380-415 V 3N ~ + 5 x 1.5 mm 380-415 V 2N ~ + 4 x 1.5 mm 220-240 V 3 ~ (Belgium only) 380-415 V 2N ~ (Holland only) - Page 9 Activation and adjusting cooking zones Cooking zone selection and selected cooking zone/power level display Indicates that one of the automatic functions is On Cooking zone timer Slide touchscreen (power adjustment) After switching on the hob, position the pot on the chosen cooking zone. Activate the cooking zone by pressing the corresponding circular key: the number 5 is displayed inside the circle, indicating the intermediate power level.
-
Page 10: Melting Function
To ensure correct operation of the Auto-boiling function, we recommend that you: Cooking zone Pan base diameter Maximum use water only (at room temperature); diameter for Auto-boiling amount of water do not add salt, other ingredients or condiments until the water reaches function use in the pot boiling point;... - Page 11 ERROR CODE DESCRIPTION POSSIBLE CAUSES ERROR ELIMINATION The hob switches off and after 30 seconds Permanent pressure on the control Water or kitchen utensils on the control Clean the control zone. emits an acoustic signal every 10 seconds. zone. zone. C81, C82, C83 The control panel switches off because The internal temperature of electronic...
-
Page 12: Power Level Table
POWER LEVEL TABLE Power level Type of cooking Level use (indicating cooking experience and habits) Ideal for rapidly increasing the temperature of food to fast boiling in the case of water or rapidly Boost Fast heating heating cooking liquids Max. power Frying - boiling Ideal for browning, starting to cook, frying deep frozen products, fast boiling Browning - sautéing - boiling... -
Page 13: Cooking Table
COOKING TABLE Food Dishes or type Power level and cooking status categories of cooking First stage Power Second stage Power Cooking the pasta and Fresh pasta Heating the water Booster - 9 maintaining the boil Cooking the pasta and Dry pasta Heating the water Booster - 9 maintaining the boil... - Page 14 11/12 5019 600 00980...


Need help?
Do you have a question about the SIM592B and is the answer not in the manual?
Questions and answers