Lennox iComfort Wi-Fi Quick Start Manual
Hide thumbs
Also See for iComfort Wi-Fi:
- Setup manual (84 pages) ,
- Installer's system setup manual (48 pages) ,
- Homeowner's manual (20 pages)
Advertisement
©2014 Lennox Industries Inc.
Dallas, Texas, USA
®
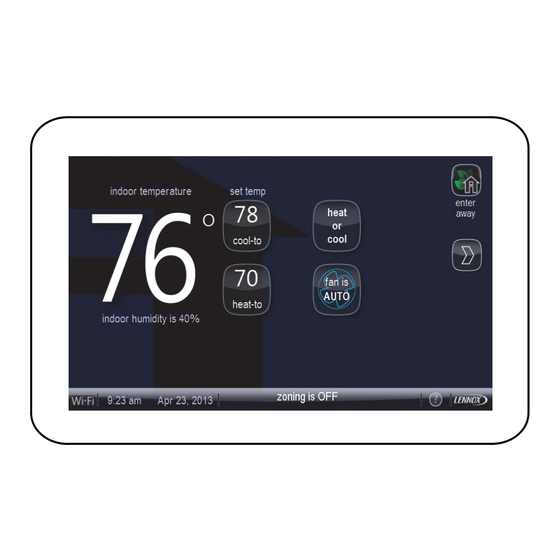
iComfort Wi‐Fi
Thermostat, Touch
Screen, 7-Day
Programmable
NOTICE
Before beginning installation, note the type of equipment, number of stages, and any ac
®
cessories being installed. The iComfort Wi‐Fi
thermostat is a 24VAC Class 2 thermostat
and requires a common wire to the thermostat to operate.
NOTE: Return mercury‐switch thermostats, intact, to participating recycling
wholesalers at hundreds of locations across the nation. For a list of partici
pating wholesalers, see www.nema.org/trc. If your wholesaler is not partici
pating, ask them to start now.
DO
•
Shut off all power to system before installing.
•
Read this entire document, noting which instructions pertain to your equipment
& system requirements. Also, consult Installer's Guide 507145-01.
•
Make sure that all wiring conforms to local and national building and electrical
codes and ordinances.
•
Use 18 gauge thermostat wire or larger.
•
Install all sensors and accessories before powering up.
NOTE - If electric heat strips are used, the strips MUST be configured on the air han
dler control (AHC) board before beginning the "discovery" sequence as described in
the Installer's Guide.
DO NOT
•
Install on voltages higher than 30VAC.
•
Install on outside walls or in direct sunlight.
•
Install in commercial applications unless used with approved split‐system
matches.
WARNING
Improper installation, adjustment, alteration, service or maintenance can cause property
damage, personal injury or loss of life.
Installation and service must be performed by a licensed professional HVAC installer (or
equivalent) or service agency.
CONTROLS
507345-01
2/2014
Supersedes 507144-01
Installation
1. Unpack the thermostat and separate the baseplate from the thermostat by using
hand slot (shown in figure 4) and pulling apart, tilting away from the top. Open
to 45 degrees and separate the two halves.
2. When determining the location for the Wi-Fi thermostat, be sure it is in an area
near enough to the homeowner's router to ensure good communications signal
between the thermostat and the router. (Hint: use a smart phone with Wi-Fi to
find and determine signal strength.)
3. Install thermostat using wall mounting instructions (figures 1 through 4).
4. Connect wiring between thermostat, indoor unit, and outdoor unit and other de
vices as shown in the wiring diagrams (figures 5).
Wall mounting instructions
A. Use a level to align the thermostat baseplate against the wall where the thermo
stat will be installed (see figure 1). Mark an appropriate hole location on the wall
for routing the wires and mark (4) mounting holes at the same time.
LEVEL
MAKE A HOLE JUST
LARGE ENOUGH TO
BRING FOUR
THERMOSTAT
WIRES THROUGH
WALL
Figure 1. Hole locations
B. Drill (4) 3/16" holes in wall for anchors. Insert wall anchors in holes (see figure 2)
and tap the anchor until flush with the wall.
INSERT WALL
ANCHORS IN HOLES.
TAP ANCHORS
UNTIL FLUSH
WITH WALL.
Figure 2. On-wall mounting
C. Route the thermostat wire and feed approximately six inches of wire through the
hole and into the room.
D. Feed the thermostat wires through the opening in the baseplate. Align the ther
mostat mounting bracket with the anchors and fasten to wall with four screws
being sure to maintain level.
QUICK START GUIDE
THIS MANUAL MUST BE LEFT WITH THE
HOMEOWNER FOR FUTURE REFERENCE
E. Trim 1/4" insulation from end of each wire (figure 3, wiring detail A). Insert the
trimmed ends of the wires in the appropriate holes on the bottom of the thermo
stat's terminal block and tighten the screws to secure the wires (figure 3, wiring
detail B).
F. After running the thermostat wire through the hole, seal to prevent air from the
wall cavity from affecting the thermostat's temperature sensor.
G. Align the tabs on the thermostat with the slots on the base, holding it at about a
45 degree angle to the wall. When the tabs seat into the slot, rotate the thermo
stat upward until it snaps into place (see figure 4).
6 HOLE LOCA
TIONS; MARK 4
FOR MOUNTING
BASEPLATE.
THERMOSTAT WIRE
BASEPLATE
SCREWS (USE
THERMOSTAT
AT LEAST 4)
iComfort Wi‐Fi
INSTALLATION INSTRUCTIONS
THERMOSTAT
TERMINAL BLOCK
THERMOSTAT WIRES
B
1/4"
A
Figure 3. Wiring details
HAND SLOT
TAB
Figure 4. Installing thermostat onto bracket
®
Thermostat
SLOT
Advertisement
Table of Contents

Related Manuals for Lennox iComfort Wi-Fi


Summary of Contents for Lennox iComfort Wi-Fi
-
Page 1: Quick Start Guide
QUICK START GUIDE CONTROLS ©2014 Lennox Industries Inc. 507345-01 ® iComfort Wi‐Fi Thermostat Dallas, Texas, USA THIS MANUAL MUST BE LEFT WITH THE 2/2014 HOMEOWNER FOR FUTURE REFERENCE INSTALLATION INSTRUCTIONS Supersedes 507144-01 Installation E. Trim 1/4” insulation from end of each wire (figure 3, wiring detail A). Insert the trimmed ends of the wires in the appropriate holes on the bottom of the thermo... - Page 2 IMPORTANT! - Thermostat does not support a NON-communicating HEAT PUMP with communicating FURNACE (dual fuel). iComfort™ enabled outdoor unit 48G96 Relay ® ® iComfort Wi-Fi Thermostat, Comfort -enabled ® ® iComfort Wi-Fi Thermostat, iHarmony Damper Control Equipment Interface Module / indoor unit and...
Need help?
Do you have a question about the iComfort Wi-Fi and is the answer not in the manual?
Questions and answers