Table of Contents
Advertisement
Advertisement
Table of Contents

Subscribe to Our Youtube Channel
Summary of Contents for Shark NV350NZ
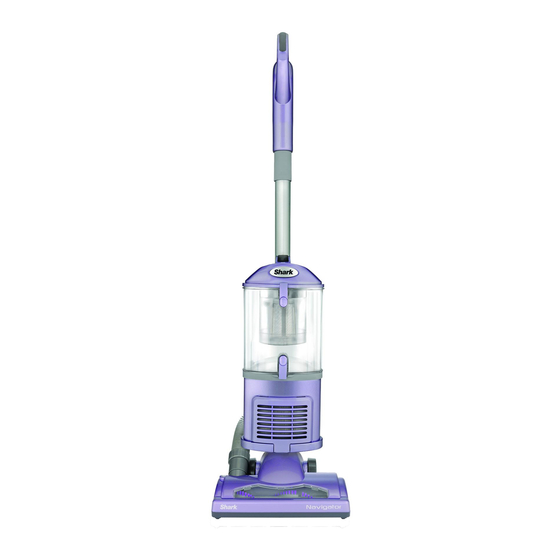
- Page 1 Owner’s guide NV350NZ...
-
Page 2: Important Safety Instructions
SHOCK OR INJURY: INCLUDING THE FOLLOWING: GENERAL ELECTRICAL SAFETY: READ ALL INSTRUCTIONS BEFORE USING 1. Unplug from electrical outlet when not in use YOUR SHARK NAVIGATOR LIFT-AWAY. ® and before servicing. IMPORTANT: 2. DO NOT use vacuum with a damaged cord or plug. - Page 3 HOSE ATTACHMENTS: DUST CUP/FILTERS/ACCESSORIES: 1. DO NOT use if air flow is restricted; if the air Before turning on the vacuum: paths, the hose, or the accessories become 1. Make sure that all filters are thoroughly dry blocked, turn the vacuum cleaner off. Remove after routine cleaning.
- Page 4 This manual covers model number: NV350NZ 26 TECHNICAL SPECIFICATIONS Voltage: 220-240V~, 50Hz Watts: 1200W (Vacuum) Z854 80W (Power Nozzle) SGSEA/110659 Amps: 10 Amps...
-
Page 5: Table Of Contents
Contents Thank you for Getting Started purchasing Mode 1: Upright Vac the Shark ® Mode 2: Detachable Canister Navigator Above-Floor Cleaning Lift-Away. With Floor Nozzles Storing Maintenance Emptying the Dust Cup Cleaning the Pre-Motor Filters Cleaning the Post-Motor HEPA Filter... -
Page 6: Getting Started
This unique tool was engineered for fast and easy removal of pet hair and ground in dirt from *Note: carpeted stairs and upholstery. (Fig. 4) Model NV350NZ comes with a Storage Bag (not BARE FLOOR NOZZLE shown). Ideal for bare floor cleaning and large and small particle pick up. - Page 7 Your new Shark Navigator Lift-Away vacuum cleaner can easily be configured into different ® cleaning modes to meet all your cleaning needs: upright vacuum and detachable canister - both with constant suction power. Fig. 6 Fig. 7 MODES: UPRIGHT VAC DETACHABLE CANISTER Upright vacuuming - floors and carpets.
-
Page 8: Mode 1: Upright Vac
Mode 1: Upright Vac To reduce the risk of electric shock, unplug the unit before assembling, adding or removing attachments or converting modes. WARNING: The On/Off switch is on the top of the detachable canister. Always ensure the power is OFF (“O”... - Page 9 Cord Suction Hook Release Collar Release suction for easier push & pull on high pile carpets and area rugs. Fig. 12 Fig. 13 TO USE: ently press the floor nozzle down with your foot while you grasp the handle and tilt it back towards Rotate the cord release to quickly release the you.
-
Page 10: Mode 2: Detachable Canister
Mode 2: Detachable Canister You can carry your vacuum cleaner in both modes by the carry handle located on top of the dust cup. LIFT AWAY DETACHABLE CANISTER FOR Attach desired accessory onto the end of either PORTABLE CLEANING ndle. the extension wand or the ha Separate the detachable canister from the floor Press the On/Off switch to the “I”... -
Page 11: Above-Floor Cleaning
Above-Floor Cleaning With Floor Nozzles Release suction for easier push & pull on high pile carpets and area rugs. Fig. 16 Suction Release Collar CLEAN ABOVE THE FLOOR IN UPRIGHT VAC OR Fig. 17 DETACHABLE CANISTER MODE Press the handle release button and pull the CLEAN THE FLOOR IN DETACHABLE CANISTER handle up or press the extension wand release MODE... -
Page 12: Storing
Storing Maintenance To reduce the risk of electric shock, unplug the unit before performing any cleaning, maintenance, or troubleshooting checks. Reassemble all parts securely before operating vacuum. DO NOT operate the vacuum without the pre- motor filters and dust cup in place. DO NOT operate the vacuum with WET filters. -
Page 13: Emptying The Dust Cup
COMPONENT MAINTENANCE SCHEDULE Dust Cup Empty each time you vacuum. Pre-Motor Foam Filter Rinse and air dry every 3 months under normal use. Pre-Motor Felt Filter Rinse and air dry every 3 months under normal use. Post-Motor HEPA Filter Clean once every 2 years or as needed. Screen Pre-Motor Filter... -
Page 14: Cleaning The Post-Motor Hepa Filter
Maintenance - cont’d DO NOT put the filters in the washing machine or dishwasher. NOTE: The material in the filter will discolor over time. This is NORMAL and will not affect the performance of the filter. Fig. 24 Fig. 26 Fig. -
Page 15: Cleaning The Motorized Floor Brush
Make sure you are working in a well lit area and use a flashlight to help search for blockages. Rotating Brush Fig. 28 Fig. 29 CHECKING FOR BLOCKAGES CLEANING THE MOTORIZED FLOOR BRUSH Blockages may cause your vacuum to overheat and When your motorized floor brush needs cleaning or shut down. - Page 16 Maintenance - cont’d Fig. 31 Fig. 30 Fig. 32 Motorized Floor Brush • R emove the dust cup and extension wand and separate the detachable canister from the • D etach the hose on the motorized floor brush motorized floor brush. Look in all 4 openings at the top by squeezing the tabs together for any blockages.
-
Page 17: Troubleshooting Guide
Troubleshooting Guide PROBLEM POSSIBLE REASONS & SOLUTIONS Check filters to see if they need cleaning. Follow instructions for rinsing and drying the filters before re-inserting back into the vacuum. (See “Maintenance” sections for instructions.) Vacuum is not Dust cup may be full; empty dust cup. picking up dirt. - Page 18 Notes...
- Page 19 FIVE (5) YEAR LIMITED REPLACEMENT WARRANTY STATEMENT If your product becomes defective due to faulty material or workmanship within a period of 5 years from the date of purchase, we warrant to do the following: • For New Zealand Consumers: We will replace the product with a new product, free of charge, or repair the product at our cost, at our discretion.
- Page 20 Brand Brand Developers Developers Aust Aust Pty Ltd Pty Ltd Brand Brand Developers Developers Limited Limited Z854 Printed in China SGSEA/110659 Illustrations may differ from actual product. NV350NZ.E.120615.3...


Need help?
Do you have a question about the NV350NZ and is the answer not in the manual?
Questions and answers