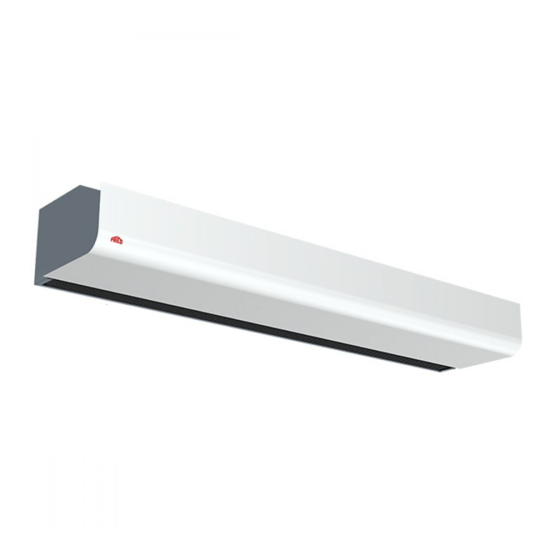
Frico Thermozone PA2200C Original Instructions Manual
Hide thumbs
Also See for Thermozone PA2200C:
- Original instructions manual (74 pages) ,
- Original instructions manual (26 pages)
Advertisement
Available languages
Available languages
Quick Links
Advertisement

Related Manuals for Frico Thermozone PA2200C


Summary of Contents for Frico Thermozone PA2200C
- Page 1 Original instructions Thermozone PA2200C ..14 ..20...
- Page 2 PA2200C PA2200C 1026 / 1536 / 2026 1050 / 1560 / 2050 90,5 min 500 Cu ø15 min 500 min 500 Fig.1 ø17,5 ø17,5 Gland Gland Knock-out ø32,5 ø25,5 Knock-out Gland ø20,5 Knock-out ø17,5 Fig.2...
- Page 3 PA2200C TX20 Fig.3: Open the unit.
- Page 4 PA2200C Fig.4: Minimum distance.
- Page 5 PA2200C Mounting with wall brackets ø8 (3x) ø5 ø10 PA2210 2 pcs PA2215 2 pcs PA2220 3 pcs Fig. 6: Mounting with wall brackets...
- Page 6 PA2200C Accessories PA34TR15 PA2210C, PA2215C, 1 m PA2220C, 1 m PA34TR20 PA2P15 PA2210C, PA2215C, 1 m PA2P20 PA2220C, 1 m PA2210C, PA2215C PA2PF15 PA2PF20 PA2220C PA2EF10 PA2210C PA2EF15 PA2215C PA2EF20 PA2220C PA34TR PA2PF PA2P PA2EF PA2DR PA2DR VOT15 DN15 VOT20 DN20 VOT25 DN25...
- Page 7 PA2200C PA2210A / PA2215A / PA2220A 0 -10V N H1H2 N F1 F2 F3...
- Page 8 PA2200C PA2210CE03 / PA2210CE05 0 -10V N H1H2 N F1 F2 F3...
- Page 9 PA2200C PA2215CE08 / PA2220CE10 0 -10V N H1H2 N F1 F2 F3...
- Page 10 PA2200C PA2215CE12/ PA2220CE16 0 -10V N H1H2 N F1 F2 F3...
- Page 11 PA2200C PA2210CW / PA2215CW / PA2220CW 0 -10V N H1H2 N F1 F2 F3...
- Page 12 PA2200C PA2210CE05YD / PA2215CE08YD 0 -10V N H1H2 N F1 F2 F3...
- Page 13 PA2200C PA2220CE10YD 0 -10V N H1H2 N F1 F2 F3...
- Page 14 1. Montera konsolerna på väggen, se fig.6A och använts såsom är beskrivet. måttskiss fig.1. Om väggen är ojämn måste Användningsområde konsolerna kompenseras för detta. Luftridåaggregatet Thermozone PA2200C 2. Haka på aggregat i nederkant på konsolerna. levereras utan värme, med elvärme- eller (Fig.6B-C) varmvattenbatteri.
- Page 15 Ansluts via det inbyggda styrkortet med 1,5 m Observera att aggregatet ska föregås av en sladd och stickpropp. reglerande ventil, se Frico ventilpaket. Anslutning av vattenbatteri sker på Aggregat med elvärme aggregatets ovansida via släta kopparrör Elinstallation görs på...
- Page 16 PA2200C Överhettning Service, reparation och skötsel Luftridåaggregat med elvärme är försett med Vid all service, reparation och underhåll gör temperaturbegränsare. Om det har löst ut pga först enligt följande: överhettning, återställs den på följande sätt: 1. Bryt strömmen. 1. Bryt strömmen med den allpoliga 2.
- Page 17 PA2200C Felsökning Säkerhet • Vid alla installationer av elvärmda Om fläktarna inte går eller inte blåser tillräckligt, produkter bör jordfelsbrytare 300 mA för kontrollera följande: brandskydd användas. • Kontrollera funktioner och inställningar i • Säkerställ att området kring apparatens den inbyggda regleringen. insugs- och utblåsgaller hålls fritt från •...
- Page 18 PA2200C Reglering Luftridån har inbyggd reglering och kan styras med fjärrkontroll. 230V~ Ställdon Svart SD230 Brun (demontera snabbkontakt) Blå PA2DR (tillbehör) Extern on/off T.ex. kopplingsur. Extern potentialfri slutning = off Fabriksinställning dip-switch Fabriksinställning dip-switch Aggregat med elvärme och utan värme Aggregat med vattenburen värme Dip-switch 3 används för PA2DR (tillbehör).
- Page 19 PA2200C Fläktsteg 1/2/3 ~20 °C Värmesteg El: Halv/hel effekt Vatten: På/av (1 diod) På/av Manöverpanel Aggregat med elvärme och vattenburen värme Fläktsteg 1/2/3 På/av Manöverpanel Aggregat utan värme Funktionstest Funktionstest startas med fjärrkontrollen. Tryck in i 5 sekunder. Fläkt- och effektsteg gås igenom i 10 sekun- ders intervaller vilket visas med att dioder för fläkt- och effektsteg tänds.
-
Page 20: Operation
Mounting with wall brackets 1. Mount the brackets on the wall, see fig.6A Application area and dimension drawing fig.1. If the wall is The Thermozone PA2200C air curtain unit uneven the brackets must be compensated is supplied without heating, with electrical for this. - Page 21 Note that the unit shall be preceded by a Unit with electrical heating regulating valve, see Frico valve kit. The electrical installation is made on the top The water coil is connected on the upper of the unit, fig.2. The 3 kW unit is connected side of the unit with ø15 mm smooth copper...
- Page 22 PA2200C Filter (W) damp cloth. Use a brush when vacuuming The water coil is protected against dirt and to prevent damaging sensitive parts. Avoid blockage by an internal air filter which covers the use of strong alkaline or acidic cleaning the coil face.
- Page 23 PA2200C Draining the water coil (W) Safety • For all installations of electrically The drain valves is on the underside of the heated products should a residual coil on the connector side. It can be accessed current circuit breaker 300 mA for fire via the front hatch.
- Page 24 PA2200C Control The air curtain has an integrated control system and can be remotely controlled. 230V~ Actuator SD230 Black (remove the Brown quick connector) Blue PA2DR (accessory) External on/off Eg time switch. External potential free slutning = off Factory setting dip-switches Factory setting dip-switches Units with electrical heating and no heat Units with water heating.
- Page 25 PA2200C Fan step 1/2/3 ~20 °C Heat step Electric: Half/full power Water: On/off (1 LED) On/off Control panel Units with electric heating and water heating Fan step 1/2/3 On/off Control panel Units with no heat Functional test Functional test is started using the remote control.
- Page 28 Main offi ce Frico AB Tel: +46 31 336 86 00 Box 102 Fax: +46 31 26 28 25 SE-433 22 Partille Sweden...