Advertisement
Advertisement
Table of Contents

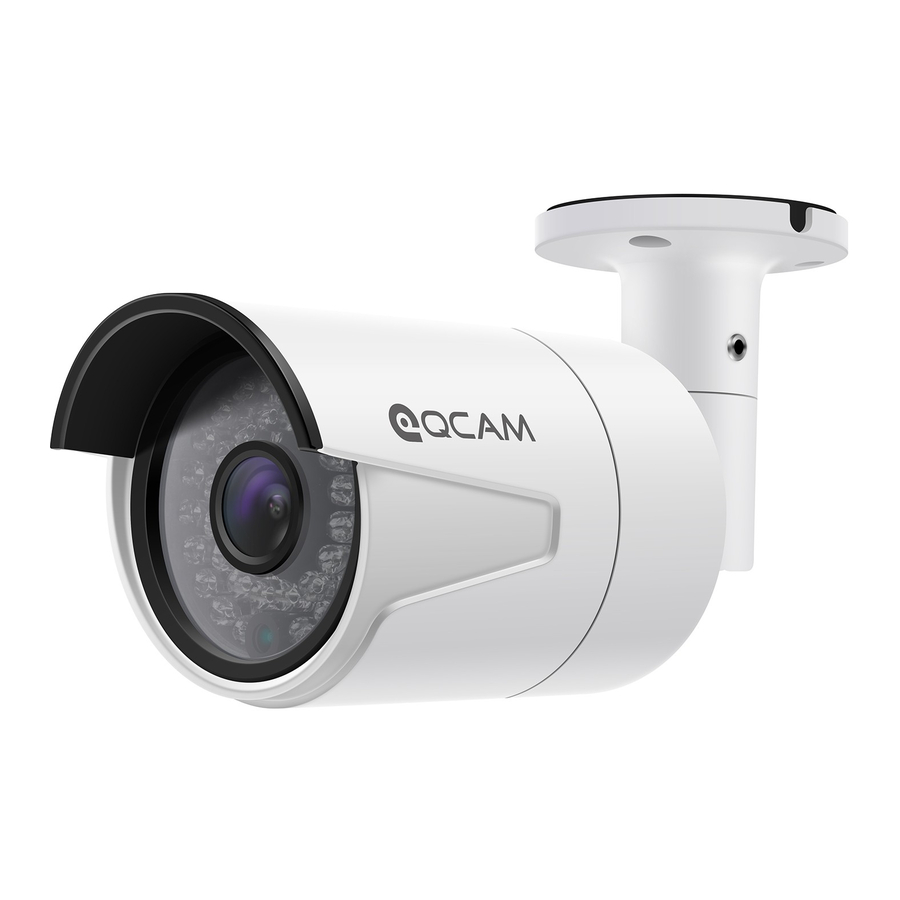
Summary of Contents for Amcrest QCcam IP3M952E
-
Page 1: Quick Start Guide
Quick Start Guide Qcam IP3M952E Version 1.0.0... -
Page 2: Important Safeguards And Warnings
Welcome Thank you for purchasing our Qcam IP3M952E! This quick start guide will help you become familiar with our camera in a very short time. Before installation and operation, please read the below safeguards and warnings carefully. If you are still have further questions after reading this guide, please contact our support team by emailing support@qcam.comor by going to qcam.com/support Important Safeguards and Warnings ... - Page 3 2. Setup Hardware To setup the camera, connect it to the NVR as follows: 1. Connect the Ethernet cable to a port on the back of the NVR. 2. Connect the camera cable to an Ethernet cable.
- Page 4 Hardware Setup Guidelines • The internal components of the camera can be damaged by prolonged exposure to direct sunlight. Do not point the camera directly at the sun. • The camera produces great images when it’s in the shade looking at subjects that are well lit. Do not place the camera in bright light and have it facing shade or darkness.
- Page 5 • Never place strain of any kind on the network cable connection. It’s designed to clip into place to prevent slippage, but it won’t support any weight and can be easily broken by a sharp tug. Exercise caution. • Ensure that cables are sheltered from moisture, weather and sunlight. The network cable connection was designed and intended for indoor use with computer networking - while it’s ideal for handling the massive data loads that network cameras require, it’s not weatherproof.
- Page 6 3. Individual Camera Setup 1. Ensure that the camera is connected to an NVR or a router that is on the same network as your PC. 2. Install the software “smartClient” from the included CD, and after installation, run the program. The software icon on your desktop looks like this: 3.
- Page 7 4. NVR Camera Setup • After you’ve connected the camera to your NVR, the camera will be automatically detected and assigned an IP address when you turn on your NVR. If the camera is not detected, check that the Ethernet cable is inserted correctly. •...


Need help?
Do you have a question about the QCcam IP3M952E and is the answer not in the manual?
Questions and answers