Table of Contents
Advertisement
Available languages
Available languages
Quick Links
Cat. No.
No de Cat.
5426-21
5446-21
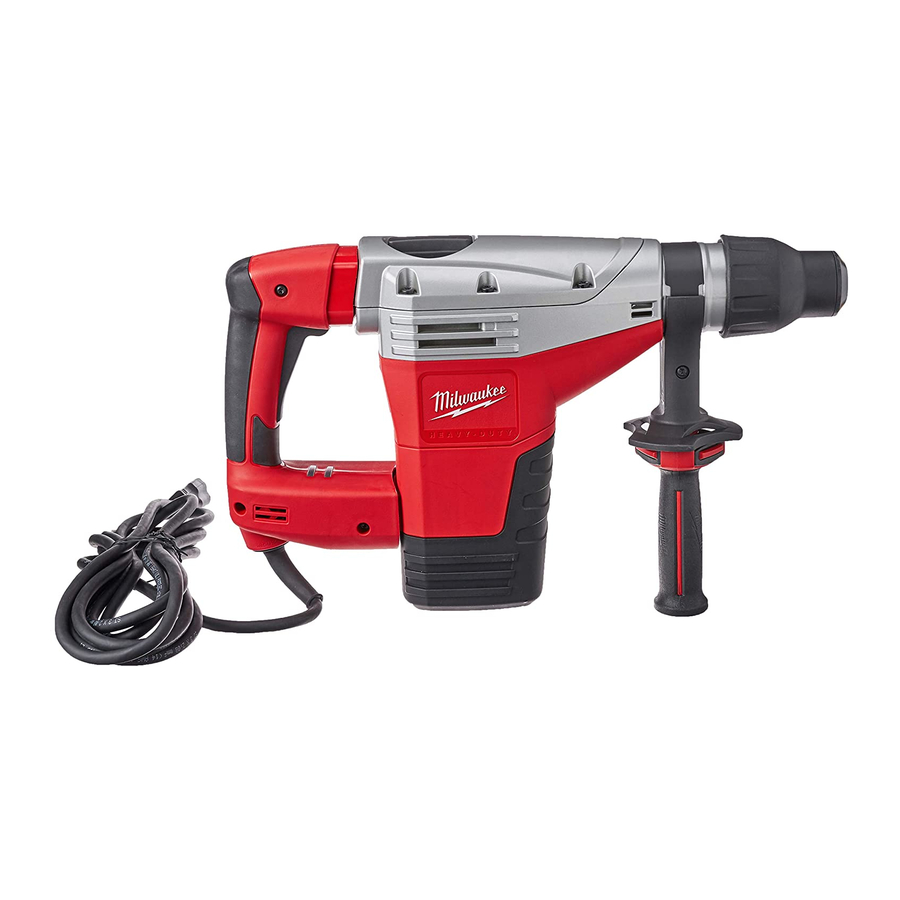
HEAVY-DUTY ROTARY HAMMERS AND DEMOLITION HAMMERS
EXTRA ROBUSTES MARTEAUX ROTATIFS ET MARTEAU DE
DÉMOLISSEUR
ROTOMARTILLOS Y MARTILLOS PERFORADORES DE DEMOLICIÓN
HEAVY-DUTY
TO REDUCE THE RISK OF INJURY, USER MUST READ OPERATOR'S MANUAL.
AFIN DE RÉDUIRE LE RISQUE DE BLESSURES, L'UTILISATEUR DOIT LIRE LE MANUEL DE
L'UTILISATEUR.
PARA REDUCIR EL RIESGO DE LESIONES, EL USUARIO DEBE LEER EL MANUAL DEL
OPERADOR.
OPERATOR'S MANUAL
MANUEL de L'UTILISATEUR
MANUAL del OPERADOR
Advertisement
Table of Contents

Subscribe to Our Youtube Channel
Summary of Contents for Milwaukee 5426-21
- Page 1 OPERATOR'S MANUAL MANUEL de L'UTILISATEUR MANUAL del OPERADOR Cat. No. No de Cat. 5426-21 5446-21 HEAVY-DUTY ROTARY HAMMERS AND DEMOLITION HAMMERS EXTRA ROBUSTES MARTEAUX ROTATIFS ET MARTEAU DE DÉMOLISSEUR ROTOMARTILLOS Y MARTILLOS PERFORADORES DE DEMOLICIÓN HEAVY-DUTY TO REDUCE THE RISK OF INJURY, USER MUST READ OPERATOR'S MANUAL.
-
Page 2: Work Area Safety
If unreadable or missing, could result in a hazardous situation. contact a MILWAUKEE service facility for a free replacement. • WARNING: Some dust created by power sand- ing, sawing, grinding, drilling, and other construc-... -
Page 3: Extension Cords
Always brace or hold securely. Adjusting the Side Handle Position 1. Loosen the side handle by unscrewing the side handle grip (5426-21) or ball (5446-21) until the side handle rotates freely. 2. Rotate the side handle to the desired position. -
Page 4: Operation
Service Indica- tor will light. Stop using the tool and return it to the nearest MILWAUKEE service facility for repairs. Operating and Operator Force Position the tool, grasp the handles fi rmly and pull the trigger. -
Page 5: Maintenance
Under normal conditions, relubrication is not neces- sary until the motor brushes need to be replaced. After six months to one year, depending on use, return your tool to the nearest MILWAUKEE service facility for the following: • Lubrication • Brush inspection and replacement •... - Page 6 Subject to certain exceptions, MILWAUKEE will repair or replace any part on a electric power tool which, after examination, is determined by MILWAUKEE to be defective in material or workmanship for a period of fi ve (5) years* after the date of purchase. Return...
-
Page 7: Utilisation Et Entretien De L'outil Électrique
De telles contacter un centre de services et d’entretien mesures de sécurité préventive réduisent le risque MILWAUKEE pour un remplacement gratuit. de mettre l’outil en marche accidentellement. • AVERTISSEMENT : Certaines poussières gé- • Ranger les outils électriques inutilisés hors nérées par les activités de ponçage, de coupe,... -
Page 8: Mise A La Terre
Étayez-la ou maintenez-la solidement. Positionnement de la poignée latérale 1. Desserrer la poignée latérale en dévissant sa prise (5426-21) ou sa bille (5446-21) jusqu’à ce que la poignée tourne librement. 2. Faites-la pivoter à la position requise. 3. Serrez-la à fond. - Page 9 5. Pour démarrer l’outil, tenir fermement les poi- hélicoïdal. (No de cat. gnées et appuyer sur la gâchette. Toujours tenir 5426-21 seul.) fermement l’outil avec les deux mains et garder le contrôle. 6. Appliquer suffi samment de pression pour main- tenir l’outil en place, engager le mécanisme...
- Page 10 Les trépans carottiers extra robustes de de guidage du trépan carottier. Terminez le MILWAUKEE sont constituées d’un corps en acier perçage. traité thermiquement et d’une pointe robuste en 6. Pour remplacer le trépan carottier, orientez l’outil carbure.
- Page 11 MILWAUKEE de technologie V™. L’enregistrement de la garantie n’est pas nécessaire pour bénéfi cier de la garantie en vigueur sur un produit MILWAUKEE. La date de fabrication du produit servira à établir la période de garantie si aucune ACCESOIRES preuve d’achat n’est fournie lorsqu’une demande de service sous garantie est faite.
-
Page 12: Mantenimiento
• Mantenga las etiquetas y las placas identifi - cativas.Tienen información importante. Si no se pueden leer o si faltan, póngase en contacto con un centro de servicio MILWAUKEE para obtener un repuesto gratuito. • ADVERTENCIA : Algunas partículas de polvo resultantes del lijado mecánico, aserrado, esme-... -
Page 13: Descripcion Funcional
El enchufe Si está dañado antes de usarlo, llévelo a un y el tomacorriente deben centro de servicio MILWAUKEE para que lo asemejarse a los de la reparen. Si el enchufe no se acopla al toma- Figura A. - Page 14 1. Afl oje el mango lateral destornillando el sujeta- Colocación de las brocas and cinceles dor (5426-21) o la bola (5446-21) hasta que el mango rote libremente. Asegúrese que tanto el zanco de la broca como las 2.
- Page 15 Las brocas sacabocados Heavy-Duty de MILWAUKEE constan de cuerpos de acero ciona una amortiguación máxima para controlar la vibración. Fuerza excesiva del operador: El mango tratados térmicamente con puntas de carburo de se presiona demasiado y, en consecuencia, se larga duración.
- Page 16 V™: *Cada batería de iones de litio de tecnología V™ de MILWAUKEE de 18 voltios o superior, está cubierta con una garantía de reemplazo gratuito por las primeras 1000 cargas/2 años. Esto signifi ca que por lo que suceda prim- ero, las primeras 1000 cargas o dos (2) años de la fecha de compra/primera carga, se proporcionará...
- Page 17 • receive important notifi cations regarding • ensure that your tool is protected under the • become a H Canada - Service MILWAUKEE MILWAUKEE est fi er de proposer un produit de pre- mière qualité N ® Votre satisfac- OTHING...


Need help?
Do you have a question about the 5426-21 and is the answer not in the manual?
Questions and answers