Advertisement
Advertisement
Table of Contents

Related Manuals for Ubiquiti Power AP N 802.11n


Summary of Contents for Ubiquiti Power AP N 802.11n
- Page 1 Indoor Ultra-Long Range 802.11n 300Mbps WiFi Access Point...
-
Page 3: Package Contents
Package Contents Package Contents Power AP N Power Adapter Ethernet Cable Antennas (Qty. 2) Quick Start Guide System Requirements • Microsoft Windows XP, Windows Vista, Windows 7, Linux, or Mac OS X • Java Runtime Environment 1.6 (or above) for the AirView utility • Web Browser: Mozilla Firefox, Apple Safari, or Microsoft Internet Explorer... -
Page 4: Hardware Installation
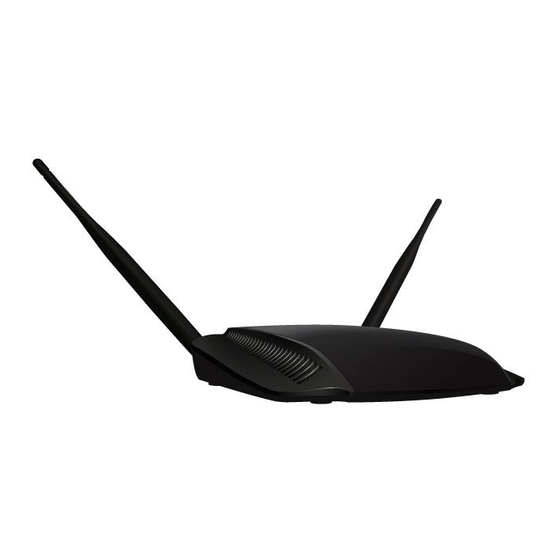
Power AP N Hardware Installation To install the Power AP N, perform the following steps: 1. Connect each antenna to an antenna connector on the Power AP N by rotating it clockwise. 2. Raise each antenna to an upright position. - Page 5 Hardware Installation 3. Connect the power adapter to the power port on the Power AP N. Connect the other end to of the power adapter to a power outlet. 4. Connect an Ethernet cable to Ethernet port 1.
- Page 6 Power AP N 5. Connect the other end of the Ethernet cable to your computer. 6. Launch your Web browser and type http://192.168.1.1 in the address field and press enter (PC) or return (Mac). Note: Your computer needs to be on the 192.168.1.x subnet.
- Page 7 Hardware Installation 7. The login screen will appear. Enter ubnt in the Username and Password fields and click Login. 8. The AirOS interface will appear. Go to the Wireless tab. Wireless tab...
- Page 8 Power AP N 9. Customize your wireless network and secure your network by entering the basic wireless network information: a. Enter a name for your wireless network in the SSID field. b. Select the type of security that you want to use for your wireless network from the Security drop-down.
- Page 9 Hardware Installation 11. Connect an Ethernet cable from your broadband modem or other Internet connection to the silver port on the back of the Power AP N. Congratulations! Basic router installation is complete. The next page provides information for connecting wireless clients.
- Page 10 Power AP N Connecting a Wireless Client to the Power AP N Windows 1. Go to Connect to Network. Windows 7 Right-click on the Network icon. Windows Vista Go to Start > Connect To. Windows XP Right-click the Wireless Network icon in the System Tray (lower right corner of the screen) and then click View Available Wireless Networks.
-
Page 11: General Warranty
Products furnished hereunder shall be free from defects in material and workmanship for a period of one (1) year from the date of shipment by UBIQUITI NETWORKS under normal use and operation. UBIQUITI NETWORKS sole and exclusive... -
Page 12: Warranty Conditions
Disclaimer: UBIQUITI NETWORKS does not warrant that the operation of the products is error-free or that operation will be uninterrupted. In no event shall UBIQUITI NETWORKS be responsible for damages or claims of any nature or description relating to system performance, including coverage, buyer’s selection of products for buyer’s application and/or failure of... -
Page 13: Declaration Of Conformity
UBIQUITI NETWORKS, device est conforme aux exigences [French] essentielles et aux autres dispositions pertinentes de la directive 1999/5/CE. Par la présente, UBIQUITI NETWORKS déclare que ce UBIQUITI NETWORKS device, est conforme aux exigences essentielles et aux autres dispositions de la directive 1999/5/CE qui lui sont applicables. - Page 14 UBIQUITI NETWORKS device, megfelel a vonatkozó alapvetõ [Hungarian] követelményeknek és az 1999/5/EC irányelv egyéb elõírásainak. Íslenska Hér me l sir UBIQUITI NETWORKS yfir ví a UBIQUITI NETWORKS device, er í samræmi vi grunnkröfur og a rar kröfur, sem ger ar eru í [Icelandic] tilskipun 1999/5/EC.
-
Page 16: Ubiquiti Networks Support
Phone (9 a.m. - 5 p.m. PST): 408-942-1153 Skype: Ubiquiti_Support Online Resources Wiki Page: www.ubnt.com/wiki Support Forum: www.ubnt.com/forum Knowledge Base: www.ubnt.com/kb Downloads: www.ubnt.com/support/downloads w w w . u b n t . c o m © 2010 Ubiquiti Networks, Inc. All rights reserved.
Need help?
Do you have a question about the Power AP N 802.11n and is the answer not in the manual?
Questions and answers