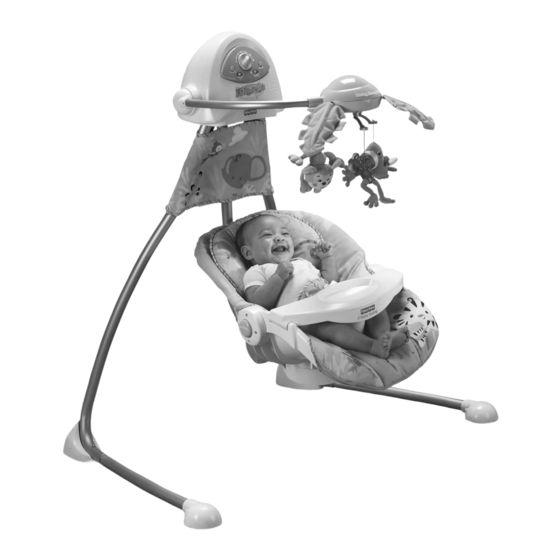
Summary of Contents for Fisher-Price K6078
- Page 1 K6078 WARNING IMPORTANT! KEEP INSTRUCTIONS FOR FUTURE REFERENCE. www.fi sher-price.co.uk...
- Page 2 Fasteners Consumer Information Do not over-tighten the screws or the bolt. WARNING To prevent serious injury and/or M5 Lock Nut – 1 #8 x 1,9 cm Screw – 4 falls and being strangled in the restraint system: • Always use the restraint system. Never rely on the tray to restrain child.
- Page 3 Parts IMPORTANT! Please remove all parts from the package and identify them before assembly. Some parts may be packed inside the pad. 3 Toys (Toys may be different) 3 Mobile Hangers Motor Assembly Tray Frame 2 Lower Legs (Left and Right) Seat Back Tube Allen Wrench Frame Tube...
- Page 4 Assembly IMPORTANT! Before assembly or each use, inspect this Frame product for damaged hardware, loose joints, missing parts or sharp edges. DO NOT use if any parts are missing or broken. Contact Mattel for replacement parts and instructions if needed. Never substitute parts. Motor Assembly Curved Tube Mobile Hanger...
- Page 5 Assembly BEND Seat Back Tube Fabric Panel Seat Bottom Tubes Buttons • Wrap the ends of the fabric panel around the frame tubes. • Fasten the button holes on the bottom of the fabric panel to the buttons on the frame assembly. •...
- Page 6 • Fit the waist restraint straps on the seat bottom up through the slots in the pad. Fisher-Price, Inc., a subsidiary of Mattel, Inc., East Aurora, New York 14052, U.S.A. PRINTED IN CHINA ©2007 Mattel, Inc. All Rights Reserved. ® and ™ designate U.S. trademarks of Mattel, Inc.
- Page 7 Assembly Clips Fabric Panel Frame Tube Frame Hub Motor Assembly Tube • Turn the frame assembly on its side. • Fit the end of the frame tube between the fabric panel and • Fit the pad clips around the edge of the seat bottom. the frame hub.
- Page 8 Assembly Battery Installation Hint: We recommend using alkaline batteries for longer battery life. 1,5V x 4 “D” (LR20) Battery Compartment • Loosen the screws in the battery compartment door with a Phillips screwdriver and remove the battery compartment door. • Insert four “D” (LR20) alkaline batteries into the battery compartment.
- Page 9 Setup and Use WARNING To prevent serious injury and/or falls and being strangled in the restraint system: • Always use the restraint system. Never rely on the tray to restrain child. • Not recommended for children who can sit up by themselves (6 months approximately, until 9 kg/20 lbs).
- Page 10 Setup and Use Swinging Direction • Turn the seat until it locks into place to select a Tray Use swinging direction. • To close the tray, rotate the tray down and "snap" into place. • To open the tray, lift the edge of the tray tab and lift the tray. LOWER LOWER LIFT...
- Page 11 Swing, Mobile, Music and Sounds! Power Dial Power Off Reset Button Volume Button Mobile Switch Music/Sounds Switch Swing Rainforest Music and Sounds • Turn the power dial to select any of six speed settings • Slide the music and sounds switch to for music.
- Page 12 Care Storage • The pad and toys are machine washable. Wash them separ- ately in cold water on the gentle cycle. Do not use bleach. Tumble dry separately on low heat and remove promptly. ROTATE • The frame, mobile and fabric panel may be wiped clean using a mild cleaning solution and a damp cloth.


Need help?
Do you have a question about the K6078 and is the answer not in the manual?
Questions and answers