Sharp XG-P560W-N - WXGA DLP Projector Manuals
Manuals and User Guides for Sharp XG-P560W-N - WXGA DLP Projector. We have 4 Sharp XG-P560W-N - WXGA DLP Projector manuals available for free PDF download: Operation Manual, Setup Manual
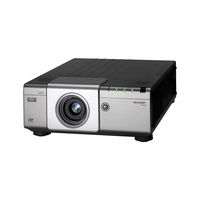
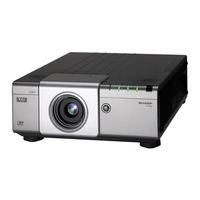
Sharp XG-P560W-N - WXGA DLP Projector Operation Manual (86 pages)
Sharp XG-P560W: User Guide
Table of Contents
Advertisement
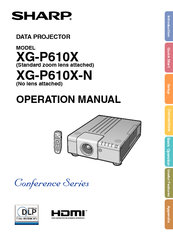
Sharp XG-P560W-N - WXGA DLP Projector Operation Manual (86 pages)
Conference Series
Table of Contents
Advertisement

Sharp XG-P560W-N - WXGA DLP Projector Setup Manual (59 pages)
Sharp Data Projector Setup Manual
Table of Contents
Advertisement