Table of Contents
Advertisement
Quick Links
Advertisement
Table of Contents

Related Manuals for NewAir G80


Summary of Contents for NewAir G80
- Page 1 Ceiling Garage Heater OWNERS MANUAL Read and save these instructions.
- Page 2 Count on NewAir. As a proud NewAir owner, welcome to our family. There are no robots here, real people shipped your product and real people are here to help you.
-
Page 3: Table Of Contents
EAD AND SAVE THESE INSTRUCTIONS TABLE OF CONTENTS Specifications ....................... 3 Before First Use ....................3 Safety Information & Warnings ................4 Parts List ....................... 7 Heater Installation ....................8 Before Installation: ..................8 Installation Instructions: ................9 Operation ......................10 Cleaning &... -
Page 4: Safety Information & Warnings
When using any electrical appliance, basic safety precautions must be followed in order to reduce the risk of fire, electrical shock and/or injury to persons or property. Be sure to read all instructions before using this appliance and observe the following safety tips: http://www.NewAir.com... - Page 5 Location and Grill Safety: This heater is hot when in use. To avoid burns, do not let bare skin touch the hot surface. Always use the handle when moving this heater. The trim around the air outlet grille becomes hot during heater operation.
- Page 6 Make sure that no pieces of polystyrene or other packaging material have been left between one element of the appliance and another. It may be necessary to clean the appliance with a vacuum cleaner. Do not use attachments or filters. They are not recommended. AVE THESE NSTRUCTIONS http://www.NewAir.com...
-
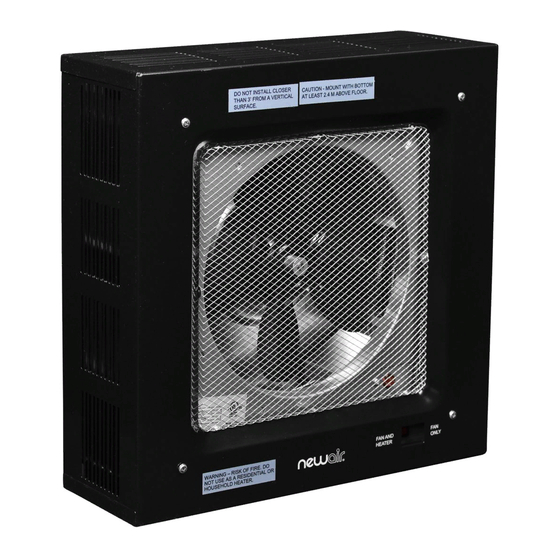
Page 7: Parts List
PARTS LIST 1. Housing 2. Safety grille 3. Select switch: Fan Only or Fan and Heater 4. Mounting Bracket A Name You Can Trust... -
Page 8: Heater Installation
WARNING: To reduce the risk of fire, do not store or use gasoline or other flammable vapors and liquids in the vicinity of the heater. http://www.NewAir.com... -
Page 9: Installation Instructions
INSTALLATION INSTRUCTIONS: 1. Loosen the 4 screws to 4. Mark the drill-hole positions remove the housing of in the ceiling for the mounting the unit. bracket. 2. Keep the unit at least 8 5. Drill the required holes sized feet (2.4m) away from to fit the anchor provided for the floor. -
Page 10: Operation
10. Run the electrical power supply cable and connect to the wiring compartment via the knock-out at back side of the unit. 11. Make the correct electrical connections to the G80 and after making the connections, arrange the pigtail leads of the unit and power supply wires in the wiring compartment. -
Page 11: Cleaning & Storage
Press the switch to FAN and HEATER position and the heater will run at 5000W and the light will turn on. To turn off the heater, switch off the circuit breaker. The circuit breaker serves as the power switch. CLEANING & STORAGE EGULAR LEANING Before any cleaning:... -
Page 12: Troubleshooting
The heater is producing A drop of oil fell on the Ensure room in which heater a burning smell. heating coil during the is situated is well ventilated. manufacturing process. It will quickly evaporate and should not occur again. http://www.NewAir.com... - Page 13 Problem Possible Causes Solution Check and ensure there Remove any combustible are no combustible items from the heater. materials within 3 feet (.9 meters) surrounding the heater. Ensure a minimum Reposition the heater so there clearance of 5.5 inches is enough space around the (14 cm) from both sides heater to the adjacent walls.
-
Page 14: Limited Manufacturer's Warranty
When making a warranty claim, please have the original bill of purchase with purchase date available. Once confirmed that your appliance is eligible for warranty service, all repairs will be performed by a NewAir™ authorized repair facility. The purchaser will be responsible for any removal or transportation costs. Replacement parts and/or units will be new, re-manufactured or refurbished and is subject to the manufacturer’s discretion.