
Related Manuals for NewAir Quietheat15


Summary of Contents for NewAir Quietheat15
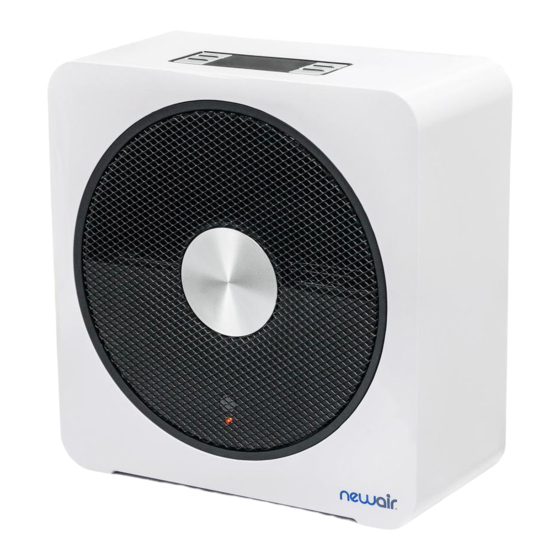
- Page 1 Quietheat15 Portable Space Ceramic Heater OWNERS MANUAL Read and save these instructions.
- Page 2 Count on NewAir. As a proud NewAir owner, welcome to our family. There are no robots here, real people shipped your product and real people are here to help you.
-
Page 3: Table Of Contents
Symbol Introduction .................... 11 Warnings and Precautions ................. 11 Reduce the Risk of Fire ..................14 Maintenance and Cleaning .................... 14 Electrical Schematic Diagram ..................15 Limited Manufacturer’s Warranty .................. 16 PRODUCT SPECIFICATIONS Model No.: Quietheat15 Voltage: 120V Frequency: 60Hz Power: 1000W/1500W ≤45dB Noise Level: 13.5”... -
Page 4: Introduction
Uses a shaded pole motor and tubular wind wheel, which makes the device function with high thermal efficiency and low noise Safety features such as, double overheating protection and tip over safety protection Convenient operation with infrared remote control ECO function, to save energy http://www.NewAir.com... -
Page 5: Important Safety Information
IMPORTANT SAFETY INFORMATION WARNING: These instructions are not meant to cover every possible condition and situation that may occur. Please read all instructions before using this space ceramic heater. Failure to carefully read all instructions may result in possible electric shock or fire hazard, and will void the manufacturer’s warranty. -
Page 6: Parts List
PARTS LIST OPERATION PANEL http://www.NewAir.com... -
Page 7: Display Panel
DISPLAY PANEL REMOTE CONTROL PANEL REMOTE CONTROL BATTERY A Name You Can Trust... -
Page 8: Operating Instructions
5. After deciding the desired heating power (low) or (high), the timer and temperature can be set. The key lets you control the timer and temperature on the unit. Once the timer and temperature are set, the desired heating power http://www.NewAir.com... - Page 9 will remain at the desired heating power in the previous step. If the heating power needs to be changed from low to high or high to low just press the once. By pressing the key once, the LED light will start flickering (you have five seconds before it defaults to standby mode) at this time you will be able to set the timer between 0-12 hours by pressing on the increase time) or...
-
Page 10: Eco Mode
CONTINUOUS ELECTRIC MEMORY FUNCTION 1. Under standby mode, press the key and the unit will keep working the same status as the last setting, except the timing function. http://www.NewAir.com... -
Page 11: Safety Warnings And Precautions
2. The machine will work in a continuous mode after one minute and the brightness of the display section should be reduced to one-third of the normal brightness, solving the problem of the LED lamp shining in the night. It will restore the brightness after operation. - Page 12 Make sure there are no abnormal items in the wire, and the plug is absolutely plugged in, otherwise it will cause creepage. When there is an unusual smell, or an unusual sound from the device, stop operating the device and unplug it. http://www.NewAir.com...
- Page 13 Do not break the power cord, or it can result in creepage, short circuit, or fire. Please contact the service center for repairs. Do not fold the power cord, or place heavy objects on it because it can cause creepage. Power off the device and unplug the power cord when not using it for a long time.
-
Page 14: Reduce The Risk Of Fire
1. Before cleaning, unplug and make sure the heater cools off. 2. Use a soft cloth to wipe the dust on the heater’s surface. If the surface is too dirty, it is better to wipe it with warm water, mixed with a neutral detergent. http://www.NewAir.com... -
Page 15: Electrical Schematic Diagram
3. Do not use gasoline, thinner, and any others which may easily damage the surface. 4. Cool and dry the heater before packing and place it in a dry and ventilated place. Filter Net The Back Cover ELECTRICAL SCHEMATIC DIAGRAM A Name You Can Trust... -
Page 16: Limited Manufacturer's Warranty
When making a warranty claim, please have the original bill of purchase with purchase date available. Once confirmed that your appliance is eligible for warranty service, all repairs will be performed by a NewAir™ authorized repair facility. The purchaser will be responsible for any removal or transportation costs. Replacement parts and/or units will be new, re-manufactured or refurbished and is subject to the manufacturer’s discretion.