Table of Contents
Advertisement
Advertisement
Table of Contents

Related Manuals for Nanoxia Deep Silence 6 Revision B


Summary of Contents for Nanoxia Deep Silence 6 Revision B
-
Page 2: Table Of Contents
I. Introduction _______________________________________________________________02 • Specifications ___________________________________________________________02 • Accessories _________________________________________________________________03 • Features _________________________________________________________________03 II. Installation Instructions _________________________________________________________07 1. Installation of the motherboard _____________________________________________________07 2. Installation of external drives __________________________________________________08 2.1 Optical drives _________________________________________08 2.2 Utilizing the external 3.5 inch bay _______________________________________09 3. -
Page 3: Introduction
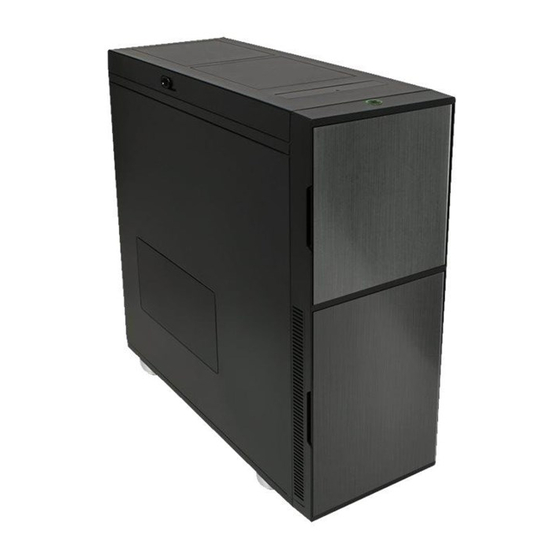
I. Introduction Congratulations on the purchase of your new Nanoxia Deep Silence 6 Revision B. We are confident that you will be delighted by your new PC case for many years to come. The Nanoxia Deep Silence series has already won more than 100 awards from the international trade press. -
Page 4: Accessories
2.5“HDD/SSD (long) for PSU If you are missing any of the items listed above, please contact our customer service immediately: support@nanoxia-world.com Features: - Water Cooling ready - Special, lateral fastening points for a 120/140/240/280/360 mm radiator under the top cover... - Page 5 Noise Insulation The Nanoxia Deep Silence 6 Rev. B has been developed with the aim of offer the buyer a low- noise case, while at the same time allow for extremely low system temperatures. The noise insulation concept is based on multiple interacting design elements: The most important part is the large scale lining of the case with sound-absorbing insulation materials.
- Page 6 Mounting Bracket on the HDD-cage: 2 x 120/140 mm fans Watercooling-ready The Nanoxia Deep Silence 6 Rev. B has been prepared perfectly for the installation of a high- end water cooling system. Therefore you can install radiators or a compact water cooling solution under the top cover as...
- Page 7 Active Air Chimney One of the main features of the Nanoxia Deep Silence 6 Rev. B is without a doubt the Active Air Chimney. The Air Chimney can easily be opened or closed using the slider on the side of the top cover and fulfils various functions.
-
Page 8: Installation Instructions
II. Installation Instructions 1. Installing the Motherboard You can mount HTPX, E-ATX, XL-ATX, ATX, M-ATX and Mini-ITX motherboards in the Deep Silence 6 Rev. B. In order to ensure an easy installation of your motherboard, we suggest the following procedure: Please consult the following charts to find your motherboard form factor: HPTX E-ATX... -
Page 9: Installation Of External Drives
Next you should mount the CPU cooler - for very large CPU coolers, the attachment of the EPS extension cable after installation can be difficult. Now place the motherboard gently inside the case and lead the EPS extension cable through the opening provided in the top left of the mainboard tray. -
Page 10: Utilizing The External 3.5 Inch Bay
2.2 Utilizing the external 3.5 inch bay If you for example desire to place a 3.5 inch card reader, you can use one of the two internal adaptors for this purpose. Please remove the 5.25 inch cover first. Open the two quick release of the 5.25 inch bay and remove the mounting frame. Then attach the card reader in the frame, as shown below. -
Page 11: Utilizing The Additional 3-Bay Hdd-Cage
The hard drives slides offer a second pair of mounting holes, so it is possible to shift the position of the drives. Those are marked in blue on the picture. To lock the drive, push the bracket with the drive back installed back into the slot until the bracket is re-engaged. -
Page 12: Removing The Front Panel And Top Cover
The HDD cage can easily be moved to another position if necessary. To do this, please Position 01 first remove the four screws Position 02 that hold the cage on the Position 03 bottom. Please refer to the Position 04 drawing for the different Position 05 mounting points of the cage. -
Page 13: Fan Assembly
Five 140 mm fans are pre-installed in your new case. You can mount up to twelve fans in total. We recommend the use of the 120 or 140 mm Nanoxia Deep Silence fans, available separately. These are technically and visually equivalent to the factory-installed case fans and will work in perfect harmony with the built-in fan control of your case. -
Page 14: Fans Under The Top Cover
5.2 Fans in the top cover Two 140 mm fans are pre-installed under the top cover. If required, a total of three 120 or 140 mm fans can be mounted. If you want to install more fans at the top of the case, please remove the plastic cover first (see chapter 4.2). -
Page 15: Fans In The Side Panel
The bracket offers mounting holes both for 120 and 140 mm fans; install the fans, then attach the bracket with the four screws back to the HDD-cage, as can be seen in the picture. If you install case fans in the mounting bracket, those should support the movement of air from front to back. -
Page 16: The 2-Channel Fan Control
The dust filter at the bottom can be pulled out for easy cleaning. f you secure the cover in the side panel again after the removal of a side fan, please make sure not to tighten the screws not too much. To avoid damage to the internal thread or the side panel, the screws should be tightened by hand only. -
Page 17: Operation Of The Fan Control
B. 7. The Active Air Chimney The innovative Nanoxia Active Air Chimney allows the easy dissipation of hot air in case of a heat buildup under the top cover: Once the Air Chimney is opened, the connected fans are automatically activated. -
Page 18: Operation Of The Active Air Chimney
120/140/240/280 mm radiator. It makes it possible to mount a radiator and can be equipped with up to four fans for maximum heat-dissipation. Including the pre-assembled 2 x 140 mm Nanoxia Deep Silence fans behind the front panel, up to 6 fans provide a superior cooling performance. -
Page 19: Installation Of A Radiator Or Compact Water Cooling Under The Top Cover
For maximum cooling capacity of your radiator, you can then mount up to two additional 140 mm or 120 mm fans on top of the radiator. If you use a very large radiator, it may be that the hose connectors block the mounting screws of the frame. -
Page 20: The I/O-Panel
For the installation, remove the top plastic cover (see chapter 4.2) as well as the right side panel (seen from the front) and remove the pre-installed 140 mm fans. Please keep in mind to (see chapter 7.2). release the fan cable from the circuit board of active air chimney Hold the radiator from the inside to the ceiling and mount it as you see in the picture(s). -
Page 21: Support
For general inquiries, comments, suggestions and the like please refer to: info@nanoxia-world.com We are sure that you will be satisfied with Nanoxia Deep Silence 6 Rev. B for many years to come, so please enjoy your new PC case. Your Nanoxia Support-Team... - Page 22 © Nanoxia 2014...