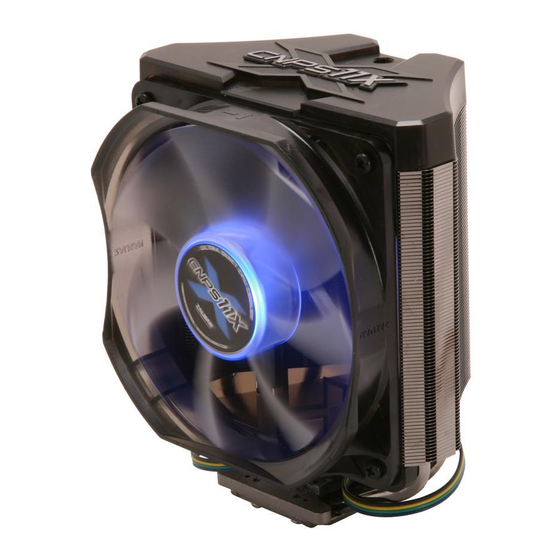
Summary of Contents for ZALMAN CNPS11X Extreme
- Page 1 User's Manual CNPS11X Series Intel Socket 2011/1366/1156/1155/775 CPUs AMD Socket FM2/FM1/AM3+/AM3/AM2+/AM2 CPU&APUs To ensure safe and easy installation, please read the following precautions www.ZALMAN.com Ver. 121106...
-
Page 2: Specifications
Check the components list and condition of the product before installation. If any problem is found, contact the retailer to obtain a replacement. During transportation of the system, the cooler must be removed. Zalman is not responsible for any damages that occur during the transport of a system. - Page 3 English 3. Components 1) Common Components Backplate User’s Manual Cooler Side Cap Gold Bolts Silver Bolts A (4mm) Silver Bolts B (3mm) (Socket 1366 ) (Socket 2011) (Socket 1156/1155/775/AMD) Double-sided Tape Wrench Nuts Loading Block 11X Extreme 11X Extreme 11X Performa Resistor Thermal Grease Thermal Grease...
-
Page 4: Space Requirements
As shown in the diagram below, it is recommended that the cooler be installed so that air flows from the cooler toward the enclosure’s rear exhaust fan to be released. ※ Recommended cooler orientation may differ according to the motherboard model. CNPS11X Extreme CNPS11X Performa .COM... -
Page 5: Installation
English 5. Installation A. Intel Socket Installation - Unfasten the Bolts on the Cooler’s Base one thread, insert the Intel Clip between the Cover and the Base, and then refasten the Bolts. Intel Clip Caution Make sure the Intel Clip’s ingresses are flush against the protrusions of the Base Cover. - Page 6 English 2) Intel Socket 1366/1156/1155/775 Installation ① Install Bolts to the Backplate according to the Socket Type and secure with Side Caps. Socket 775 Socket 1156/1155 Socket 1366 Caution Take note of the orientation of the Nuts and the Side Caps. Socket 1366/1156/1155 Installation ②...
- Page 7 English Socket 775 Installation ③ Remove the Sticker Cover from the Lower Tier of the Loading Block and attach to the Backplate. Loading Block Attach Double-sided Tape to the Loading Block and remove the Double-sided Tape Cover. Double-sided Tape Caution Please make note of the orientation of the Loading Block’s Installation.
- Page 8 English ④ Align the Backplate’s Nuts with the motherboard’s Clip Support installation holes and then fasten to the motherboard. ⑤ Apply a suitable amount of the included Thermal Grease on the CPU’s surface and then fasten the Bolts to install the cooler. Gold Bolt Wrench (Socket 1366)
- Page 9 English [CNPS11X Extreme Only] For Quiet Mode, please RC24P connect RC24P to the Fan (Fan RPM resistor) Connector. Motherboard Connector B. AMD Socket Installation 1) AMD Socket FM2/FM1/AM3+/AM3/AM2+/AM2 Installation ① Unfasten the Bolts on the Cooler’s Base one thread, insert the AMD Clip between the Cover and the Base, and then refasten the Bolts.
- Page 10 English Caution Take note of the orientation of the Nuts and the Side Caps. ③ Remove the Sticker Cover from the Lower Tier of the Loading Block and attach to the Backplate. Loading Block Attach Double-sided Tape to the Loading Block and remove the Double-sided Tape Cover.
- Page 11 English ④ Disassemble the motherboard’s Clip Support. ⑤ Align the Backplate’s Nuts with the motherboard’s Clip Support’s installation holes and fasten to the motherboard. ⑥ Apply a suitable amount of the included Thermal Grease on the CPU’s surface and then fasten the Silver Bolts to install the cooler. (Please use the designated Bolts in accordance with Socket Types.) Wrench Silver Bolt B...
- Page 12 ⑦ Connect the cooler’s 4-pin connector to the motherboard’s CPU Fan header. Motherboard Connector Caution Please make sure that PWM Control Mode is activated in the motherboard’s BIOS settings. [CNPS11X Extreme Only] For Quiet Mode, please connect RC24P to the Fan Connector. RC24P (Fan RPM resistor) Motherboard Connector .COM...


